WordPress Integration for Magento 2 - User Guide
Extension Installation
Prerequisites
- Magento 2.3.x – 2.4.x installed and functioning.
- WordPress website with REST API enabled (
/wp-json/wp/v2).
Magento Marketplace Customers Method
- Access your server CLI via SSH and navigate to your Magento root directory.
- Run the Composer command to fetch the extension:
composer require meetanshi/magento-2-wordpress-integration - Enable the extension module:
php bin/magento module:enable Meetanshi_WordPressIntegration - Run the upgrade command:
php bin/magento setup:upgrade - Deploy static content based on your Magento version:
- For Magento 2.0.x – 2.1.x:
php bin/magento setup:static-content:deploy - For Magento 2.2.x & above:
php bin/magento setup:static-content:deploy -f
- For Magento 2.0.x – 2.1.x:
- Flush the Magento cache:
php bin/magento cache:flush
Direct ZIP / Meetanshi Customers Method
- Download the extension ZIP file from your Meetanshi account area.
- Extract the archive contents and upload them to your server under
<Magento_Root>/app/code/Meetanshi/WordPressIntegration/. - Connect to your Magento server via SSH and execute the following commands:
php bin/magento setup:upgrade- For Magento 2.0.x – 2.1.x:
php bin/magento setup:static-content:deploy - For Magento 2.2.x & above:
php bin/magento setup:static-content:deploy -f
php bin/magento cache:flush - For Magento 2.0.x – 2.1.x:
WordPress Integration for Magento 2 integrates your WordPress blog posts, categories, and tags seamlessly into your Magento 2 store using the WordPress REST API.
How to Locate Your WordPress REST API URL
To connect your WordPress blog to Magento, locate your WordPress REST API endpoint:
- Open your WordPress website URL in a web browser.
- Append
/wp-json/wp/v2to your WordPress base site URL (e.g.https://myblog.com/wp-json/wp/v2orhttps://mysite.com/blog/wp-json/wp/v2). - Test the URL in your browser address bar; it should display a JSON response listing WordPress posts and routes.
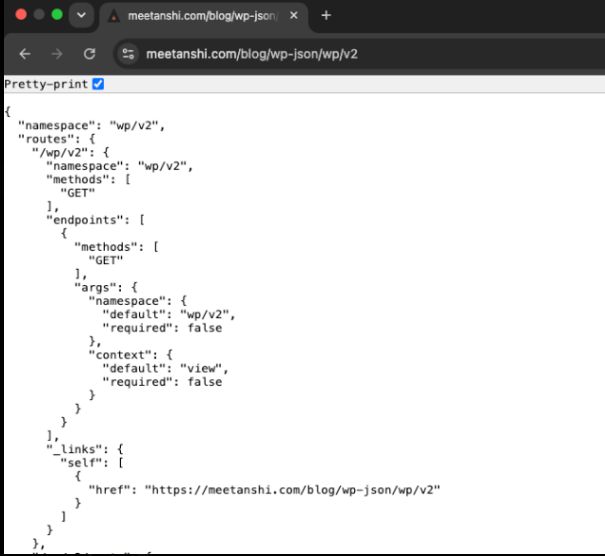 4. Copy the complete URL string up to `/wp/v2 ', which we will require in the next step.
General Configuration
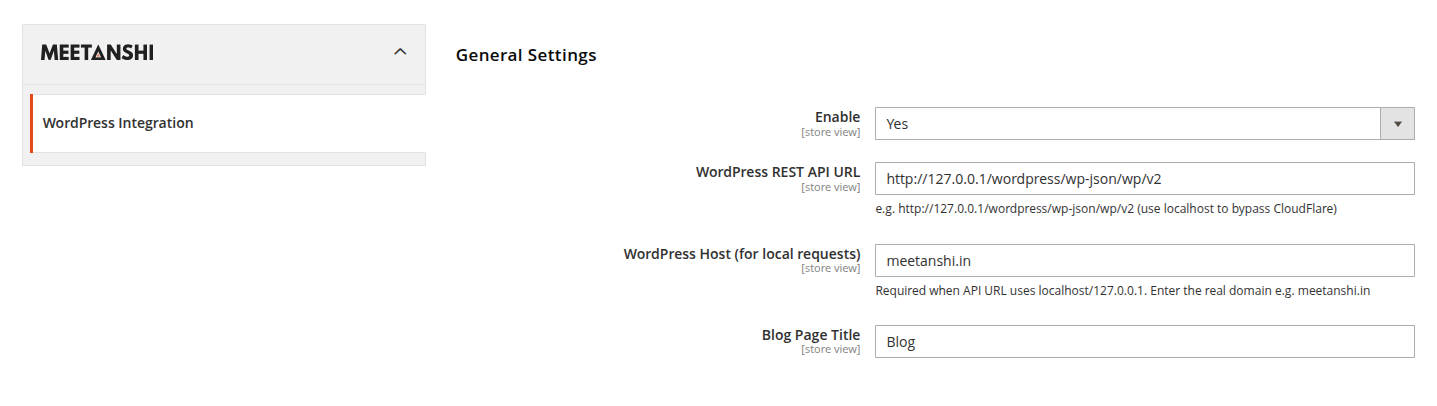
Navigate to Stores > Configuration > Meetanshi > WordPress Integration to connect your WordPress blog API.
- Enable: Select Yes to enable WordPress blog integration on your Magento store front.
- WordPress REST API URL: Enter the full endpoint URL of your WordPress REST API (e.g.,
https://myblog.com/wp-json/wp/v2). - Blog Page Title: Enter the title to display on the main Magento blog landing page.
Blog Posts Management
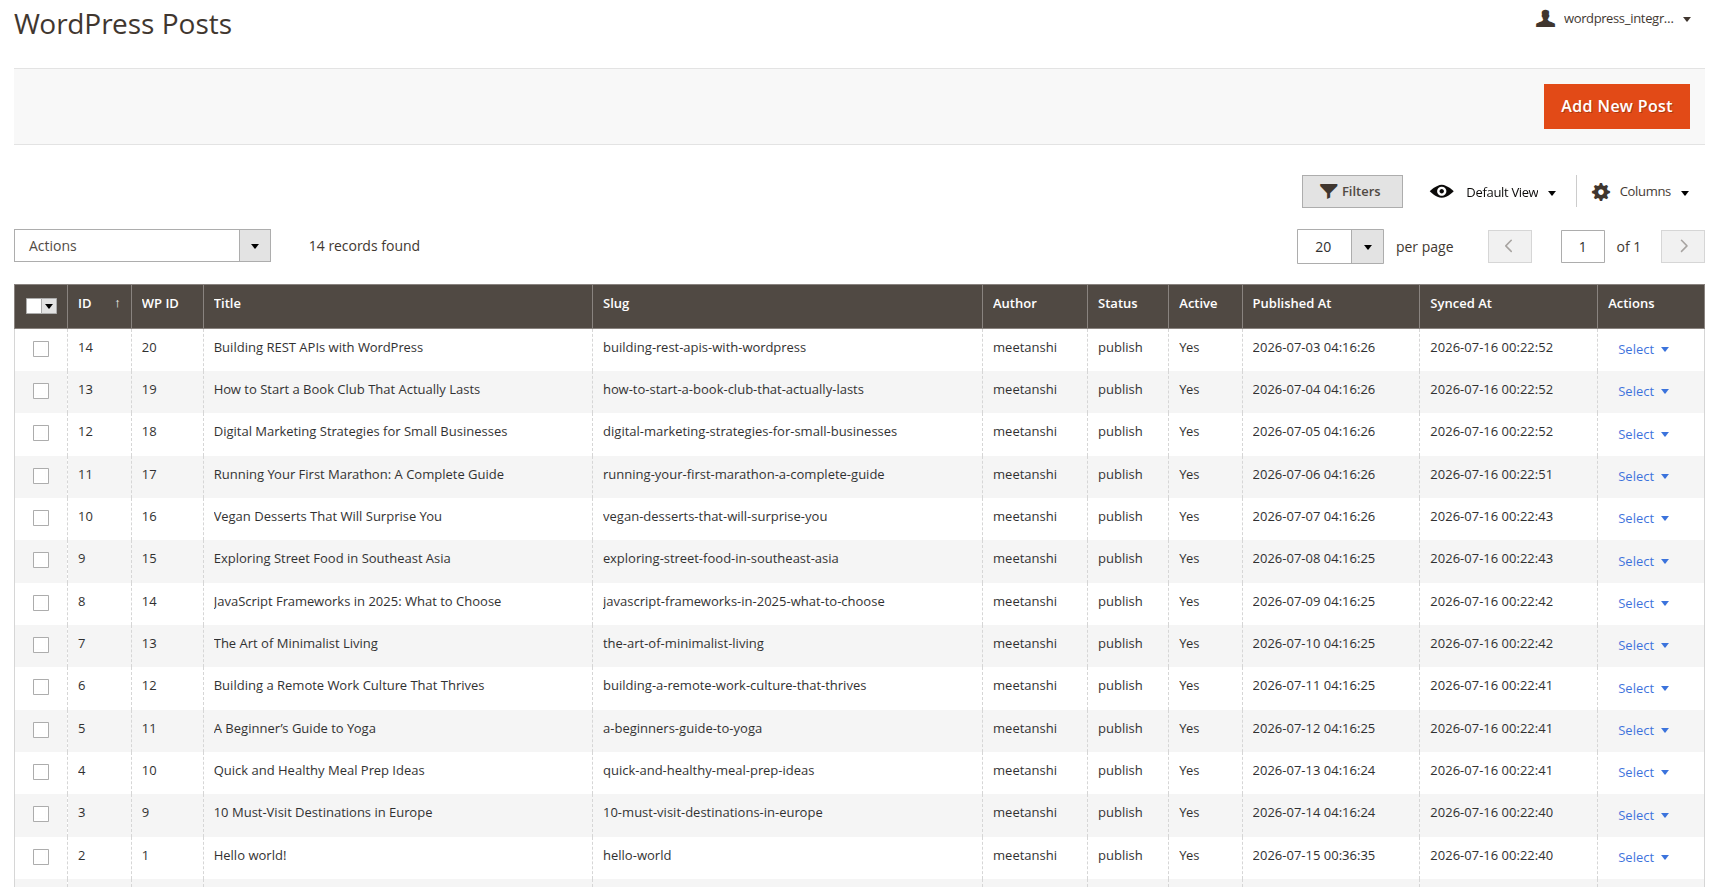
Navigate to WordPress > Posts to view and manage imported WordPress blog posts.
- Posts Grid: View post titles, slugs, publication dates, author names, and synchronization status.
- Add / Edit Post: Edit blog post content, update featured images, and assign categories or tags.
Categories & Tags Management
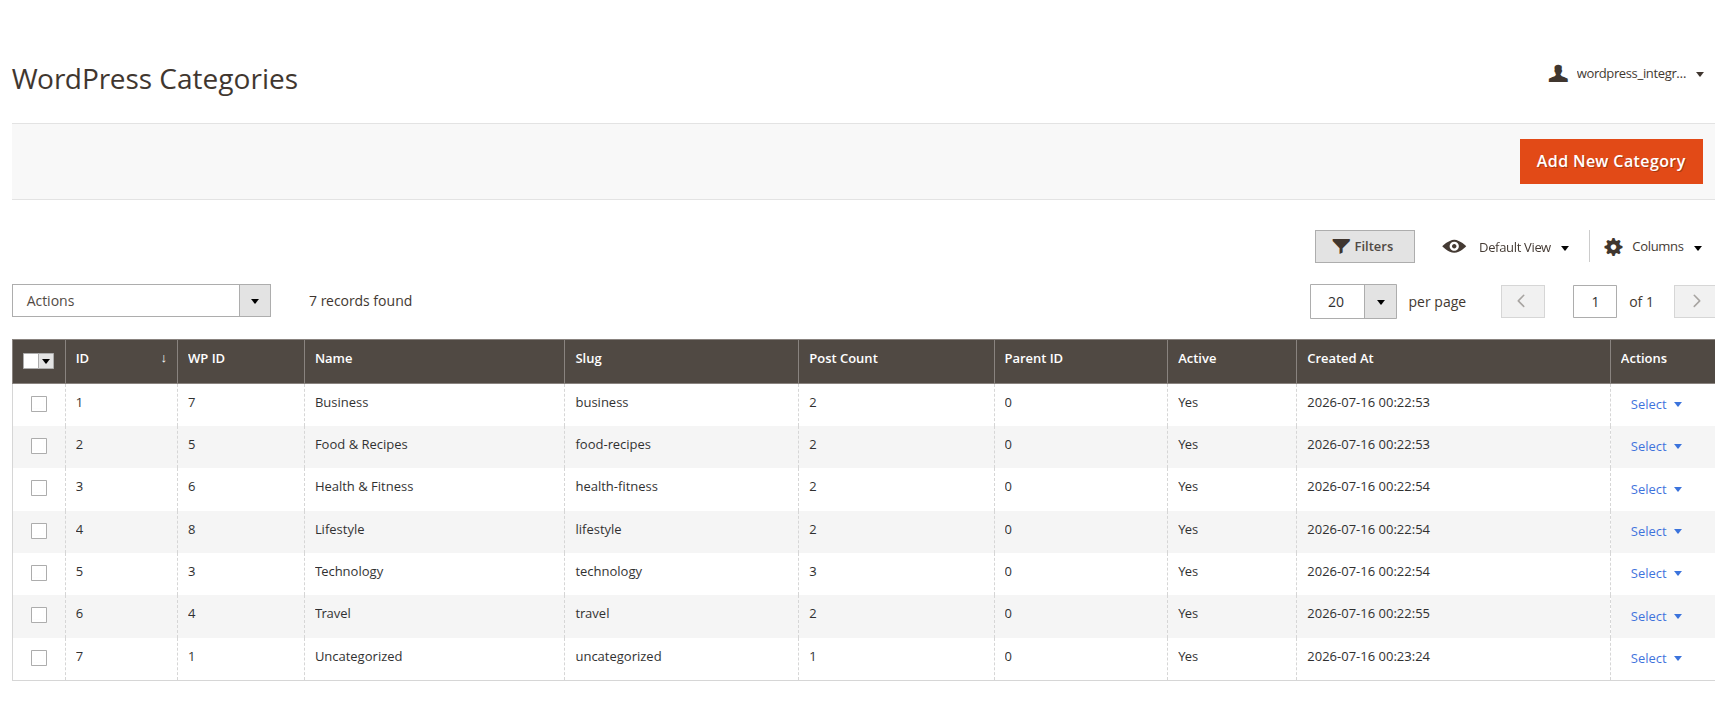
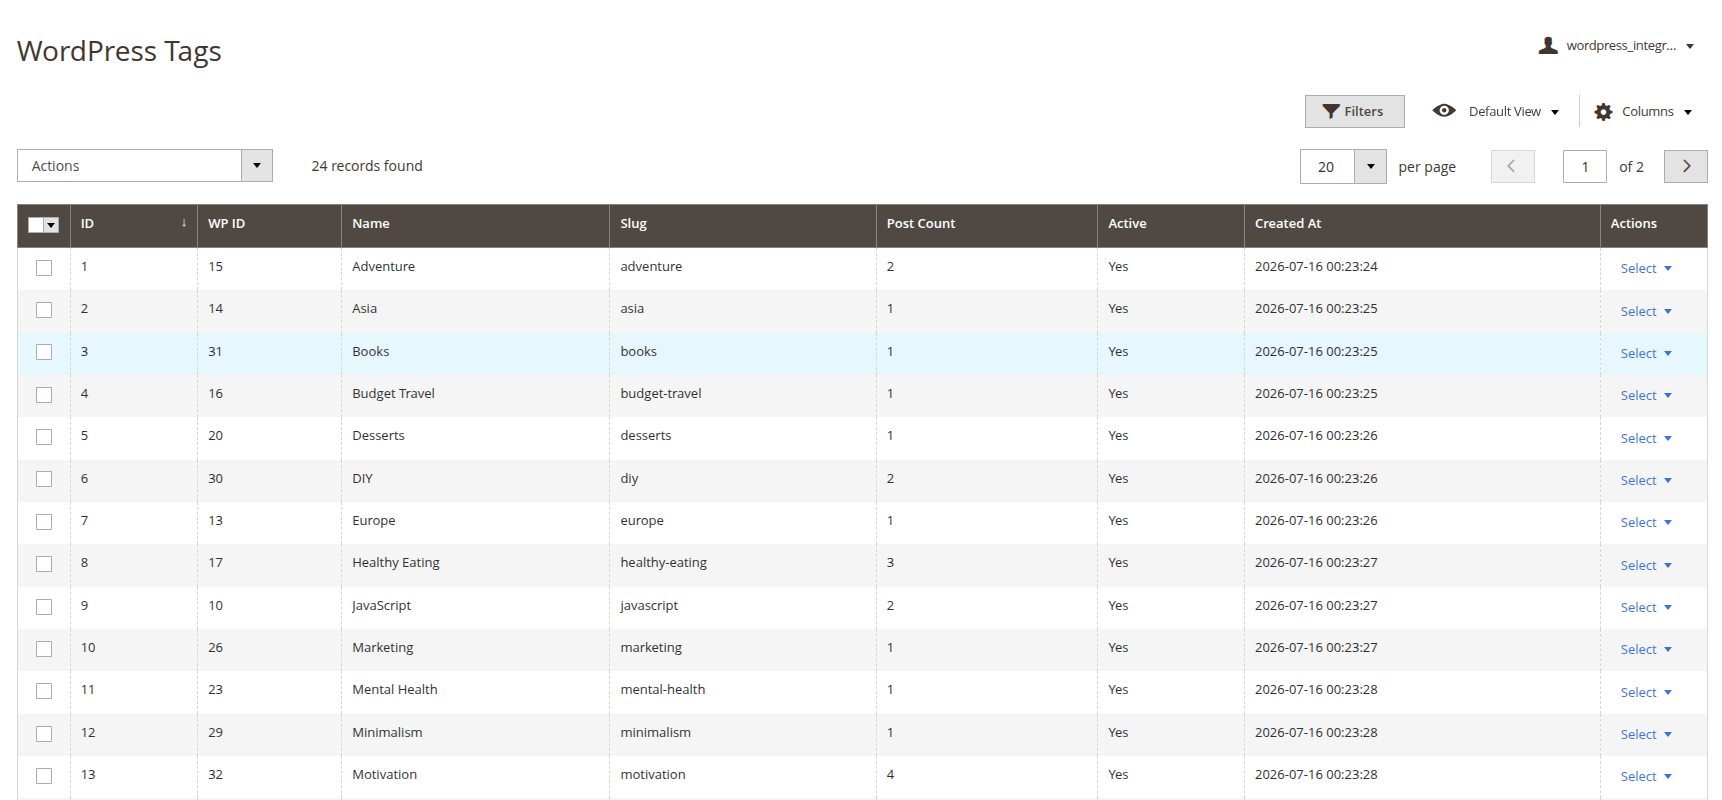
Navigate to WordPress > Categories or WordPress > Tags to manage blog taxonomy.
- Categories Grid: View, create, edit, or delete blog categories and post counts.
- Tags Grid: View and manage blog tag keywords.
Sync Queue & Log Monitoring
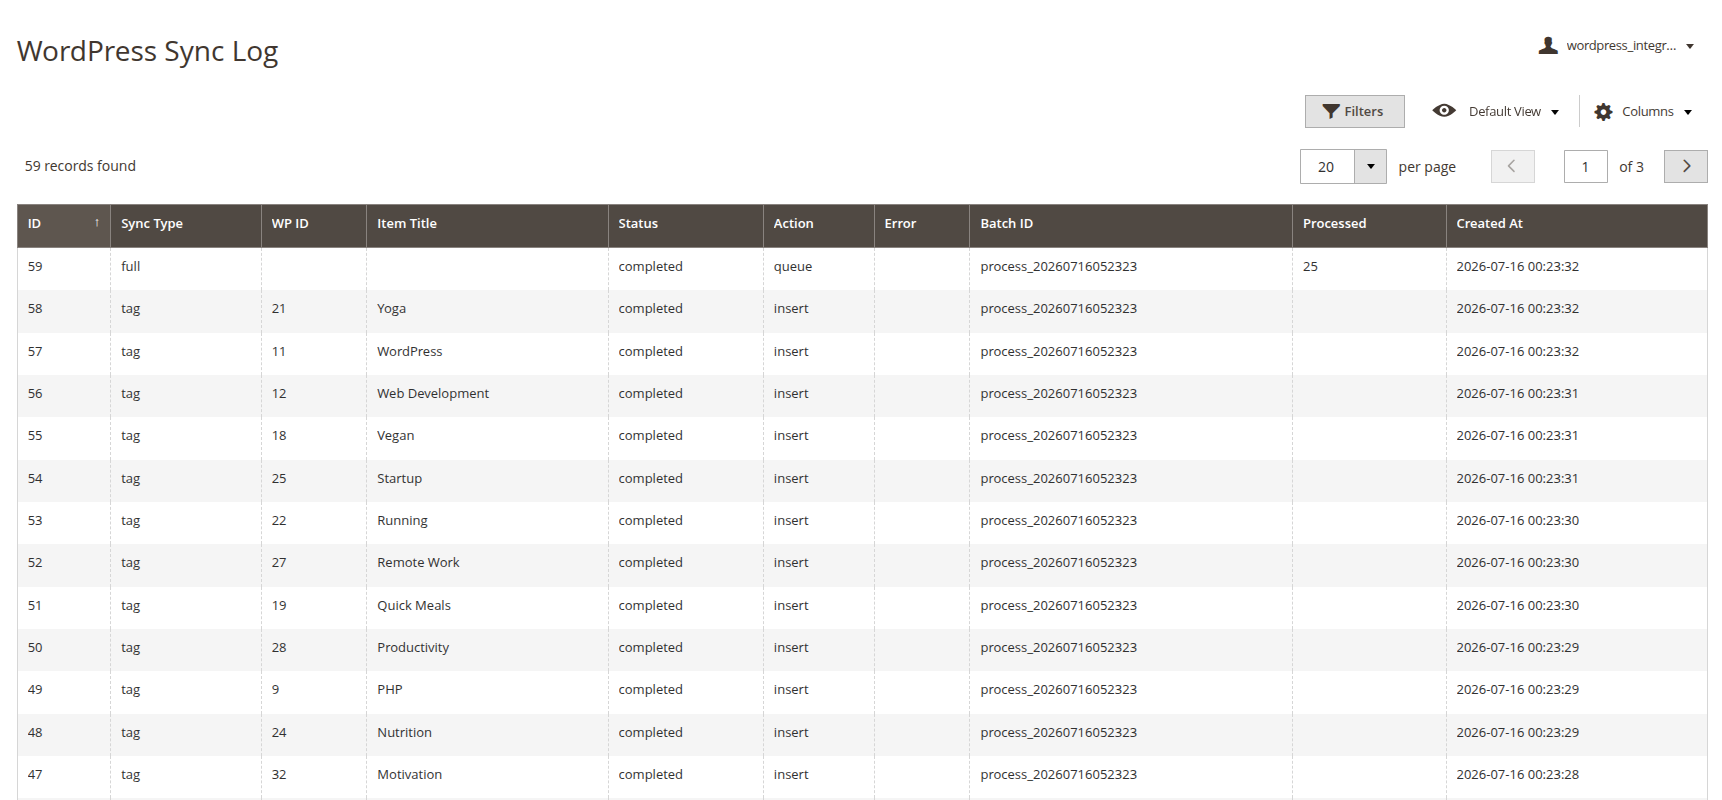
Navigate to WordPress > Sync Queue or WordPress > Sync Log to monitor API synchronization background tasks.
- Sync Queue Grid: Inspect pending, processing, completed, or failed queue items.
- Sync Log Grid: Review detailed synchronization logs, error messages, and API response timestamps.
Frontend
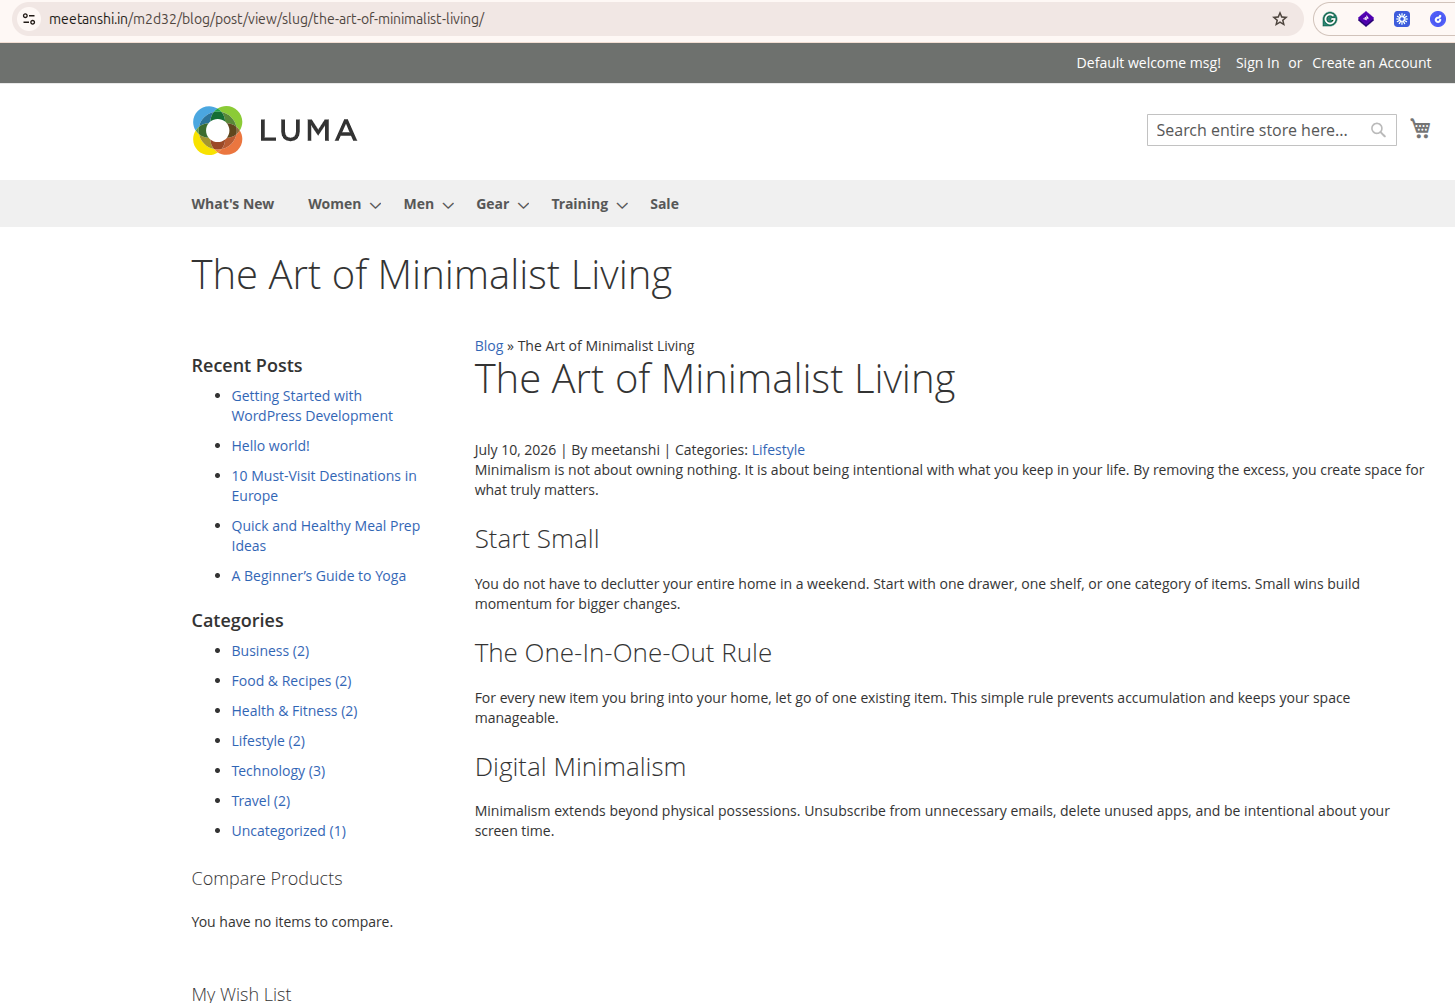
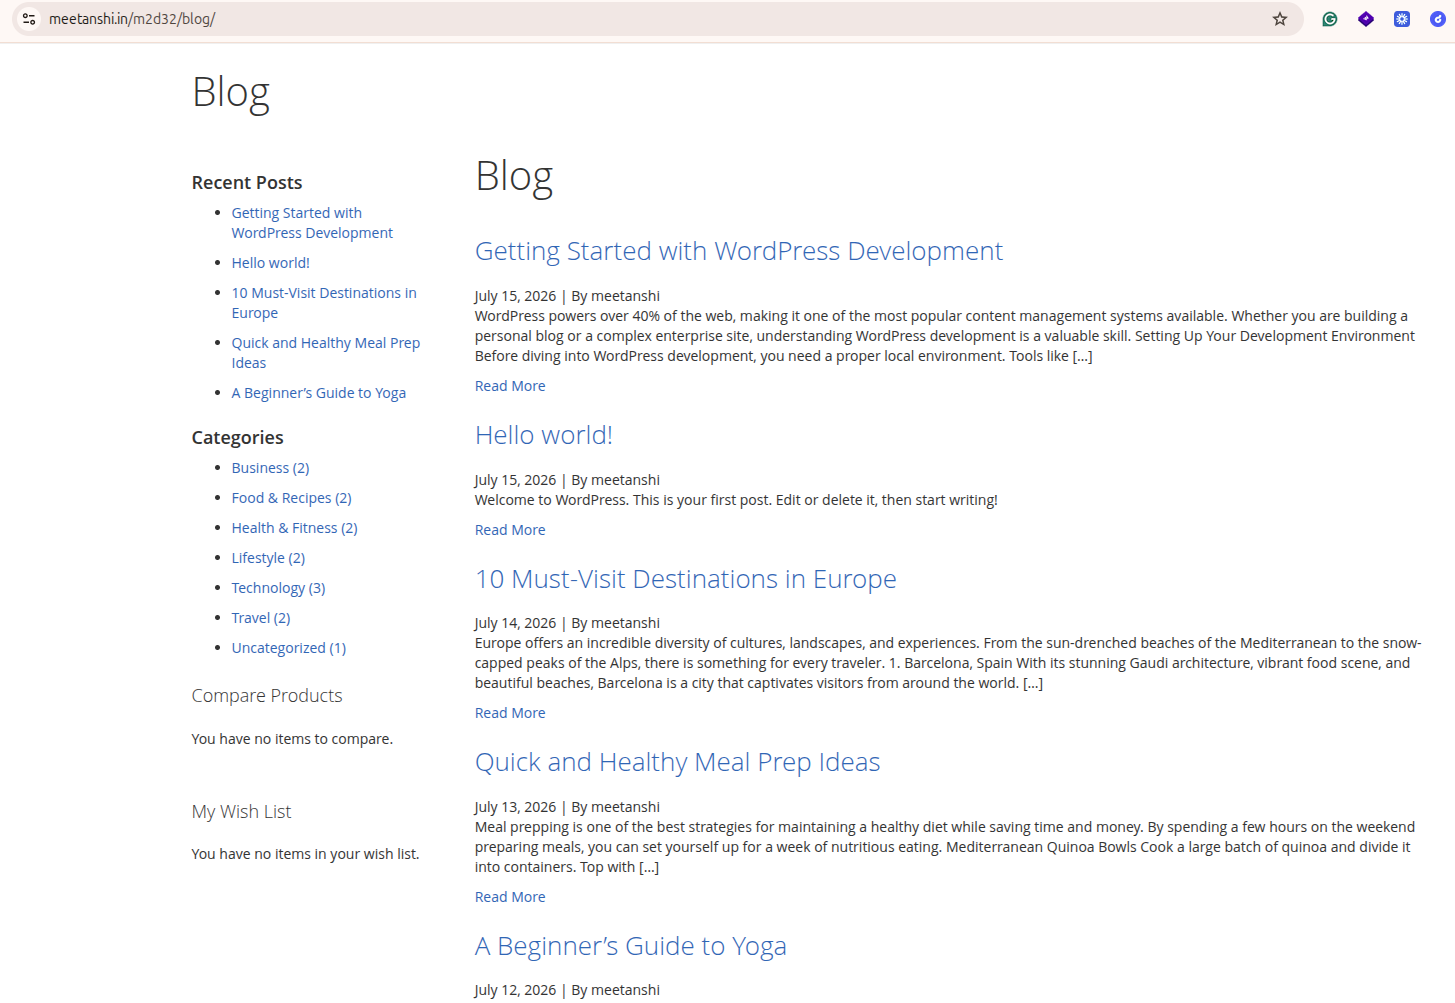
Below is the frontend showing WordPress blog content successfully pulled into the Magento 2 store.
Blog Page
Blog View Page