SQL Report Builder for Magento 2 - User Guide
Extension Installation
For Magento Marketplace Customers
- Find the Composer name and version of the extension in the extension's composer.json file.
- Log in to your SSH and run:
composer require meetanshi/magento-2-sql-report-builder
- Enter your authentication keys . Your public key is your username; your private key is your password.
- Wait for Composer to finish updating your project dependencies and make sure there aren't any errors.
- To verify that the extension installed properly, run the command:
php bin/magento module:status Meetanshi_SqlReport
- By default, the extension is probably disabled.
- Enable the extension and clear static view files:
php bin/magento module:enable Meetanshi_SqlReport --clear-static-content
php bin/magento setup:upgrade
For Magento version 2.0.x to 2.1.x -
php bin/magento setup:static-content:deploy
For Magento version 2.2.x & above -
php bin/magento setup:static-content:deploy --f
php bin/magento cache:flush
For Meetanshi Customers
- Extract the zip folder and upload our extension to the root of your Magento 2 directory via FTP.
- Login to your SSH and run below commands step by step:
php bin/magento setup:upgrade
For Magento version 2.0.x to 2.1.x -
php bin/magento setup:static-content:deploy
For Magento version 2.2.x & above -
php bin/magento setup:static-content:deploy --f
php bin/magento cache:flush
Manage SQL Report
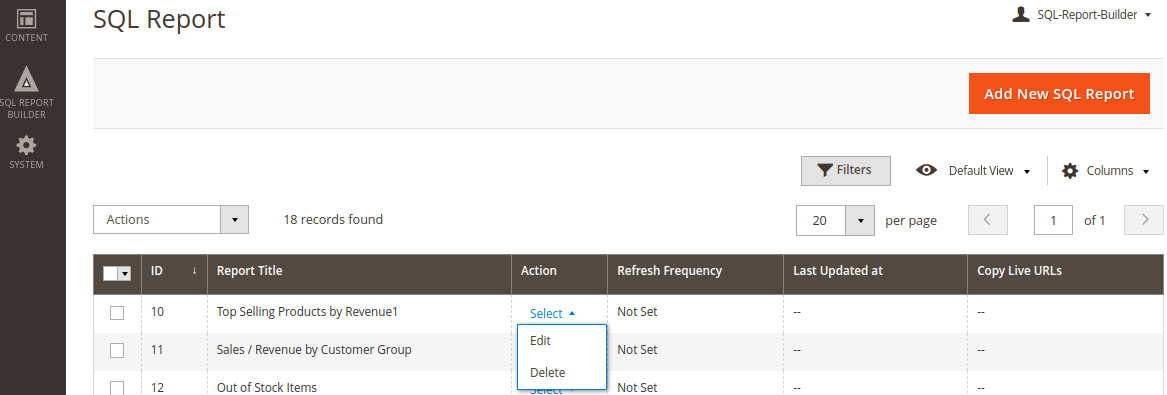
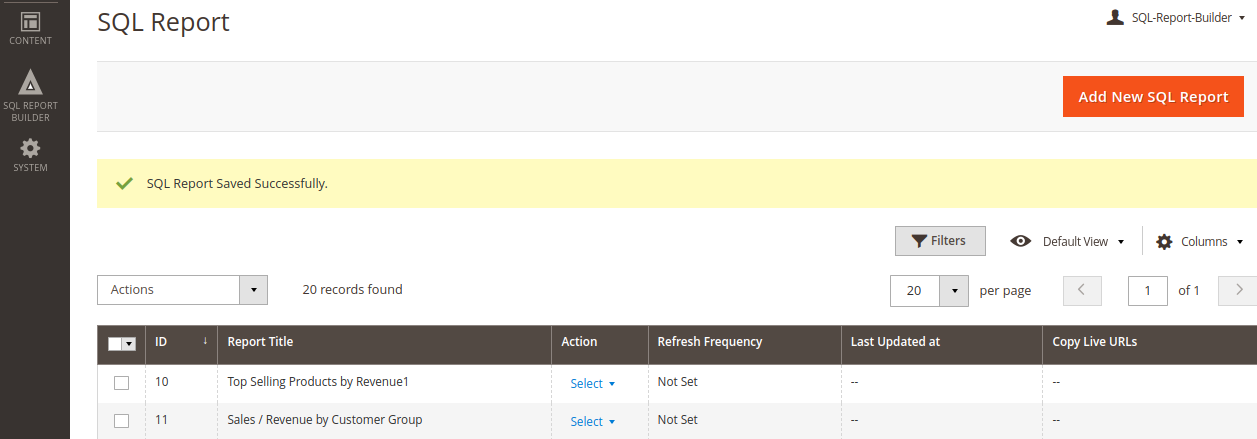
Go to SQL Report Builder > Manage SQL Reports, where you can manage all the saved SQL reports. The grid displays all the saved report titles along with their refresh frequency, last updated date, and live URLs. You can edit or delete them through the action options.
Create a New SQL Report
To add a new SQL report in SQL Report Builder for Magento 2, click on the Add New SQL Report button from the Manage SQL Reports grid.
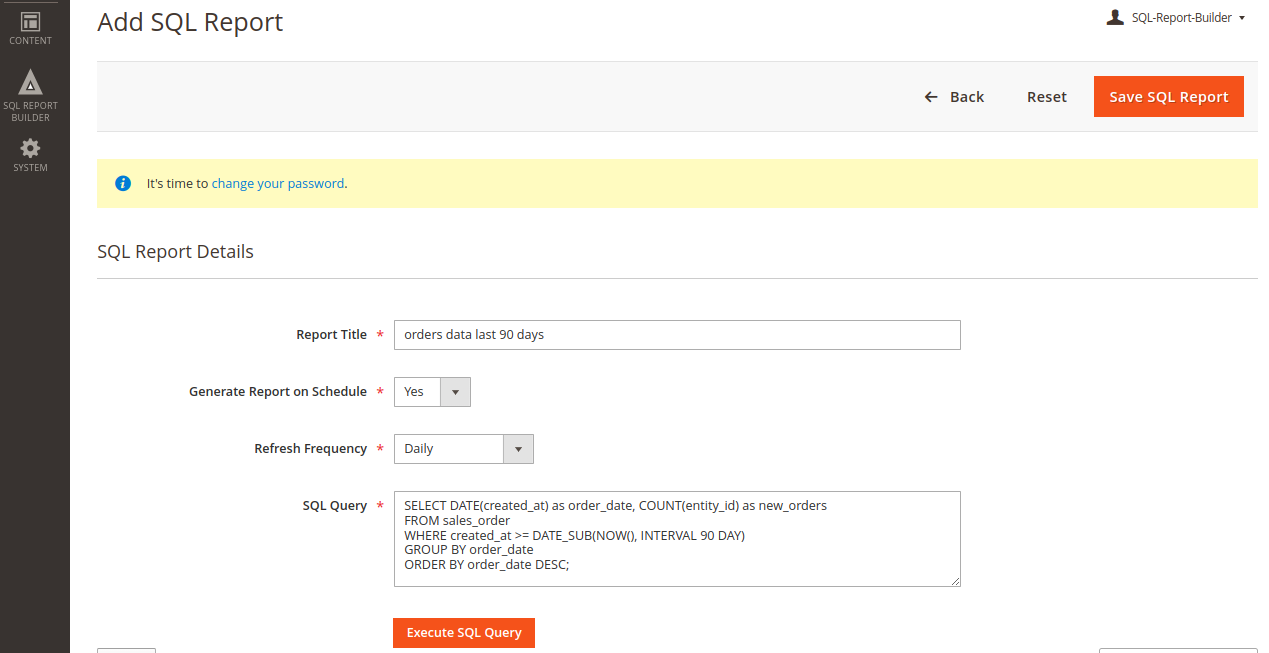
Enter the following details:
- Report Title: Enter the title for the SQL Report
- Generate Report on Schedule: Enable automatic generation of your custom SQL reports at regular intervals
- Refresh Frequency: Choose how often the system should regenerate the report [daily, weekly, monthly, etc]
- SQL Query: Enter a custom SQL query that you want to execute to generate the required report
Click the Execute SQL Query button to generate the report.
The extension will run the query, fetch the data, and display the results in the grid.
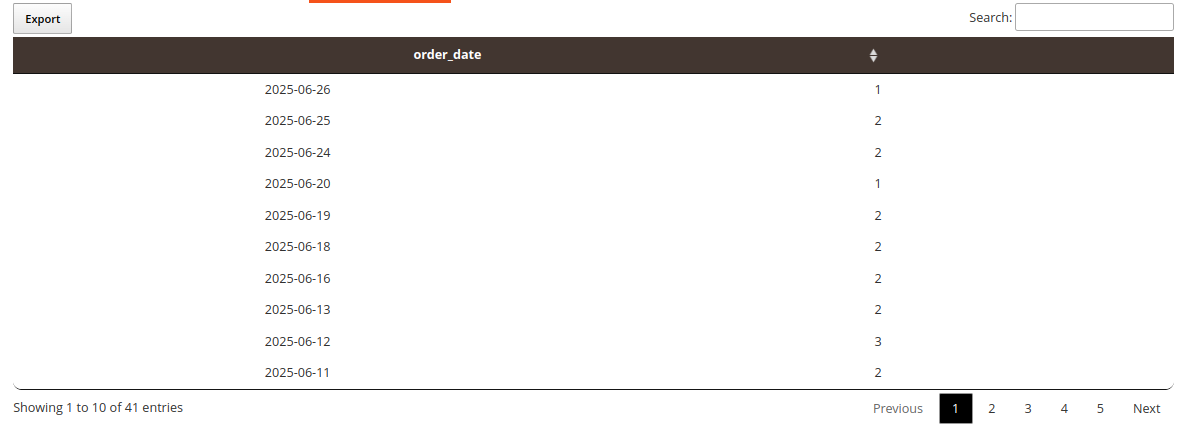
You can also export the report to a CSV file.
If you need this report regularly, you can click the Save SQL Report button on the top-right corner to access the report in the future. Once the report is successfully saved, it is added to the list of the SQL reports, which can be used later.
For reports with schedule option enabled, you’ll get CSV and JSON URL in the dashboard. You can use it to fetch the report data outside the Magento platform. These URLs automatically update their content based on the refresh frequency you have configured.

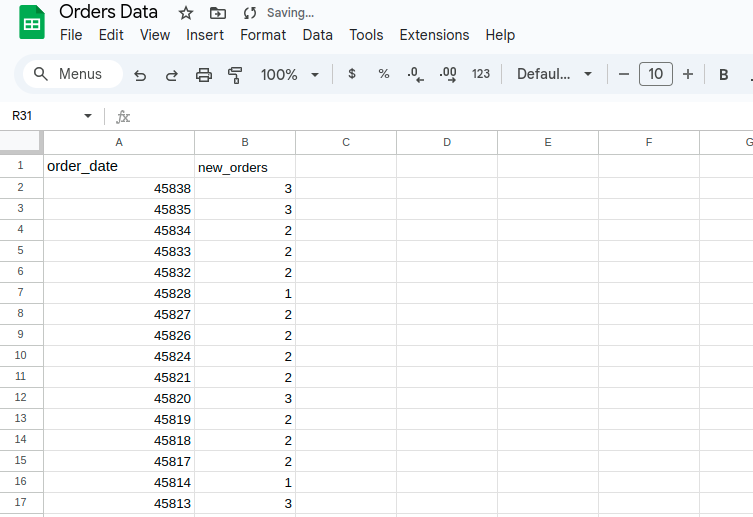
For example, you can use the CSV URL to import the data from Magento 2 to Google Sheets using =IMPORTDATA() function.
In a cell enter the formula in following manner:
=IMPORTDATA("https://your-magento-site.com/path/to/data.csv")
Replace the URL with the actual link to your CSV file, and you will see the exported result.