Google reCAPTCHA for Magento 2 - User Guide
Extension Installation
- Extract the zip folder and upload our extension to the root of your Magento 2 directory via FTP.
- Login to your SSH and run below commands step by step:
php bin/magento setup:upgrade
- For Magento version 2.0.x to 2.1.x -
php bin/magento setup:static-content:deploy
- For Magento version 2.2.x & above -
php bin/magento setup:static-content:deploy --f
php bin/magento cache:flush
- That's it.
Registration for Site & Secret Key
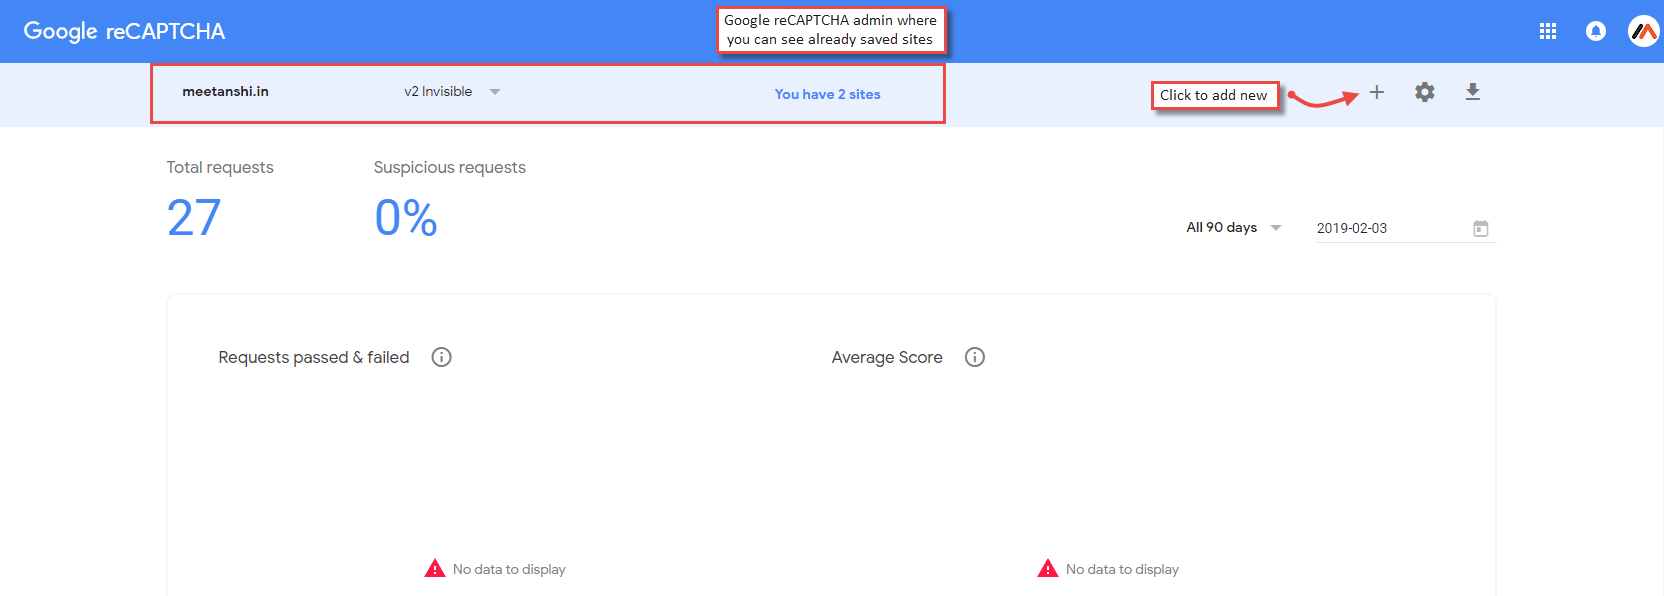
To use Google reCAPTCHA v3, you have to register your domain with Google and get a site key and secret key. Simply visit https://www.google.com/recaptcha/admin/
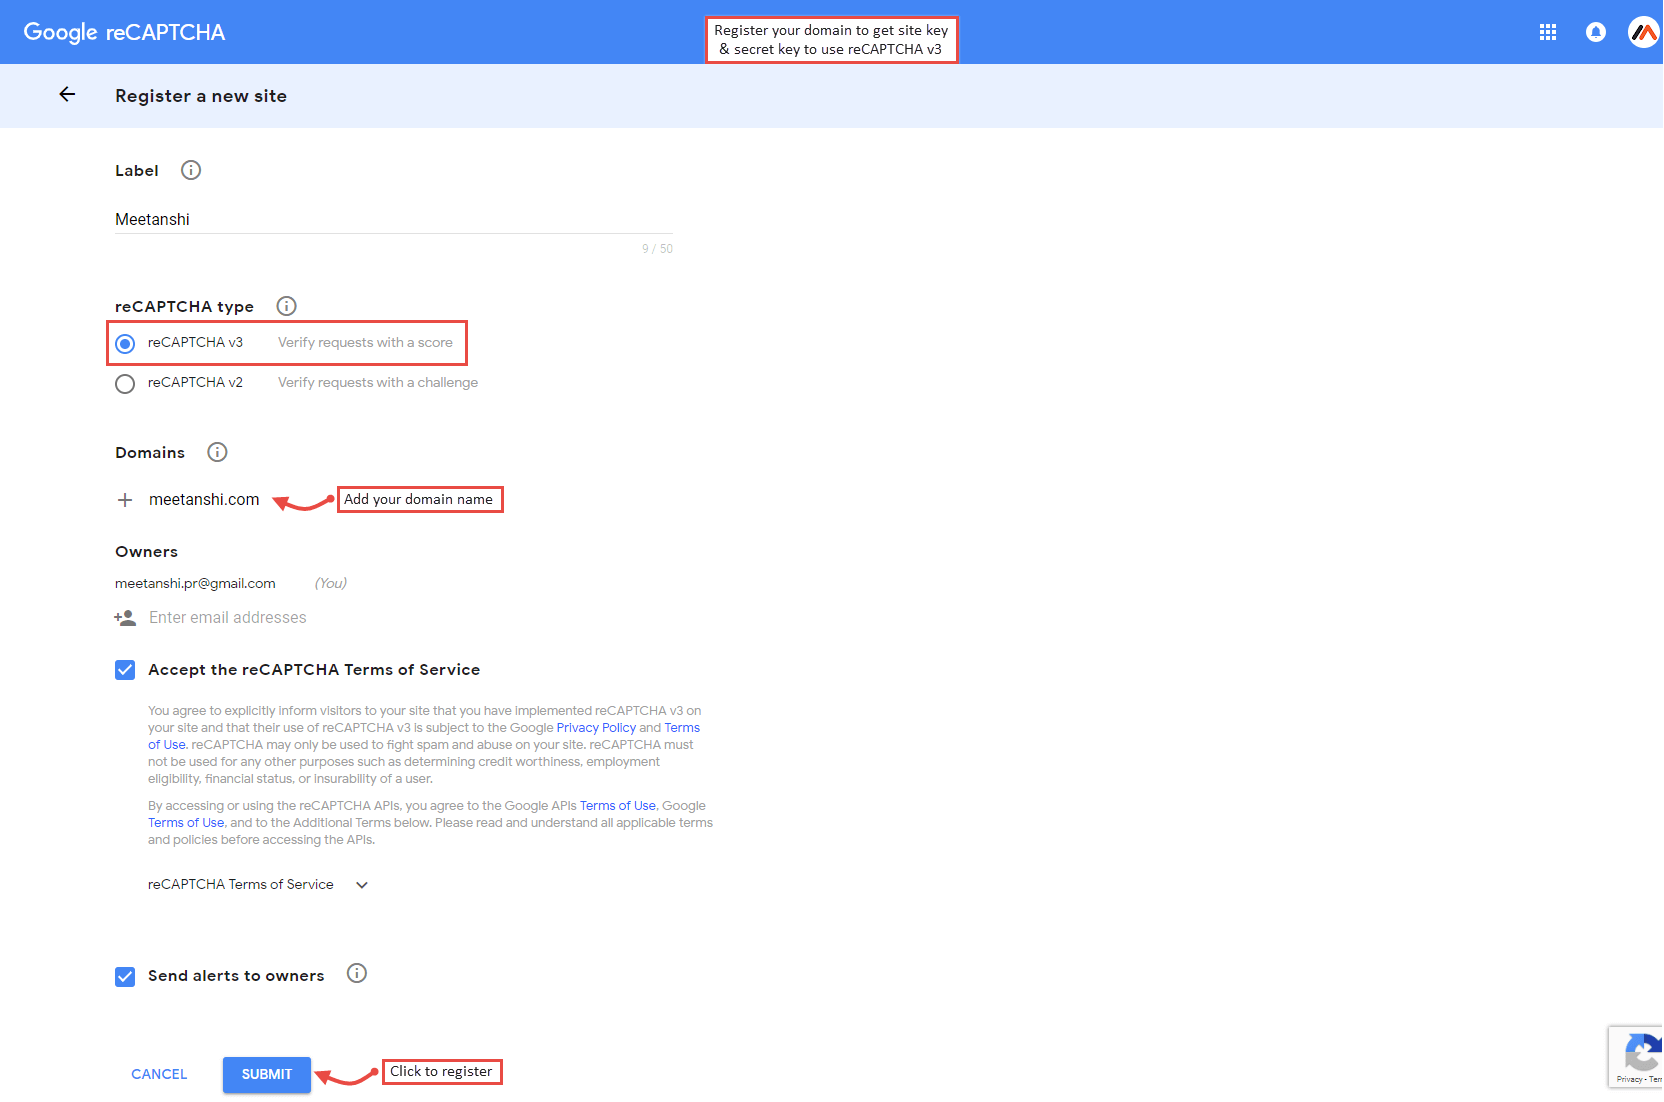
- Click " + " to add new site, select " reCAPTCHA v3 ", add domain, accept the terms and click Submit to get the site key and secret key.
Configuration
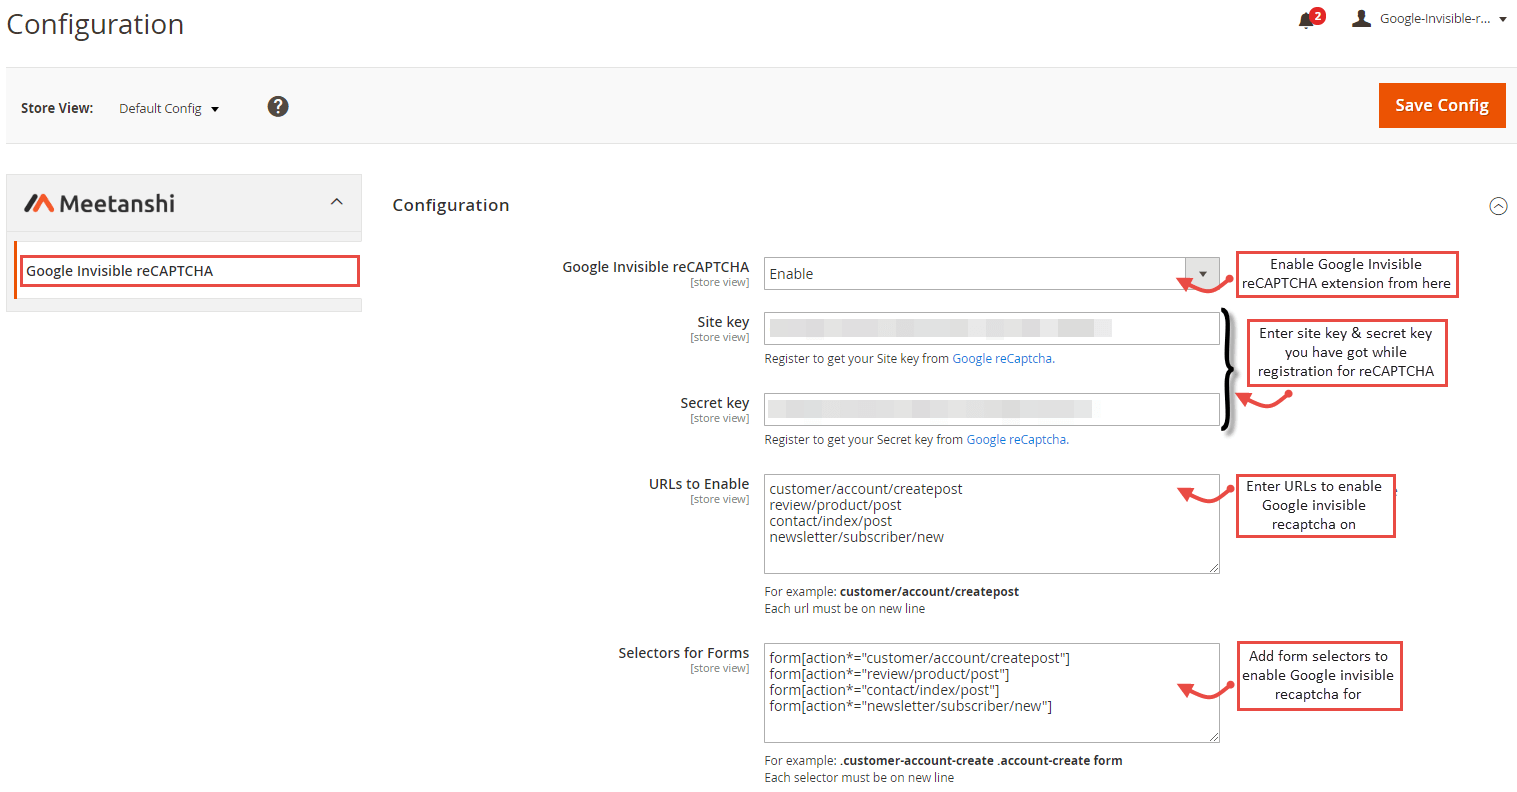
Once you have got site key & secret key, login to Magento 2, move to Stores > Configuration > Google Invisible reCAPTCHA where you can find various settings to enable the extension.
- Google Invisible reCAPTCHA: Enable or disable the extension from here.
- Site Key: Enter the site key you have got while registering for reCAPTCHA v3.
- Secret Key: Enter the secret key you have got while registering for reCAPTCHA v3.
- URLs to Enable: Enter the URLs to enable Google Invisible reCAPTCHA on.
- Selectors for Forms: Add form selectors to enable Google Invisible reCAPTCHA on.
Google Invisible reCAPTCHA in Frontend
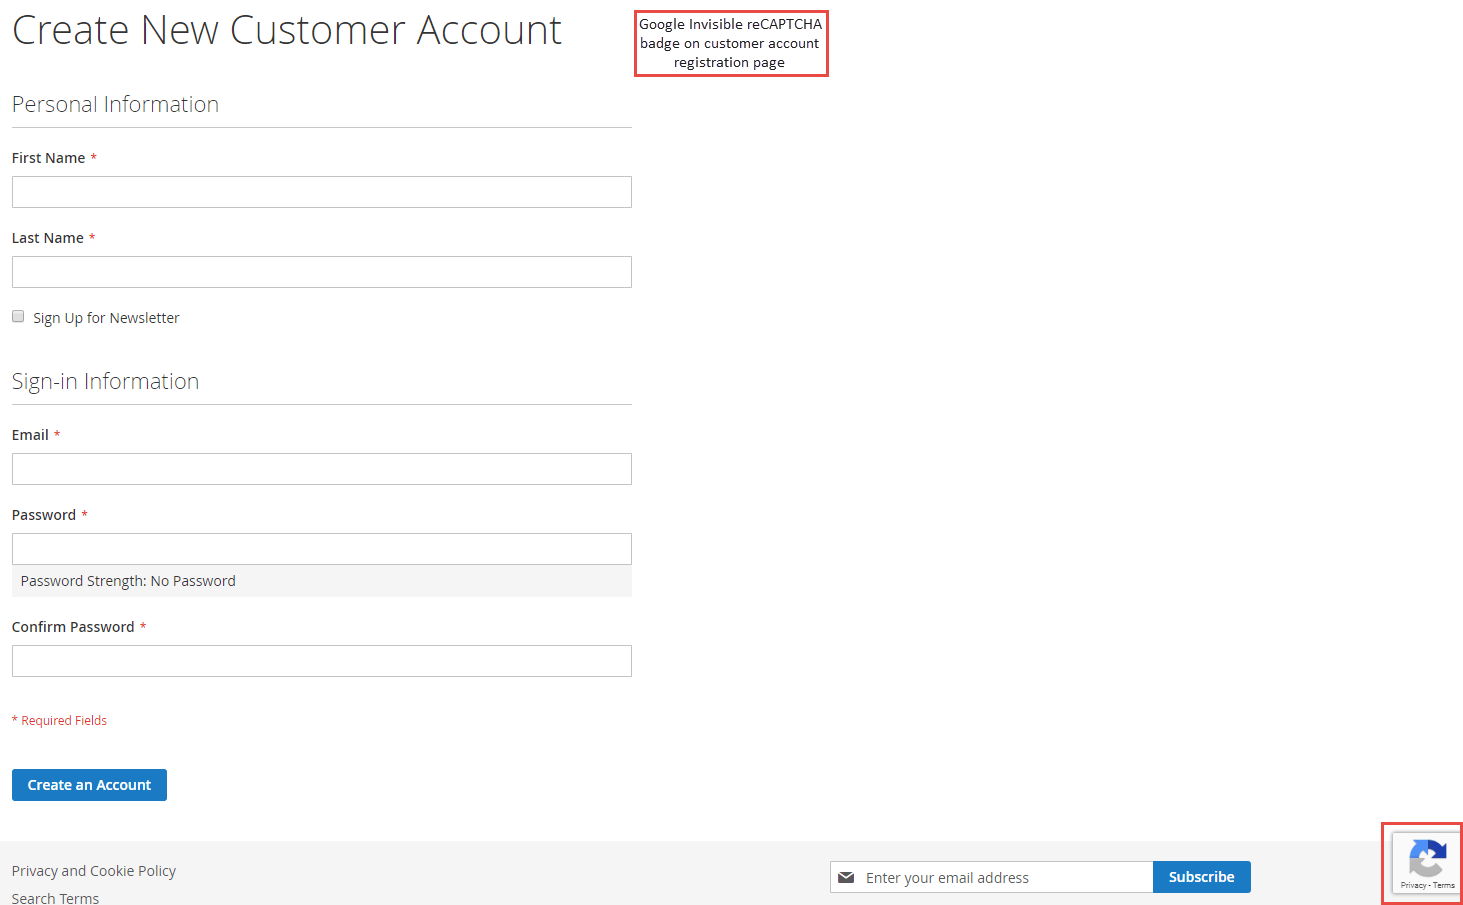
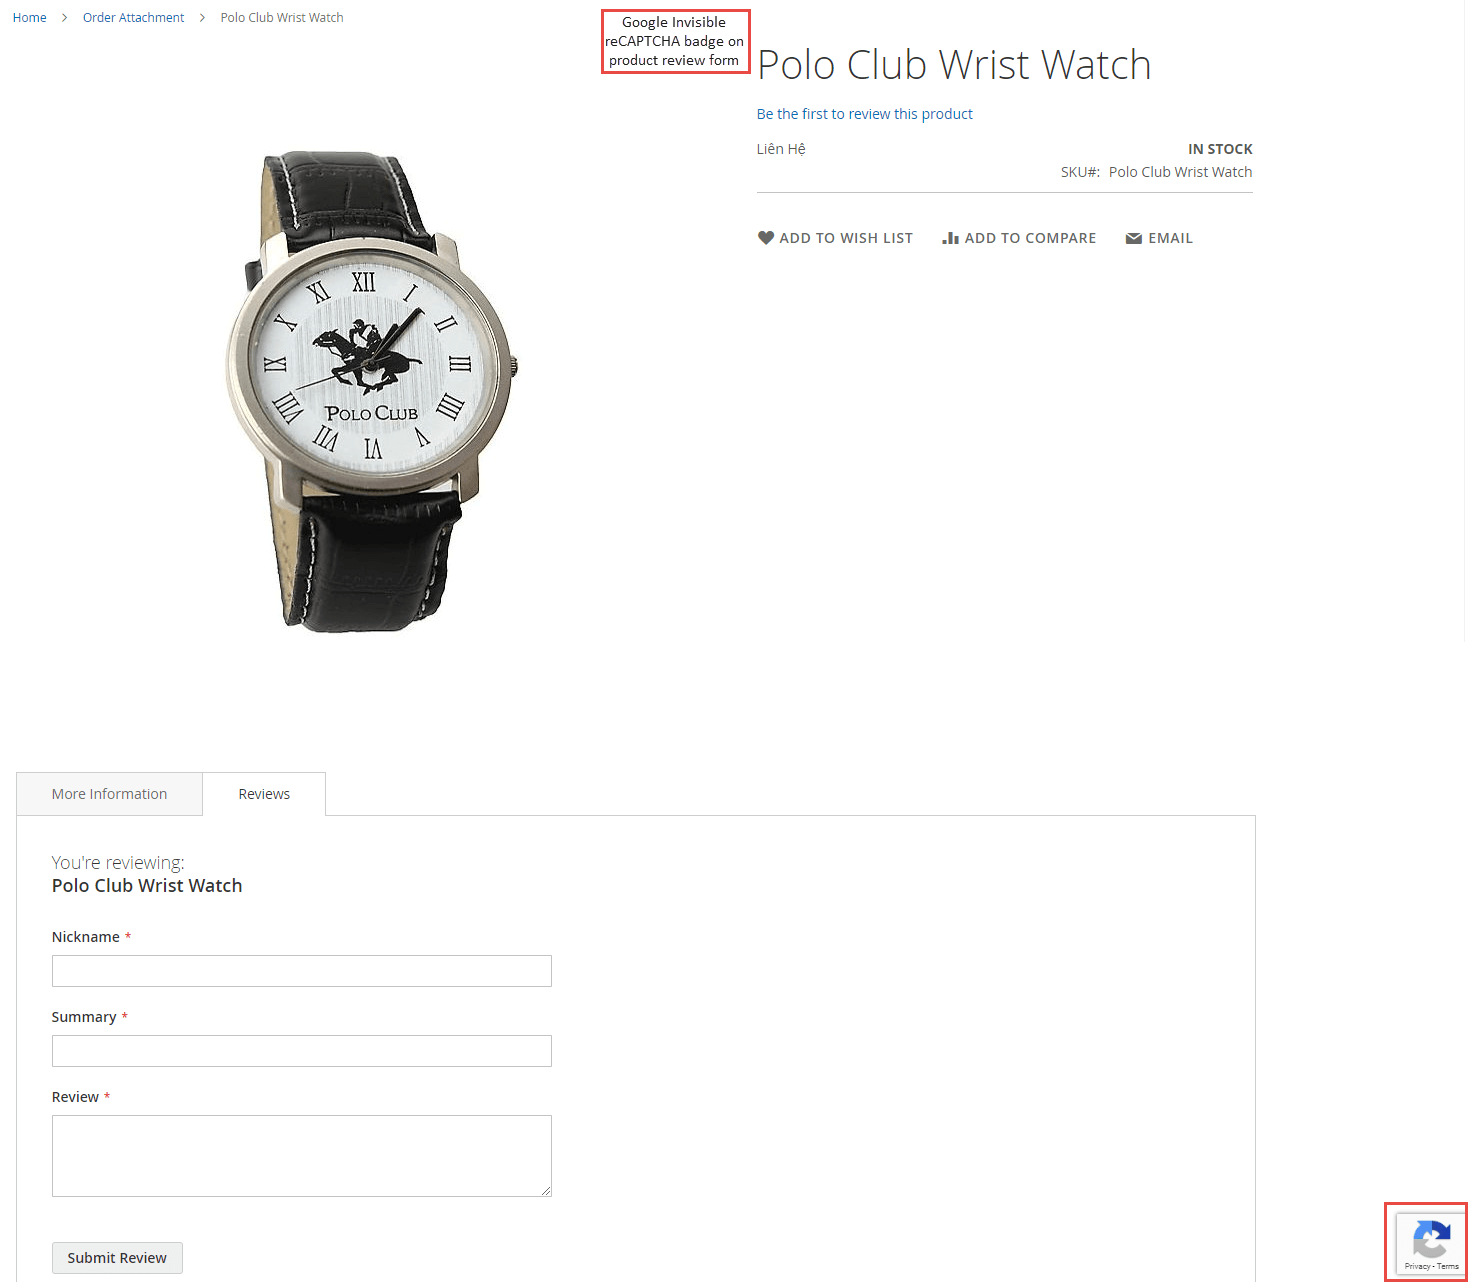
Once you have configured the Google reCAPTCHA for Magento 2 extension successfully, you can see the reCAPTCHA badge enabled on all the pages and forms you have set from backend.
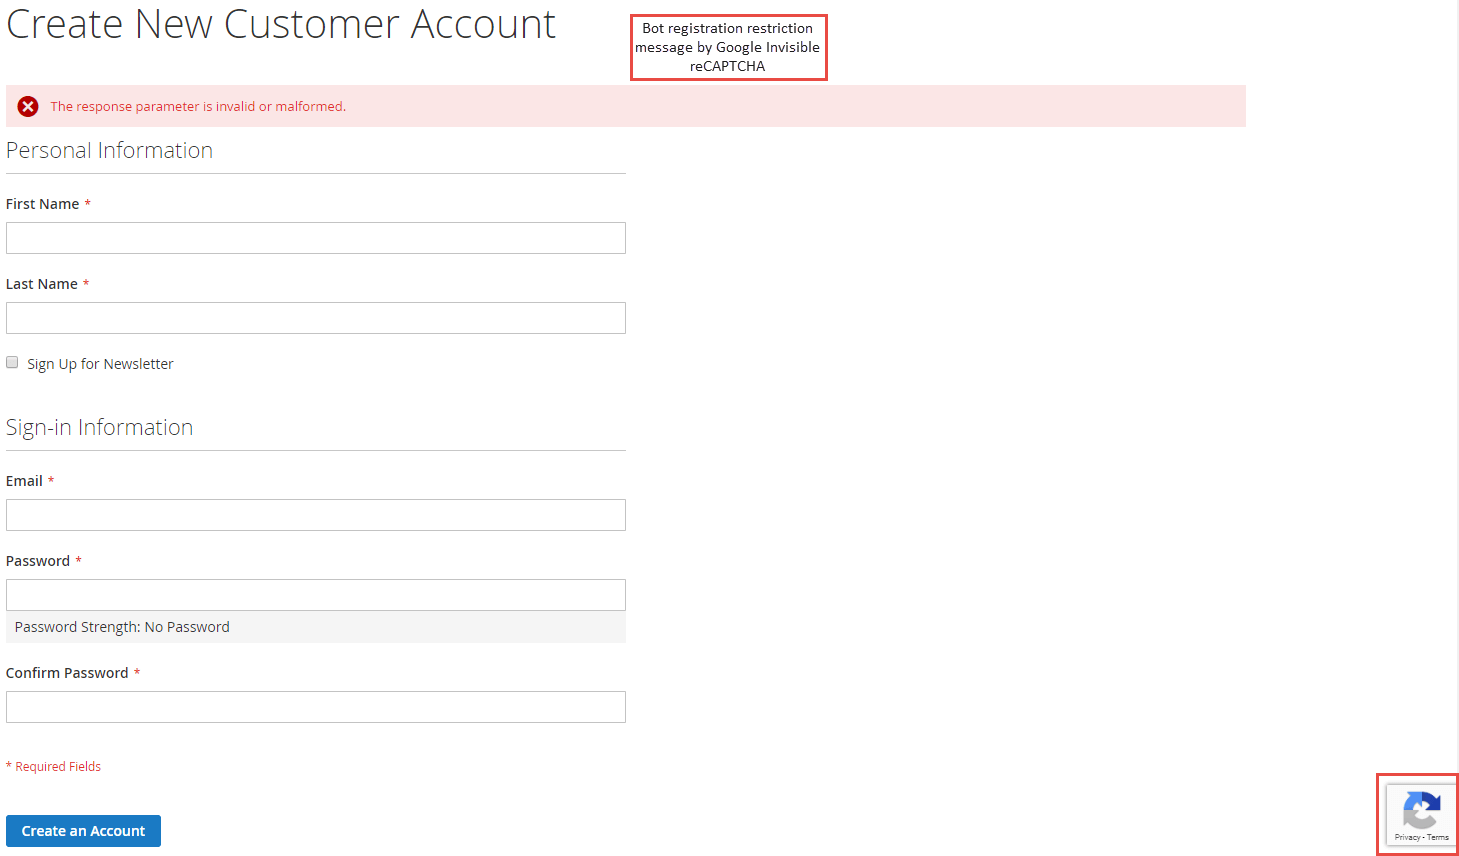
- Invisible reCAPTCHA on Customer Registration Page
- Invisible reCAPTCHA on Product Review Page
- Invisible reCAPTCHA on Contact Us Page

- Bot Registration Restriction Message