PhonePe Payment Gateway for Magento 2 - User Guide
Extension Installation
- Extract the zip folder and upload our extension to the root of your Magento 2 directory via FTP.
- Login to your SSH and run below commands step by step:
php bin/magento setup:upgradephp bin/magento setup:static-content:deploy -fphp bin/magento cache:flush
How to Get PhonePe API Credentials
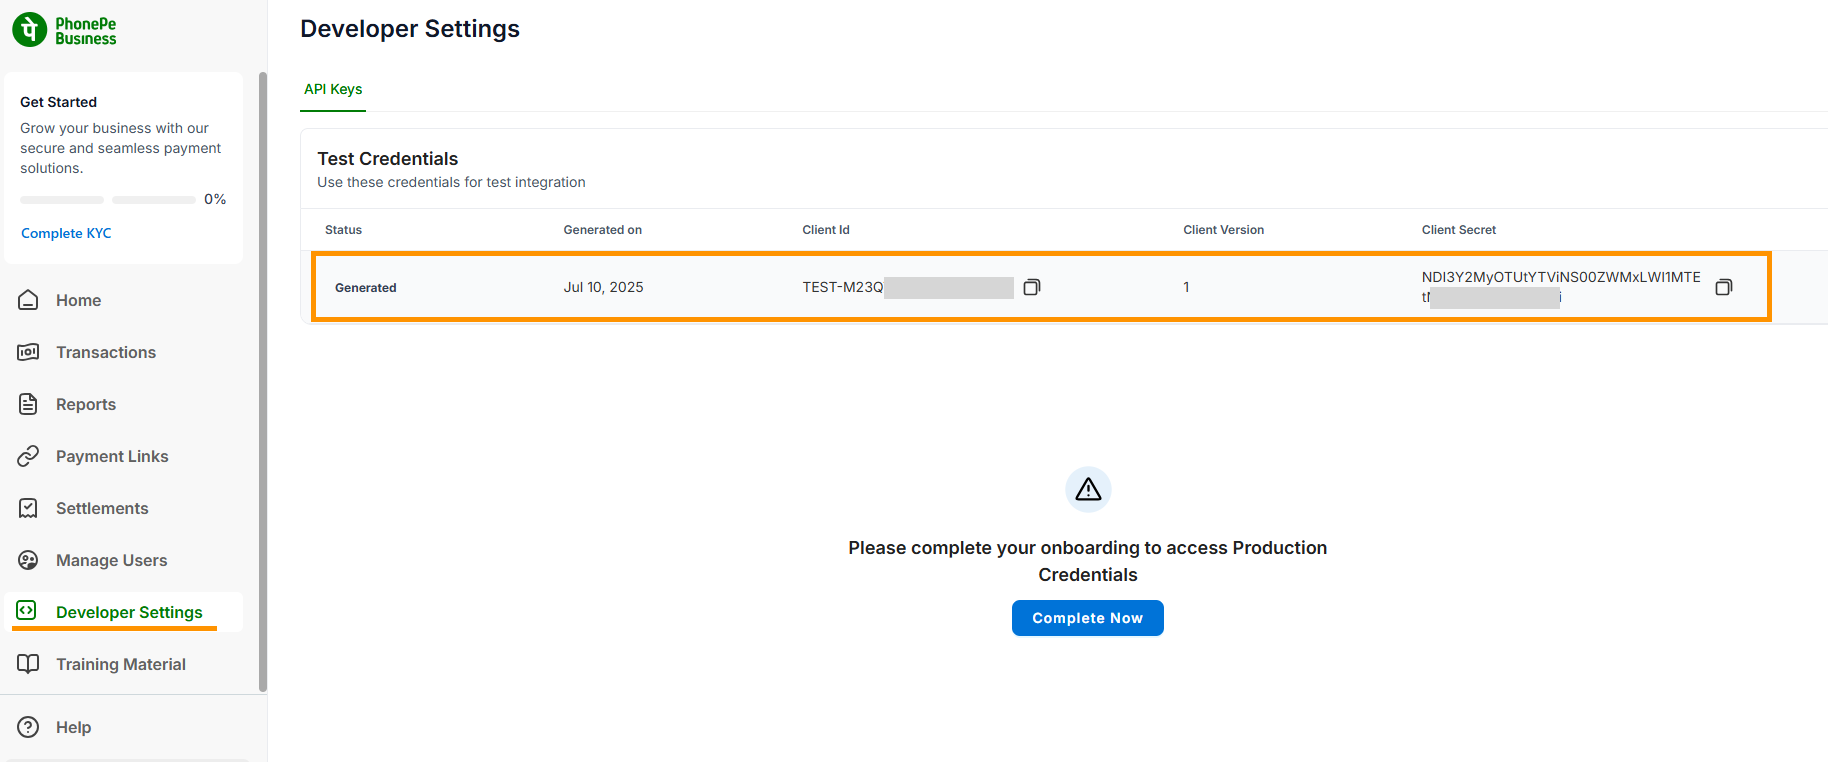
Before configuring the extension, you need to obtain your API keys from the PhonePe Business account.
- Log in to your PhonePe Business account.
- Navigate to the Developer Settings section.
- Under API Keys, you will find your Client ID, Client Secret, and Client Version for integration.
- Use these credentials in the Magento 2 admin configuration.
Configuration
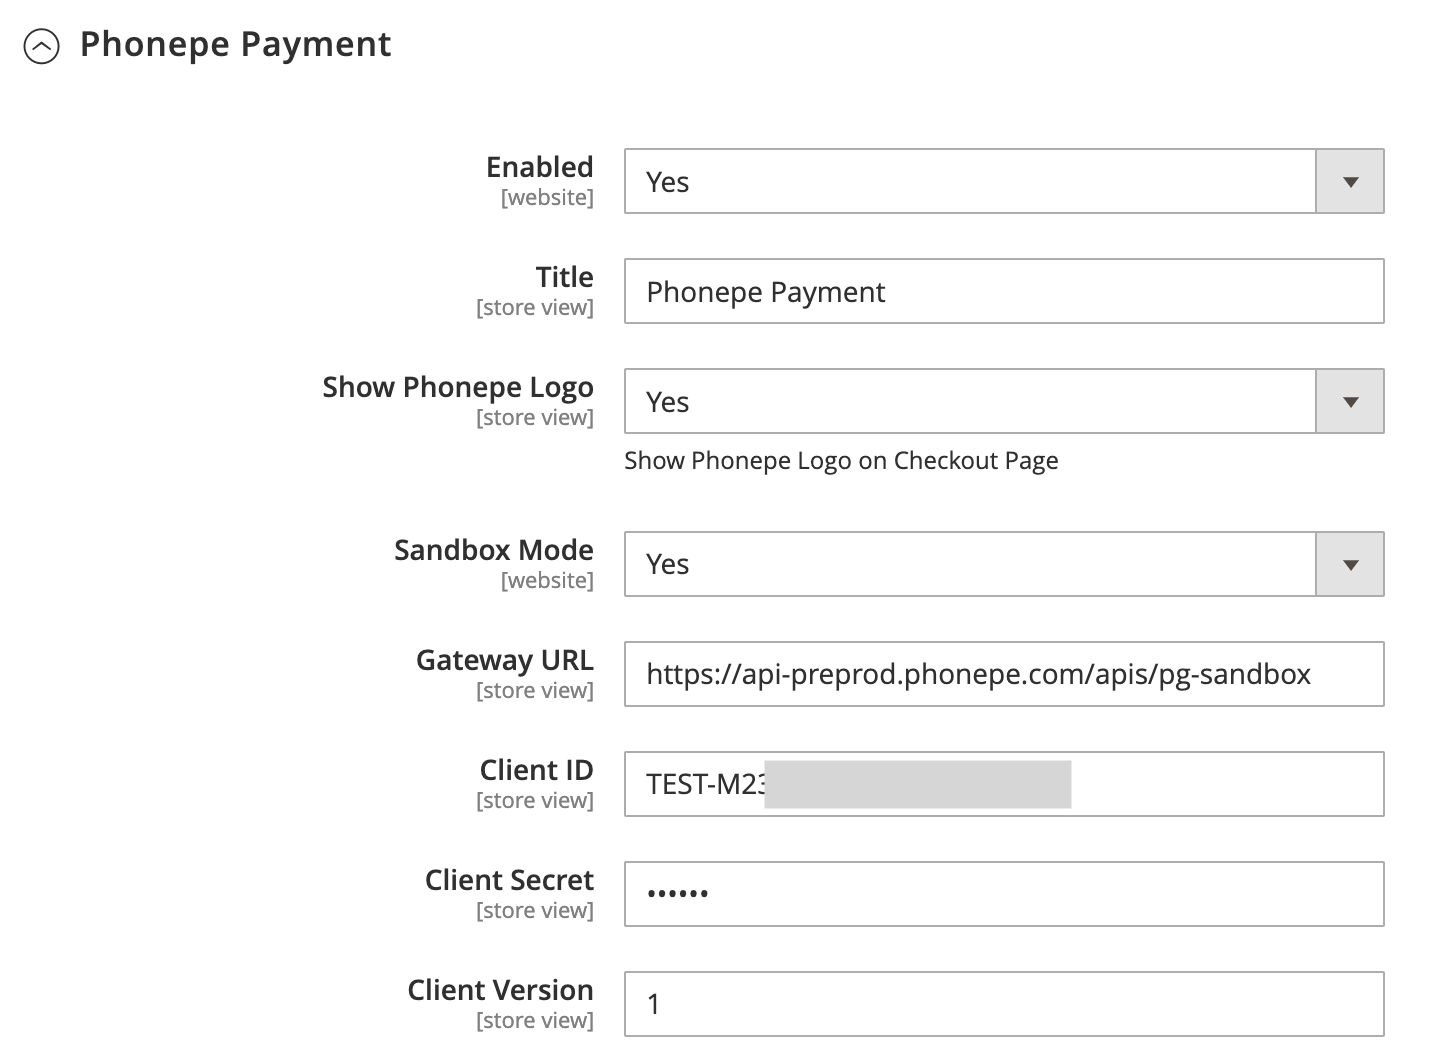
To configure the PhonePe Payment Gateway for Magento 2 extension, log in to the Magento 2 Admin panel, and go to Stores > Configuration > Sales > Payment Methods > PhonePe Payment.
- Enabled: Set to 'Yes' to enable the PhonePe payment method.
- Title: Enter the title for the payment method that will be displayed on the checkout page.
- Show Phonepe Logo: Set to 'Yes' to display the PhonePe logo next to the payment method title on the checkout page.
- Sandbox Mode: Set to 'Yes' to use the extension in a testing environment. Select 'No' for the live environment.
- Gateway URL: This URL is pre-filled for the sandbox environment. For production, use the live Gateway URL provided by PhonePe.
- Client ID: Enter the Client ID obtained from your PhonePe Business dashboard.
- Client Secret: Enter the Client Secret obtained from your PhonePe Business dashboard.
- Client Version: Enter the Client Version, typically '1', as provided by PhonePe.
- Allow Auto Invoice: Set to 'Yes' to automatically generate an invoice in Magento 2 after the payment is successfully completed.
- Payment from Applicable Countries: Select 'All Allowed Countries' or 'Specific Countries' to control the availability of this payment method.
- Payment from Specific Countries: If you selected 'Specific Countries', choose the countries from this list where you want to offer PhonePe payments.
- Additional Information: Enter any instructions or messages to be displayed to the customer on the checkout page.
- Debug: Set to 'Yes' to enable debug mode, which will log API interactions for troubleshooting purposes.
- Sort Order: Enter a number to determine the position of this payment method in the list of available payment options on the checkout page.

PhonePe Payment Flow in Frontend
- Step 1: Select PhonePe at Checkout On the checkout page, the customer will see "PhonePe Payment" as a payment option. After selecting it, they can click "Continue to Payment".
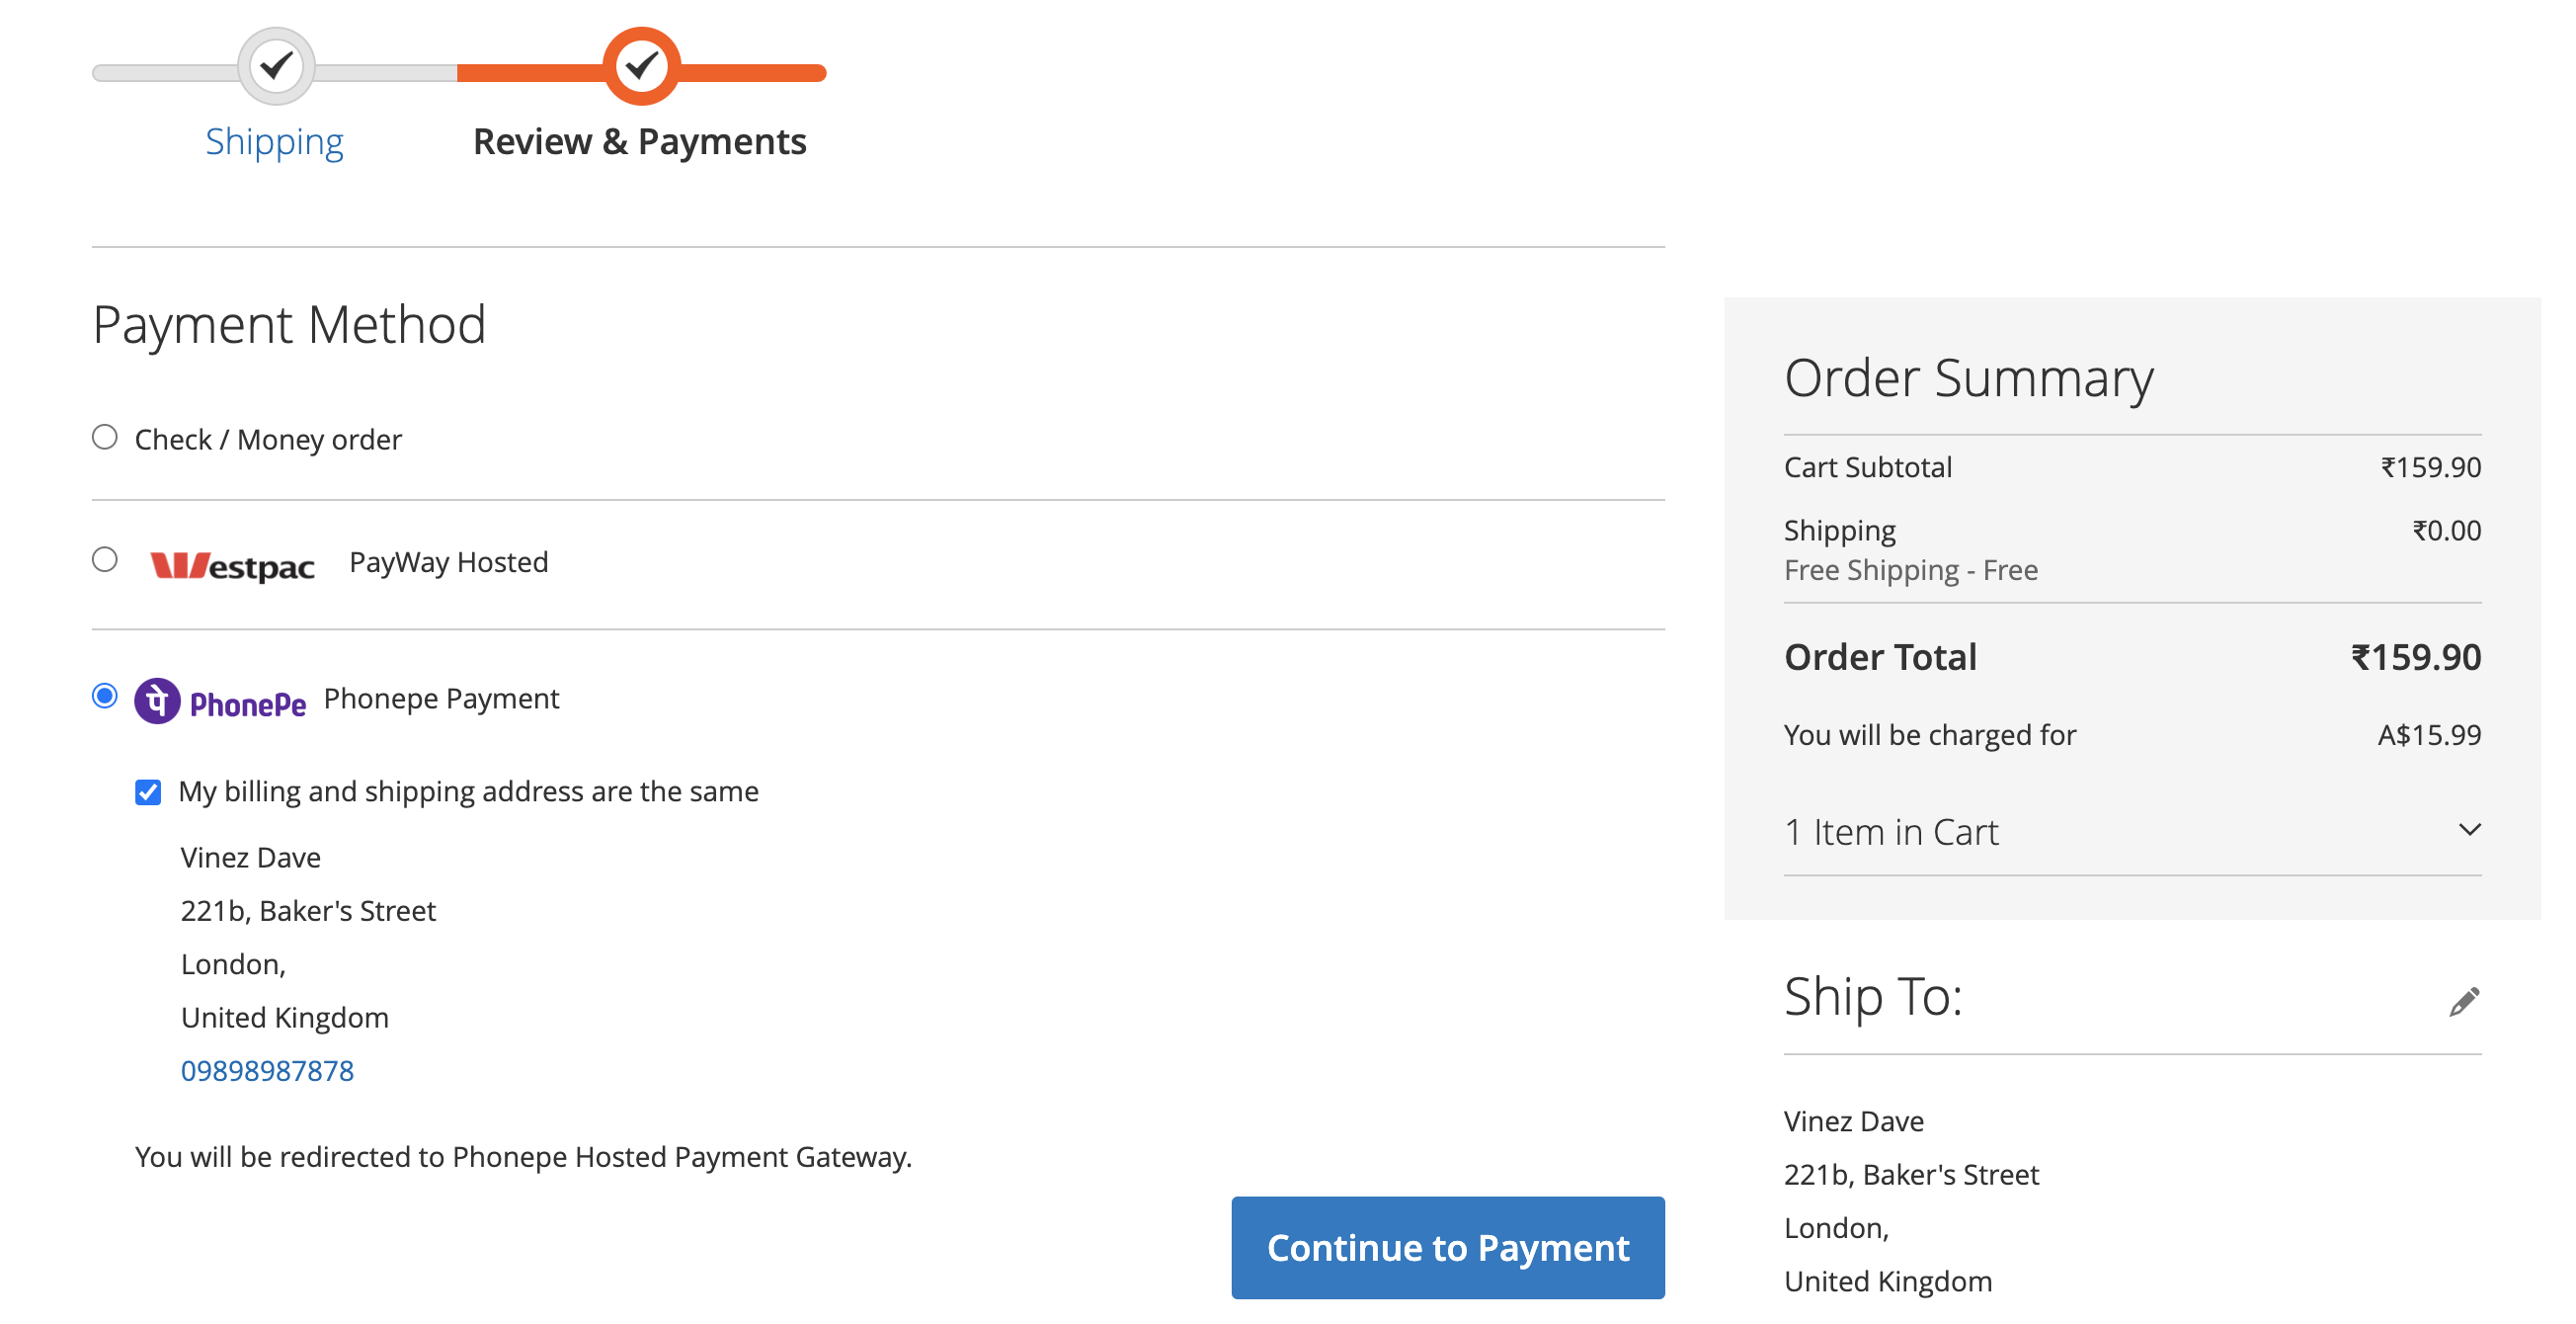
- Step 2: Redirect to PhonePe Hosted Payment Page The customer is securely redirected to the PhonePe hosted payment page. Here, they can choose to pay using a QR code, UPI ID, Card, or Net Banking.

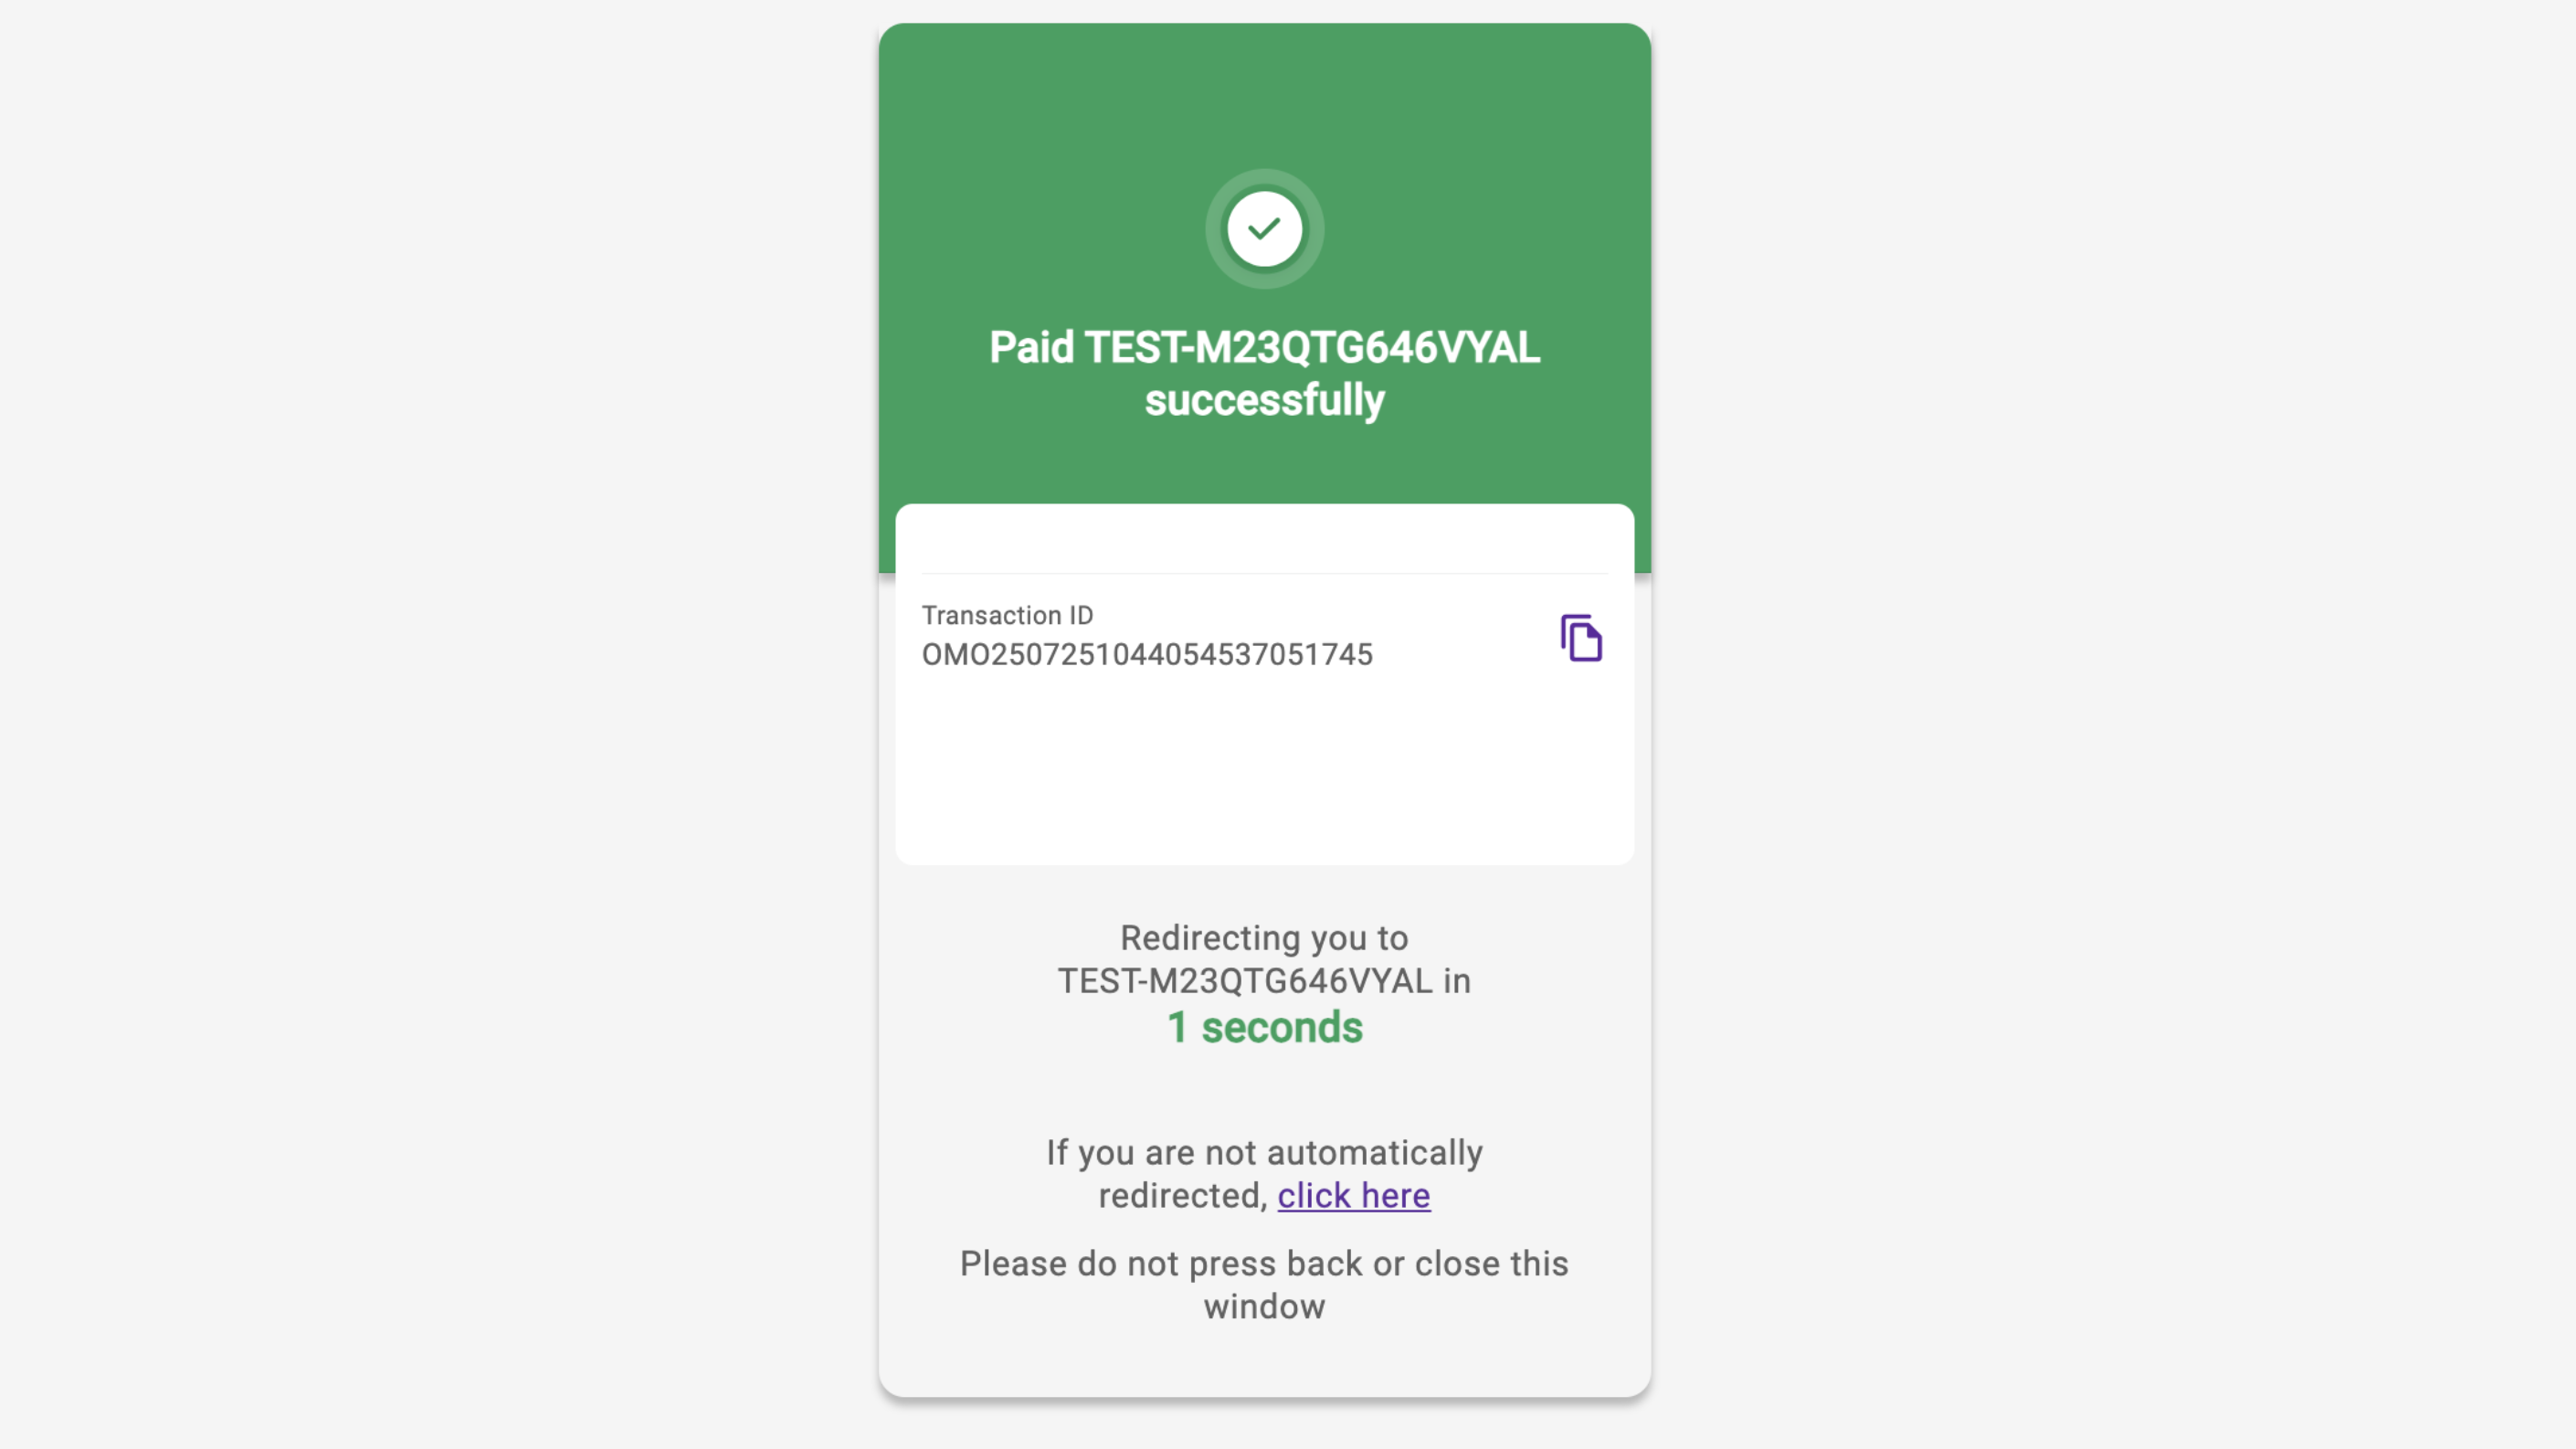
- Step 3: Complete Payment and Redirect Back After the payment is successfully processed on the PhonePe page, a success message is displayed, and the customer is automatically redirected back to the store's order success page.
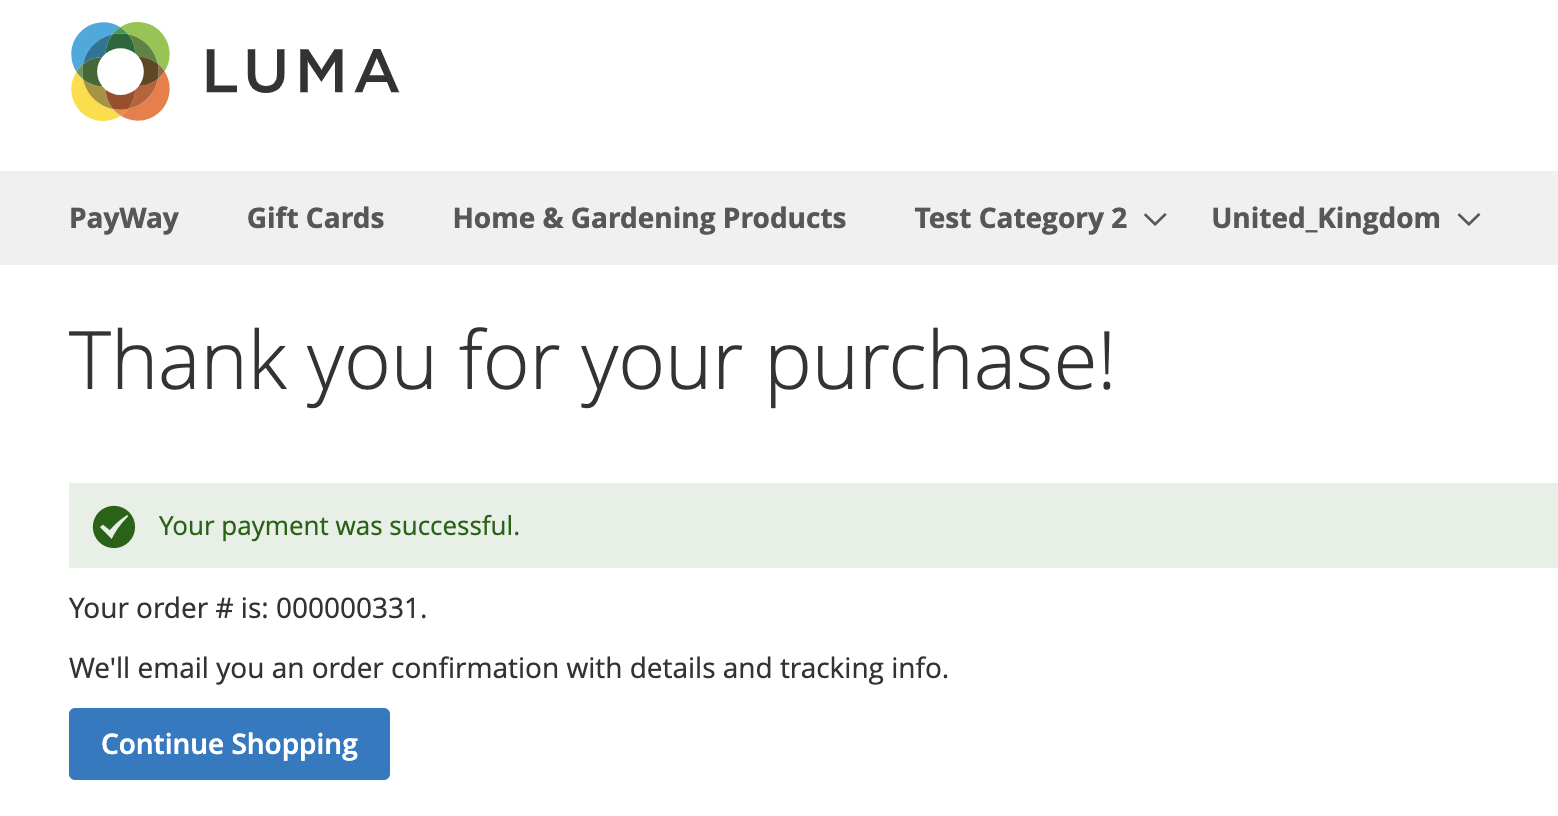
- Step 4: Order Confirmation in Magento Upon returning to the store, the customer sees the standard "Thank you for your purchase!" page with their order number.
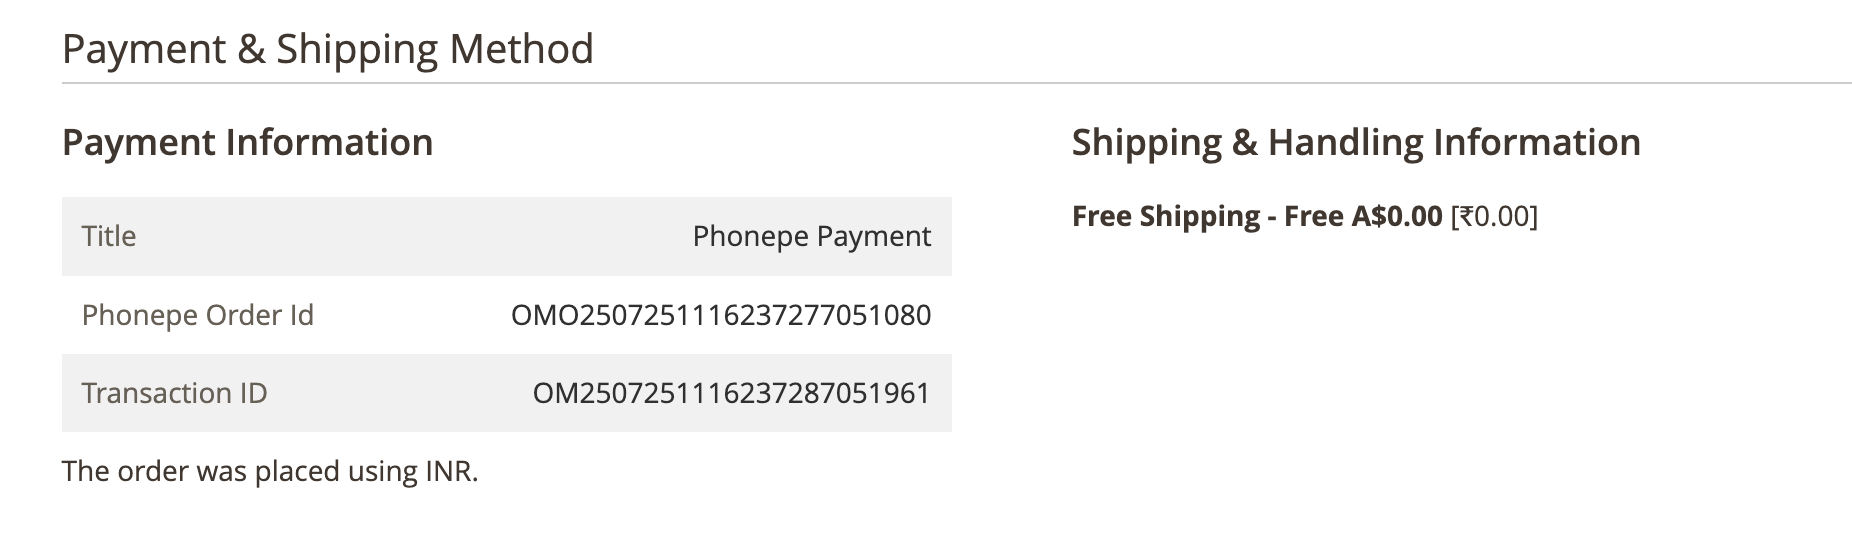
PhonePe Payment Details in Backend Order View
The store admin can view the payment details for orders placed using PhonePe.
- Navigate to Sales > Orders and select the order.
- In the Payment Information section, the admin can see the payment method title, the unique Phonepe Order Id, and the Transaction ID returned by the gateway.