LLMs Txt Generator for Magento 2 - User Guide
Extension Installation
- Extract the zip folder and upload our extension to the root of your Magento 2 directory via FTP.
- Login to your SSH and run below commands step by step:
php bin/magento setup:upgrade
- For Magento version 2.0.x to 2.1.x -
- For Magento version 2.0.x to 2.1.x -
php bin/magento setup:static-content:deploy
- For Magento version 2.2.x & above -
- For Magento version 2.2.x & above -
php bin/magento setup:static-content:deploy --f
php bin/magento cache:flush
Enable & Customize Your LLMs File
Once the LLMs Txt Generator for Magento 2 extension is installed, log into your Magento admin panel.
Navigate to Stores > Configuration > Meetanshi > LLMs Generator and under General Settings enable the extension.
This will allow the extension to create your llms.txt file. Now, customize the following configuration to add details in the file as per your liking.
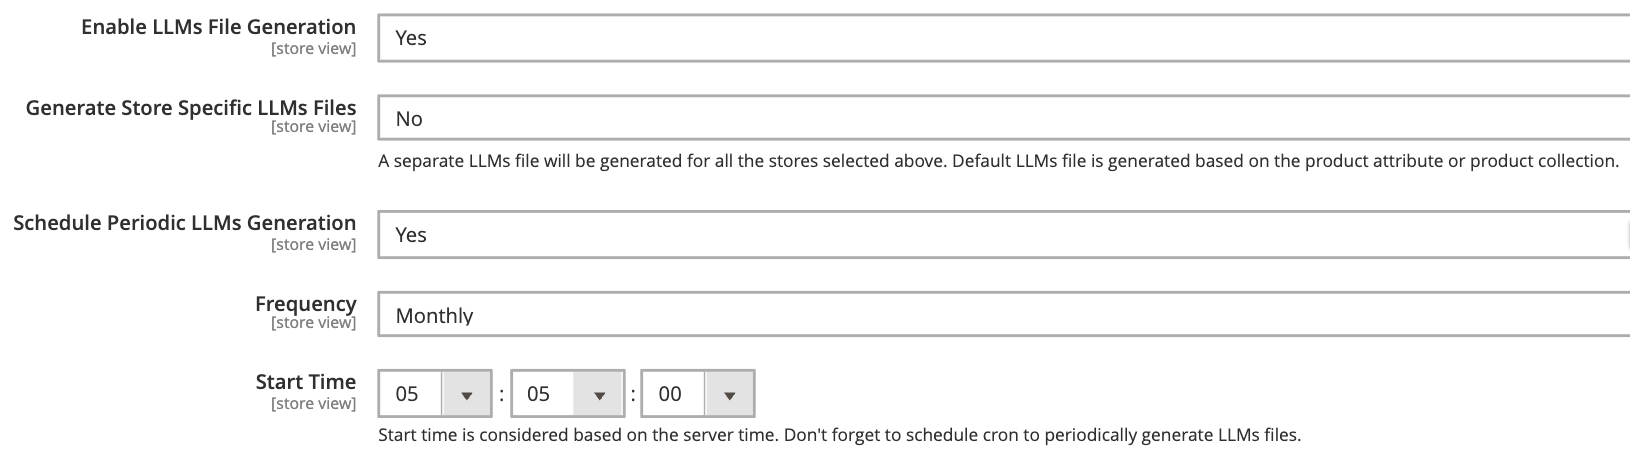
Generate Store Specific LLMs Files: Select from the Yes or No option.
- Yes: Creates separate LLMs files for each specific store view selected.
- No: Generates a single global LLMs file based on default attribute.
Schedule Periodic LLMs Generation: Set to Yes to enable automatic, periodic regeneration of the file based on the selected frequency.
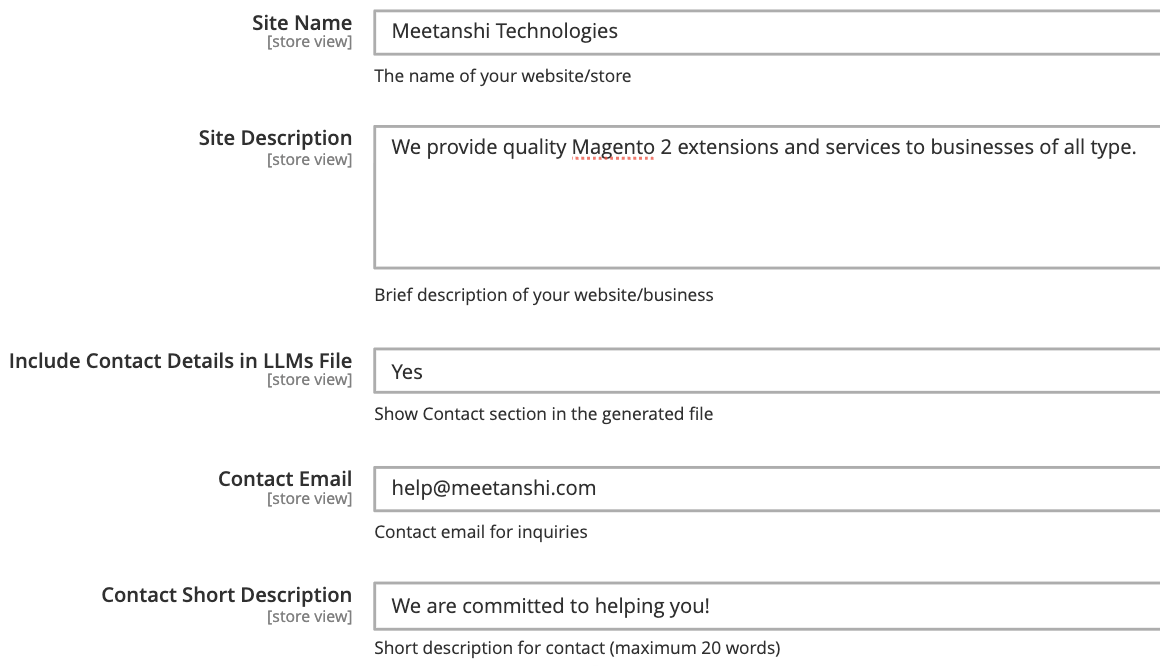
Site Information
Correctly configure your store details, as they will appear accordingly in your llms.txt file.
- Site Name: Enter the name of your website.
- Site Description: Provide a brief description of your site.
- Include Contact Details in LLMs File: Set to Yes to append contact details in your file.
- Contact Email: The primary email address for inquiries.
- Contact Short Description: A brief description of max 20 words.
- Include Site URL in LLMs File: Set to Yes if you want to explicitly list your URL in the file details.
- Site URL: Enter your main website URL.
- Include Language in LLMs File: Set to Yes to specify the content language in the file.
- Include Pub Directory in URLs: If your server setup requires it, set this to Yes to add /pub/ to the file paths

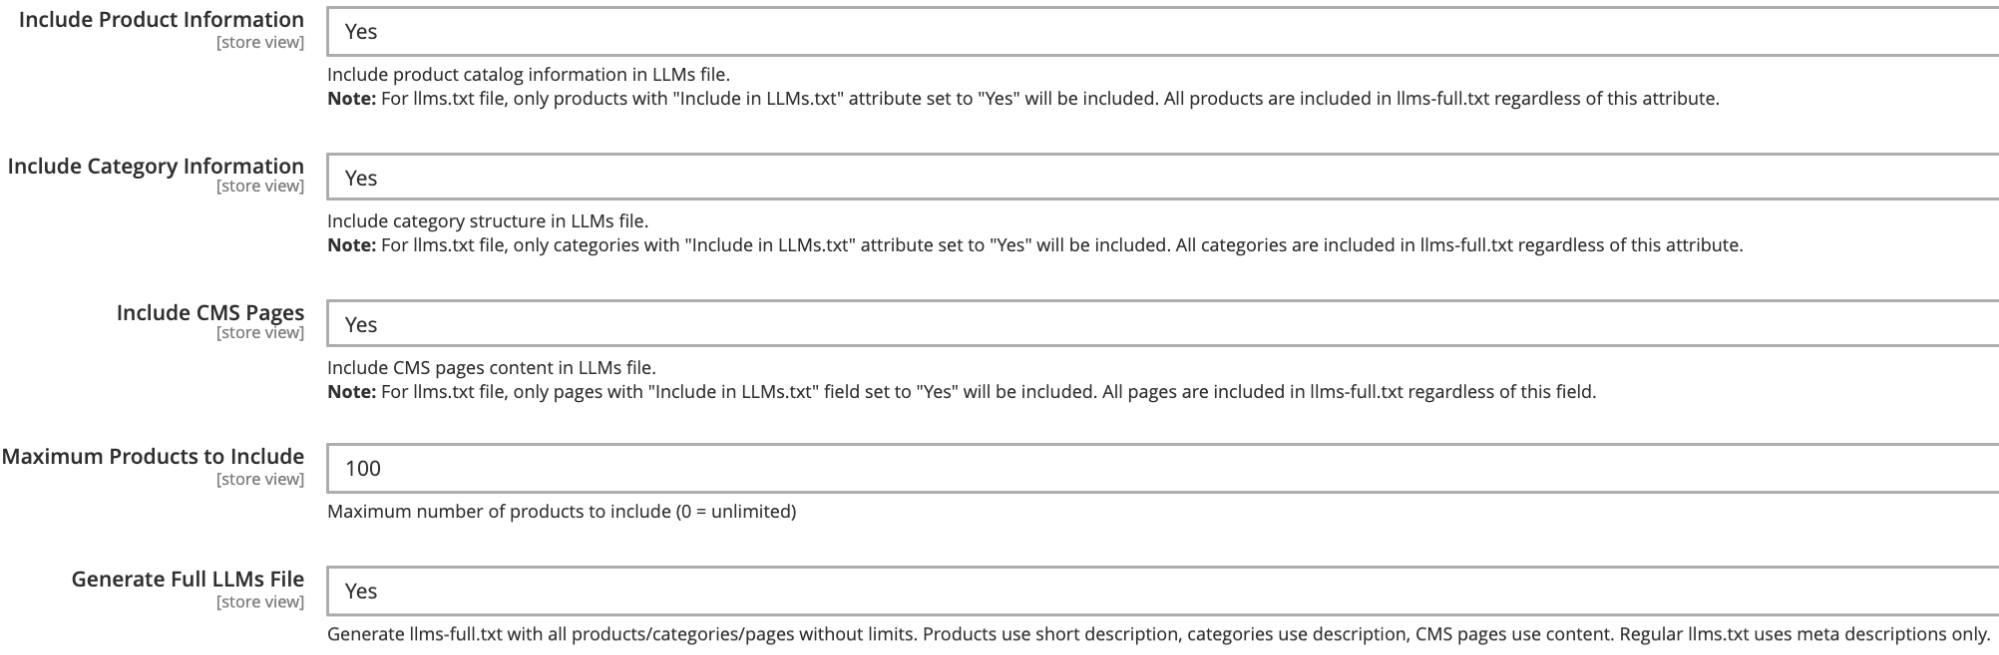
Content Settings
Control exactly what catalog detail the LLM bots should crawl.
- Include Product Information: Set to Yes to list product catalog data.
- Include Category Information: Set to Yes to list your category structure.
- Include CMS Pages: Set to Yes to include content from CMS pages.
- Maximum Products to Include: Add the number of products to be included.
- Generate Full LLMs File: Set to Yes to generate an additional llms-full.txt file.
Add Custom Content
Use this text area to provide information about your business focus, key features, and target audience. This helps you provide extra information to the bots.
Each new line entered here will be formatted as a distinct bullet point in the generated text file.
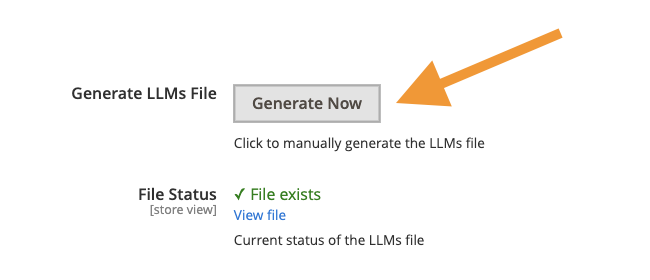
Action
Now, trigger the file generation process and check the status from here.
- Generate LLMs File: Click the Generate Now button to immediately create or update the LLMs file based on your current settings.
- File Status: Get a status of the created file. It should show "File exists."
- View file: Click the View file option to get details of your file.
This finishes the configuration; now the llms.txt file will directly be added to your store’s root directory for AI models to easily crawl.
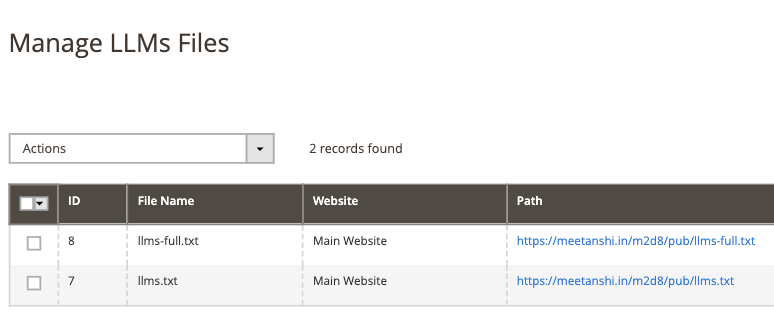
Manage LLMs Files
Head to Marketing > Meetanshi LLMs > Manage LLMs Files to get details of all the created files.
The grid displays a list of all llms.txt and llms-full.txt files generated by the system with details like:
- The unique ID for the file record.
- The name of the generated file (e.g., llms-full.txt, llms.txt).
- Indicates which Website or Store View the file belongs to.
- The direct URL path to access the file. You can click this link to view the file contents.
- Timestamps showing when the file was originally created and last modified.
If you want, you can select the files and delete them using the Action dropdown to remove them from your system.