MIT AI Virtual Try On - Quick Start Guide
Welcome to the Virtual Try-On app! This guide will walk you through setting up the app, configuring your rules, and understanding what your customers will see.
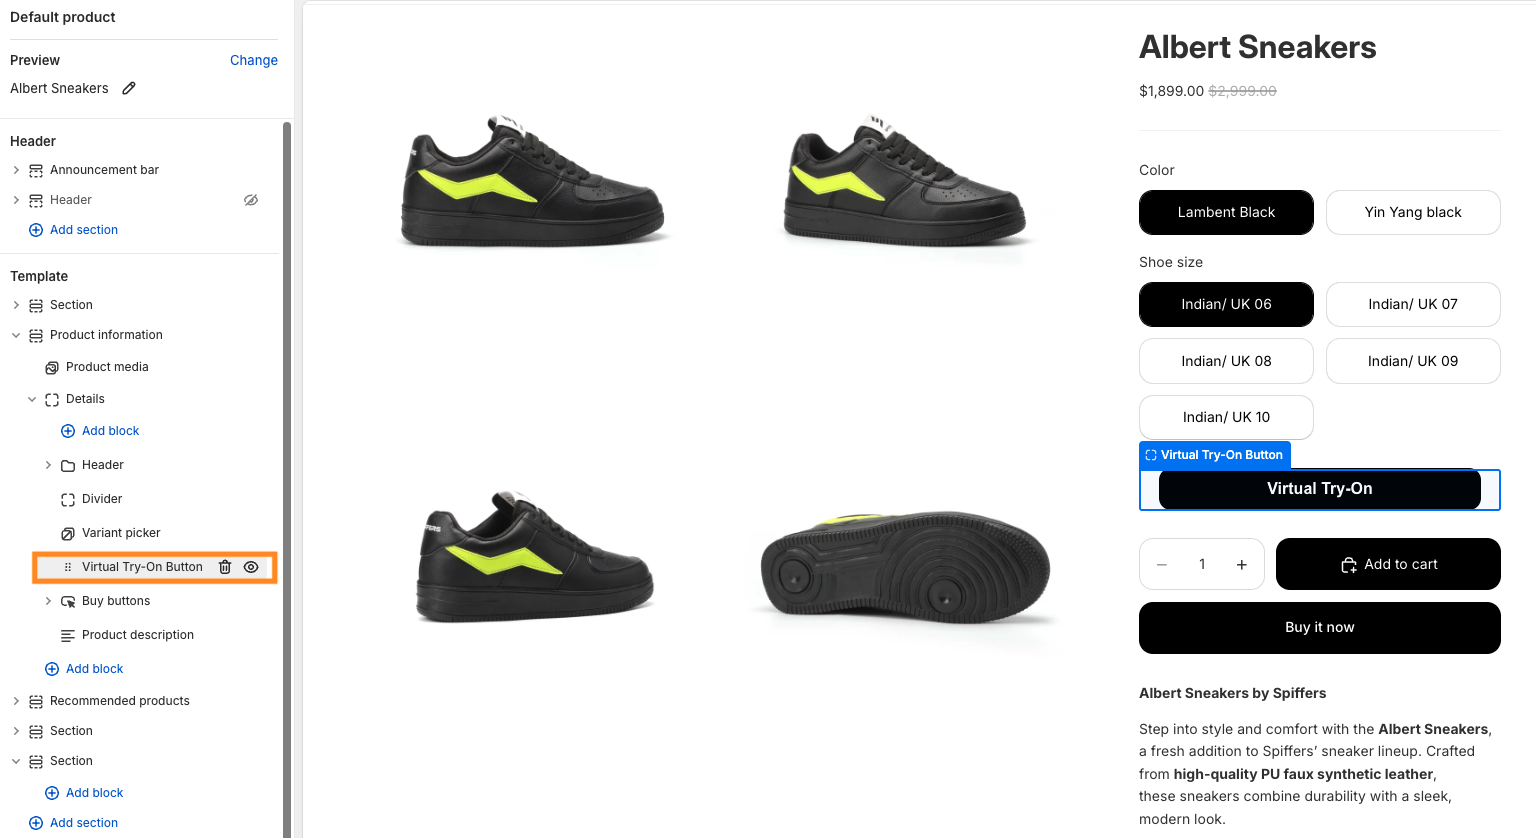
1. Enable & Design the App Block
Get started by adding the Virtual Try-On button to your storefront and customizing it to match your brand.
How to set it up:
- Click the link at the top of the app dashboard to add the app block to your active theme.
- Drag and drop the Virtual Try-On button block to your desired location on the product page.
- Customize the button's look and feel using the block settings (details below).
- Click Save in the top right corner when you are happy with the design.
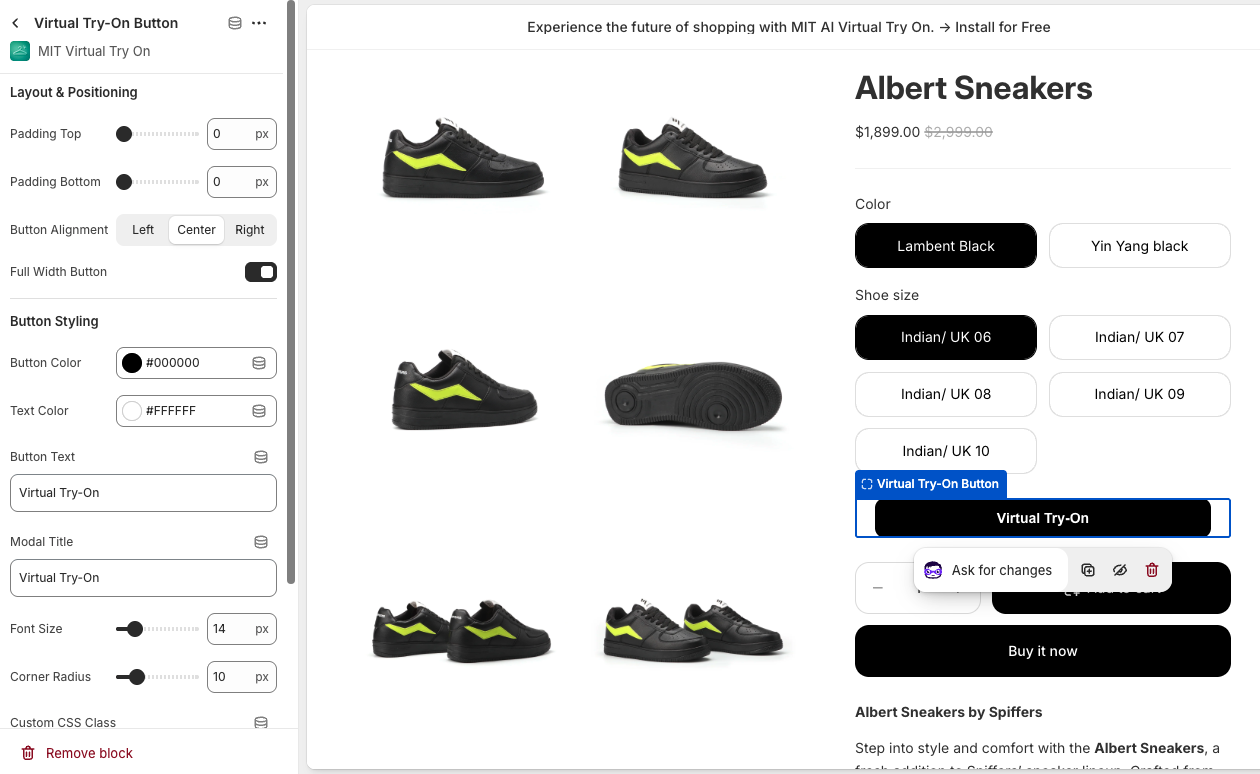
Customization Options:
| Setting | What it does |
|---|---|
| Padding | Adjust the space around the button. |
| Alignment | Align the button to the left, center, or right. |
| Colors | Customize the button background and text colors. |
| Text | Edit the label on the button and inside the try-on modal. |
| Style | Modify the font size and border radius (rounded corners). |
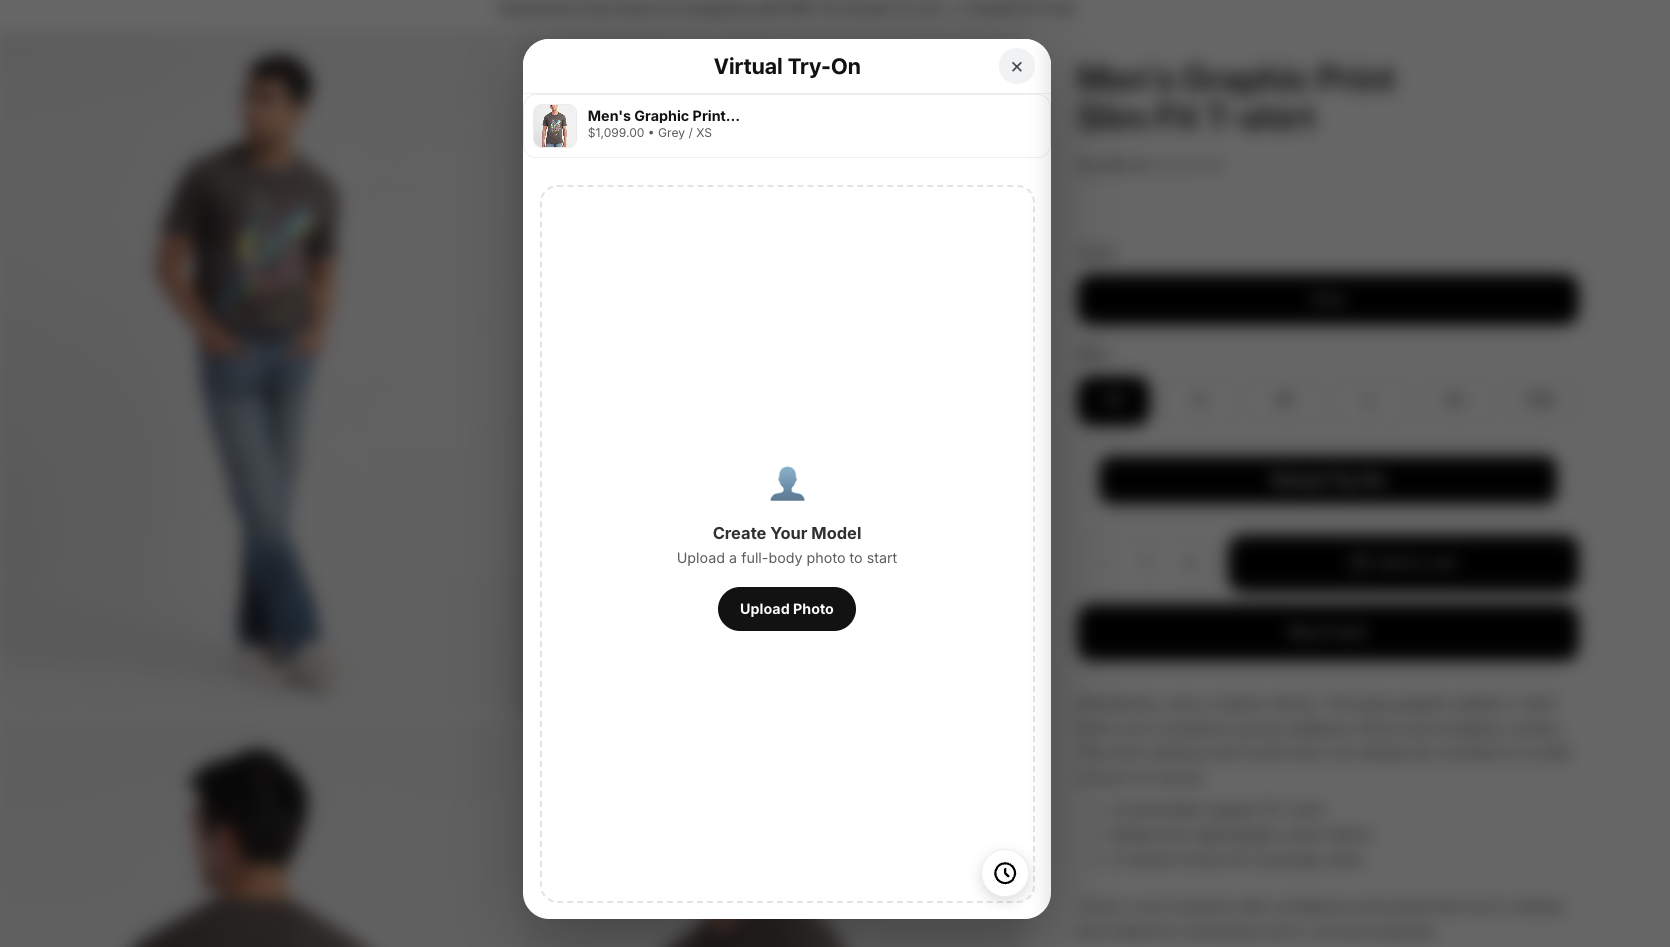
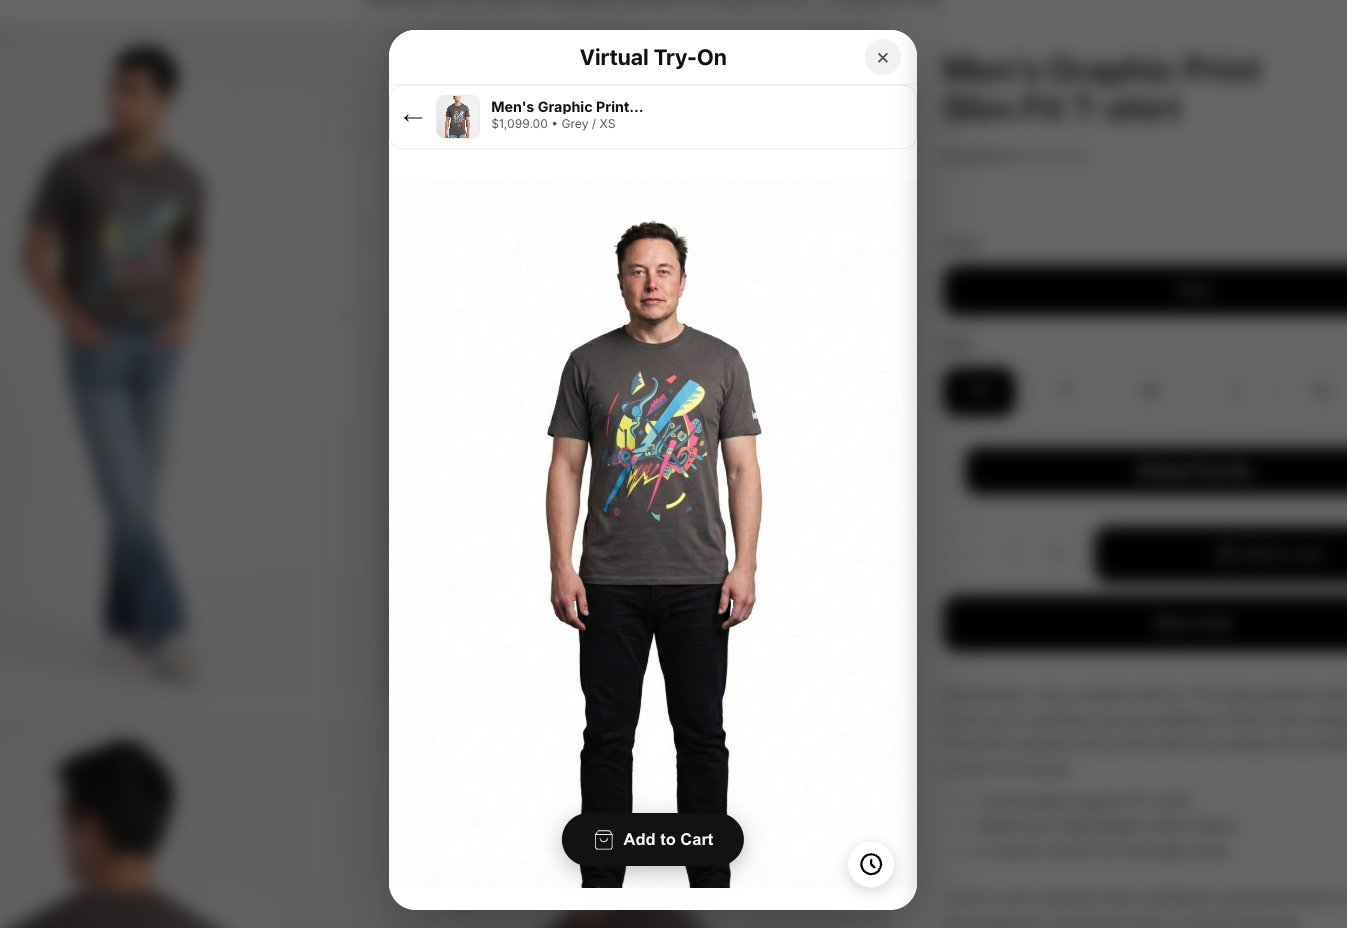
2. The Customer Experience
Once enabled, shoppers will see the custom try-on button on your product pages. Here is the seamless workflow they will experience:
Step-by-Step Flow:
- Open Modal: The customer clicks the Virtual Try-On button to open the interface.

- Upload Photo: They upload a selfie or full-body photo to generate their personalized AI model.
- Generate Look: Once the clone model is ready, the customer clicks Generate Look to see themselves wearing the product.
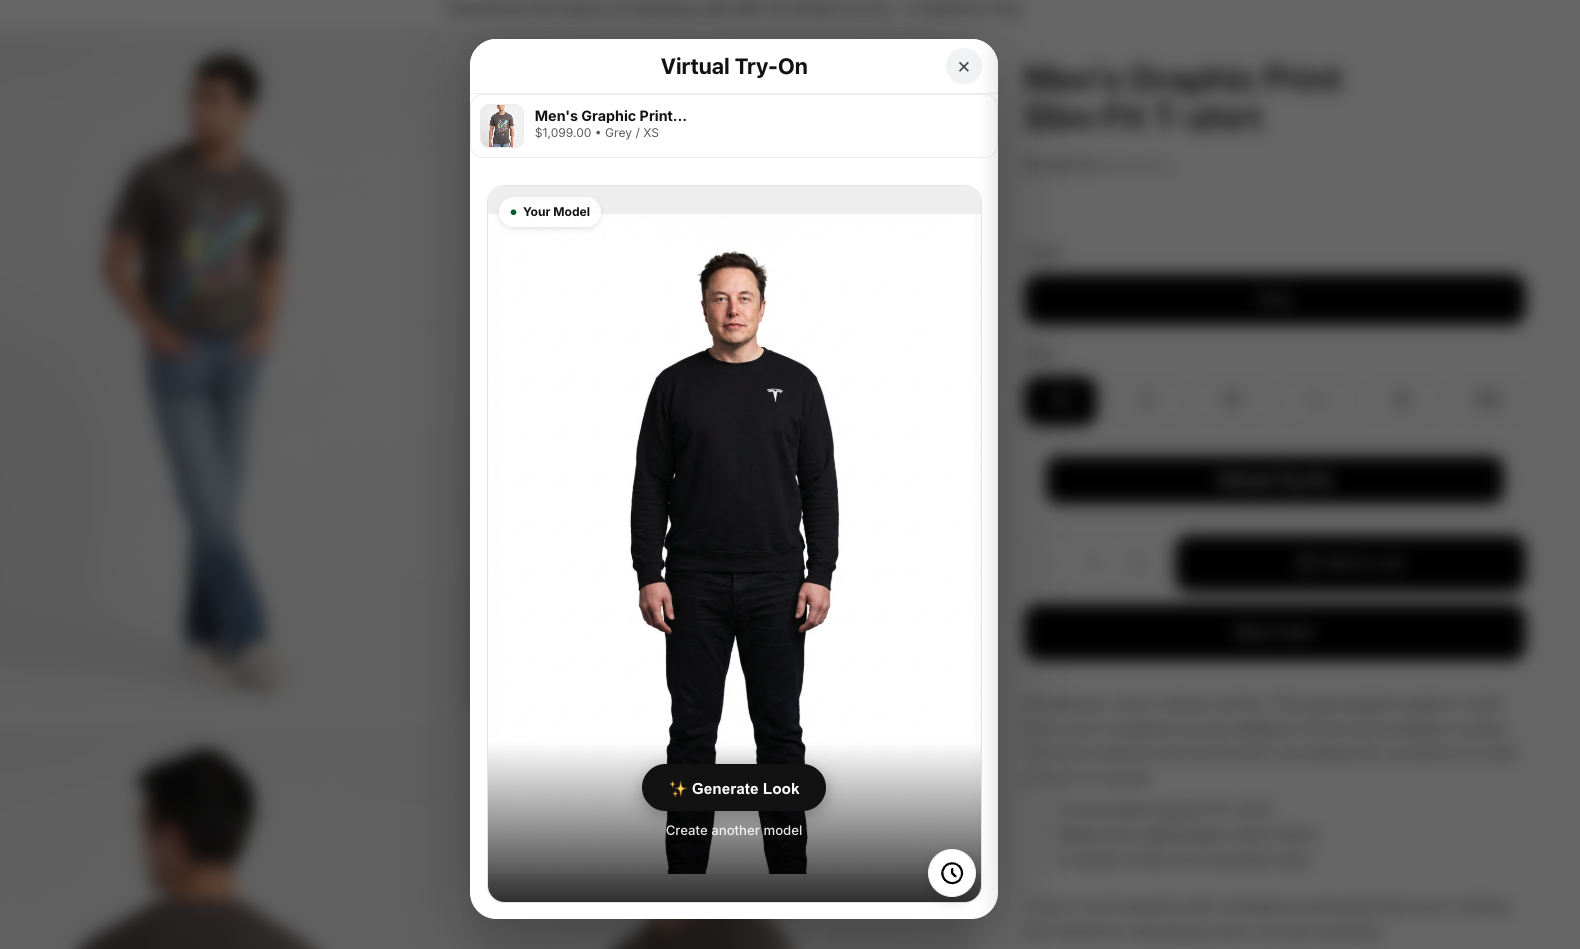
- Quick Checkout: Customers can click Add to Cart directly from the popup to streamline their purchase.
3. Configure Display Rules & Limits
You have full control over who gets to use the Virtual Try-On feature and on which products.
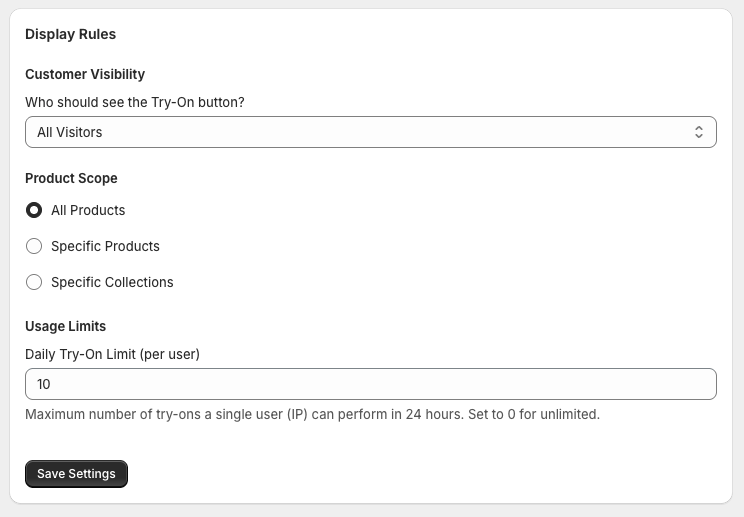
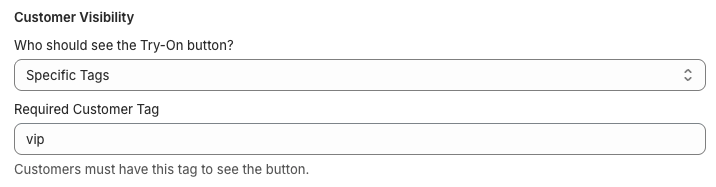
Audience Targeting:
- All Customers: The default setting; available to every store visitor.
- Logged-In Users Only: Restricts the feature to customers with registered accounts.
- Specific Tags: Limits access to customers with specific tags (e.g., "VIP" or "Subscriber").
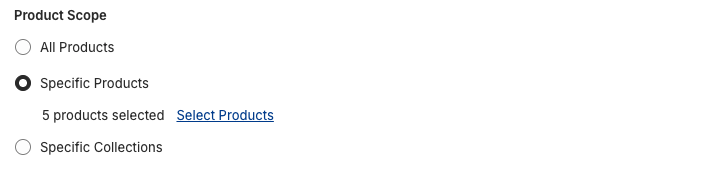
Product Availability:
- All Products: Enabled storewide by default.
- Specific Products or Collections: Choose exact items or categories that support virtual try-ons.
Usage Limits:
- Daily Caps: Set a daily limit on the number of try-ons per user (e.g., 10 per day) to prevent feature misuse and manage your API credits efficiently.

4. Track Usage History
The Usage History page provides a transparent log of how customers are interacting with the app. You can use this dashboard to monitor your API credit usage and identify your most frequently tried-on products.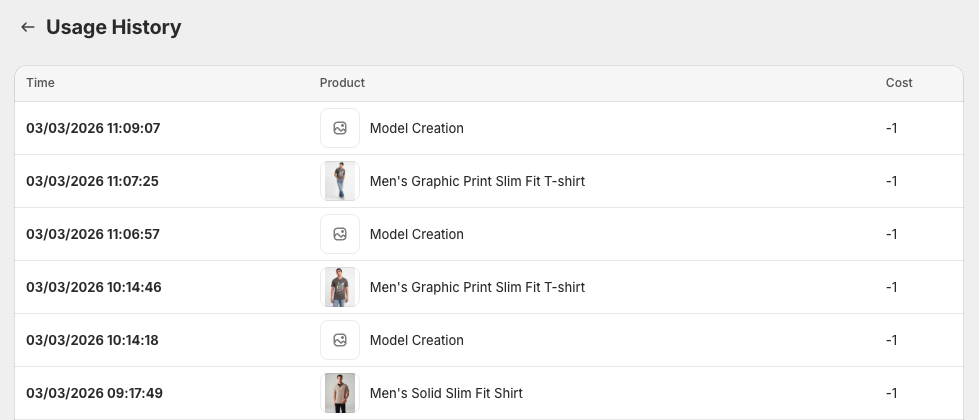
Privacy Note: To strictly protect end-user privacy, the app does not store or display the actual photos uploaded by your customers in the usage logs.