AI Product Studio for Shopify: User Guide
AI Product Studio for Shopify helps you create professional product images and marketing visuals using AI directly from your Shopify store. This guide walks you through the setup and key features to help you get started quickly.
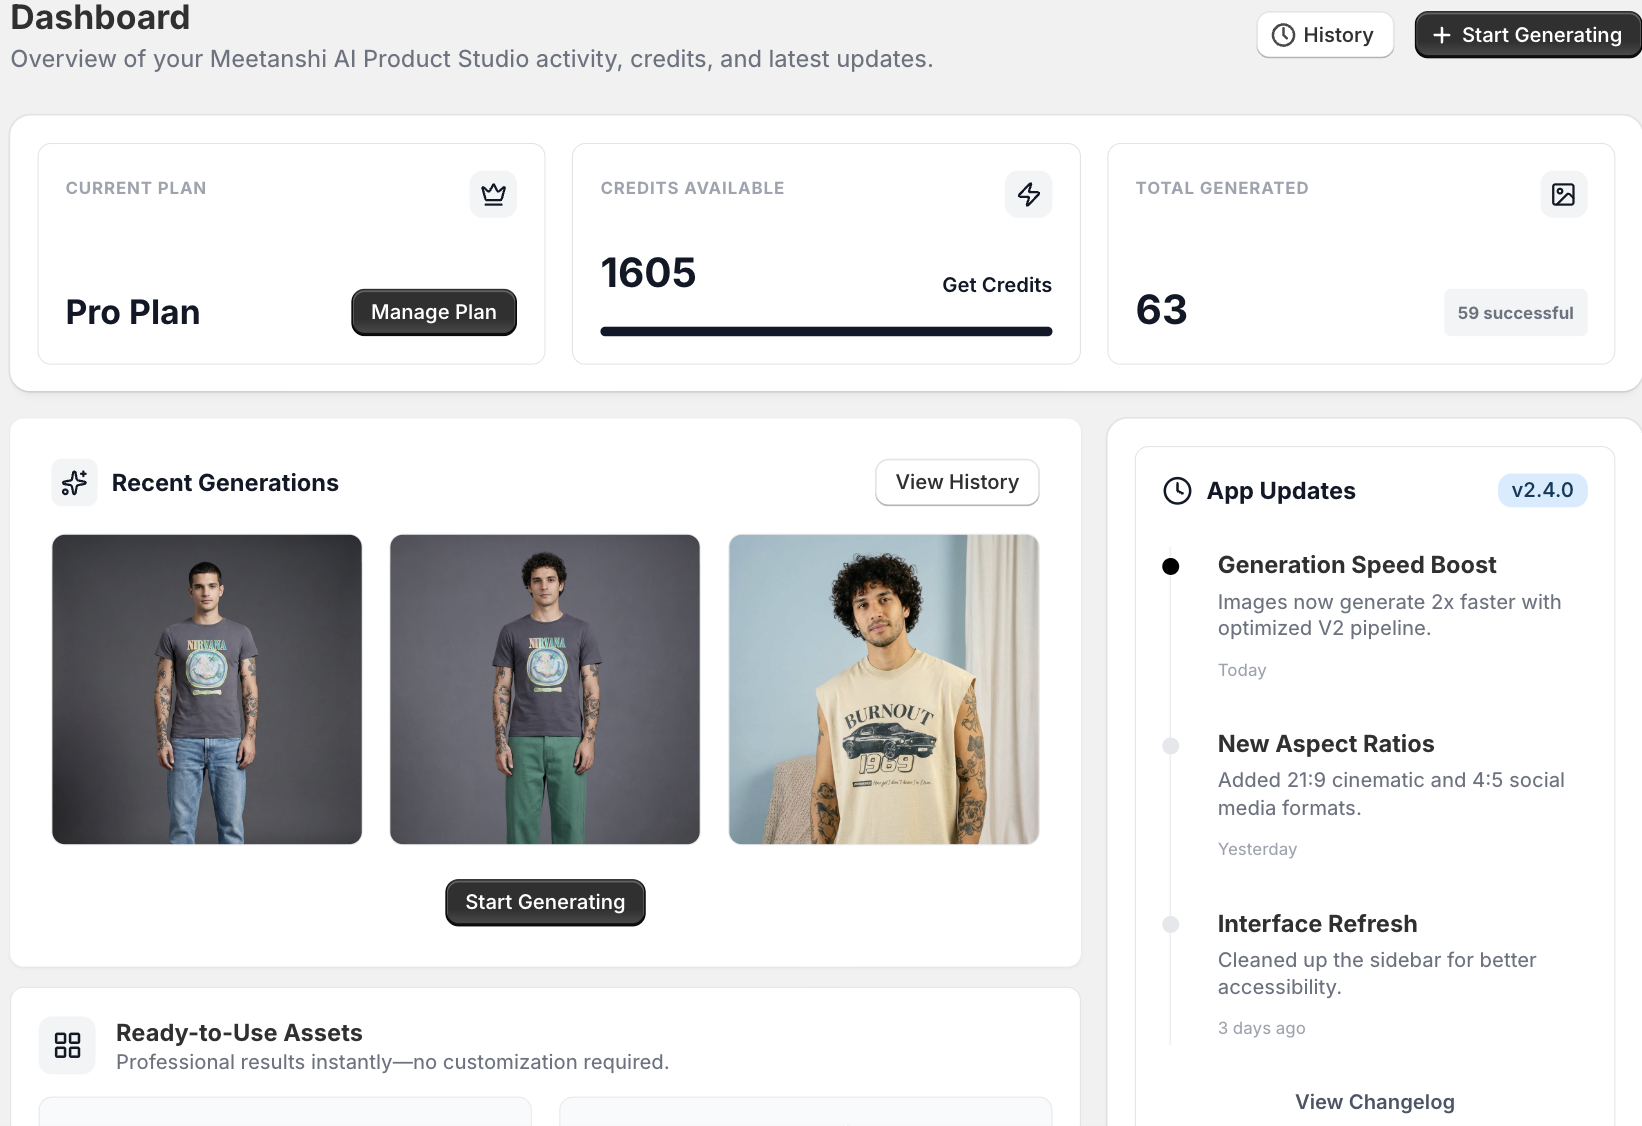
Dashboard Overview
The Dashboard serves as your central command center for the current plan, credits availability, and total generated output. At the top of the dashboard, you can monitor your information and know the account health.
Next, you will see a visual snapshot of your most recent generations. Along with the latest technical improvements under the App Updates feed.
Tutorial: Shopify Product Photography Using AI
Step 1: Head to AI Canvas
Open your Shopify Admin and navigate to Apps > Meetanshi AI Product Studio.
Select Image Generator from the left-hand sidebar and select a suitable template based on your product niche. After selecting the template, you will see an AI canvas like this.
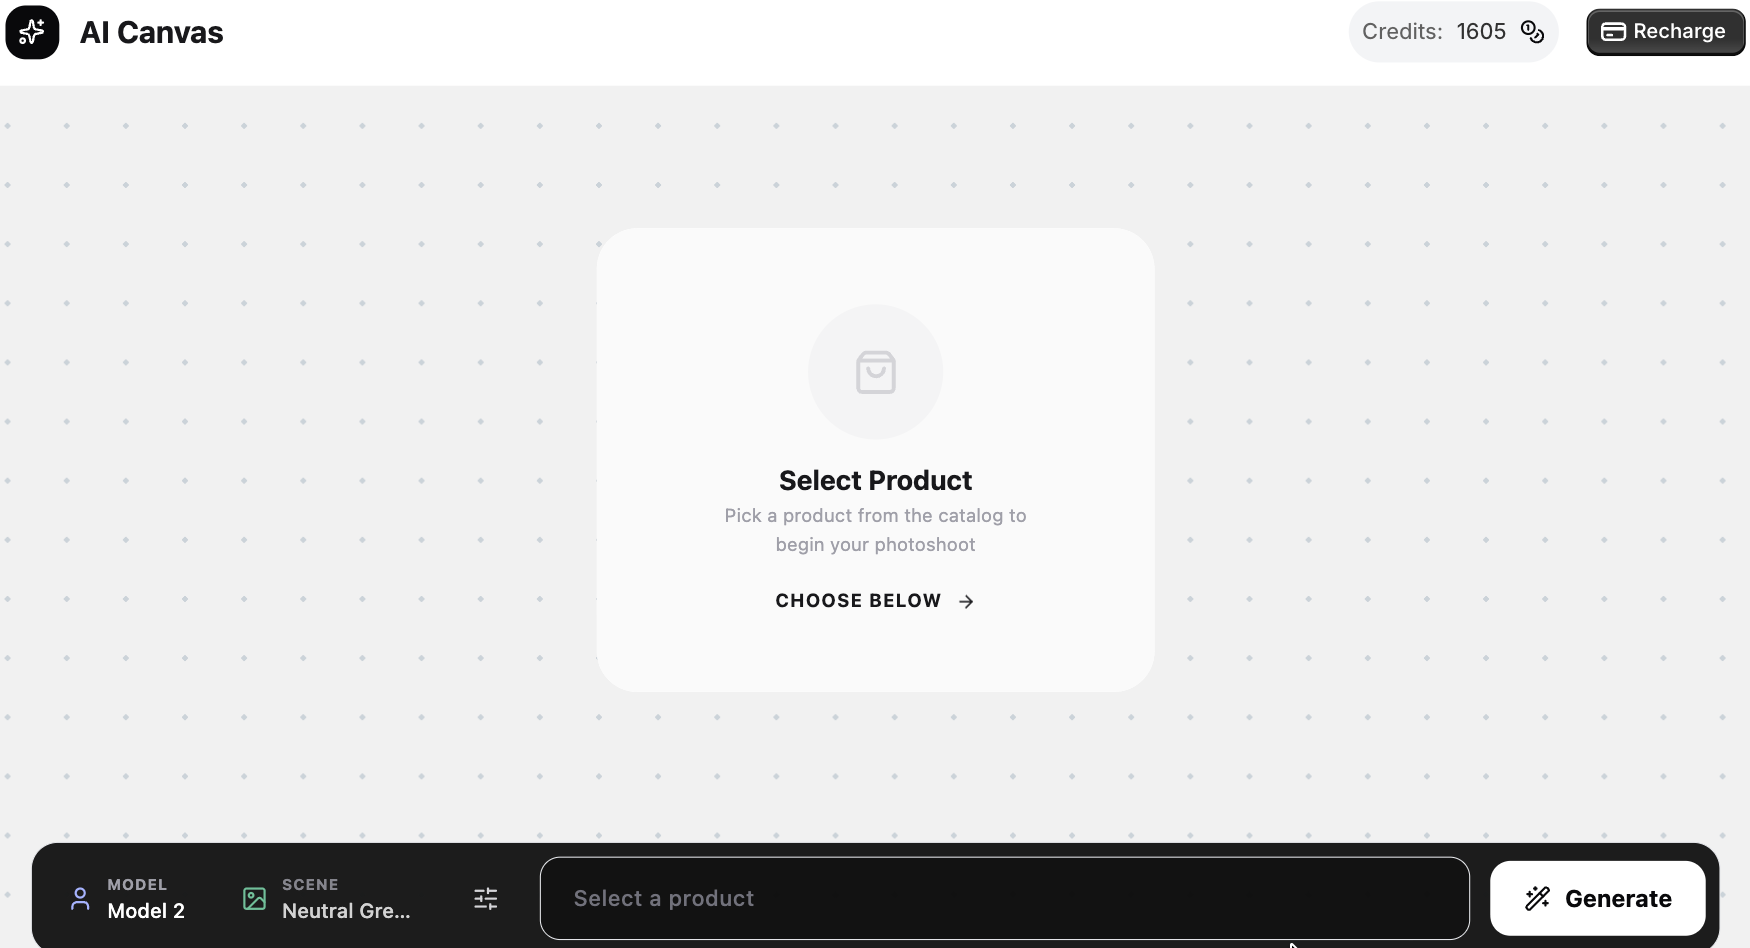
Step 2: Select Your Product
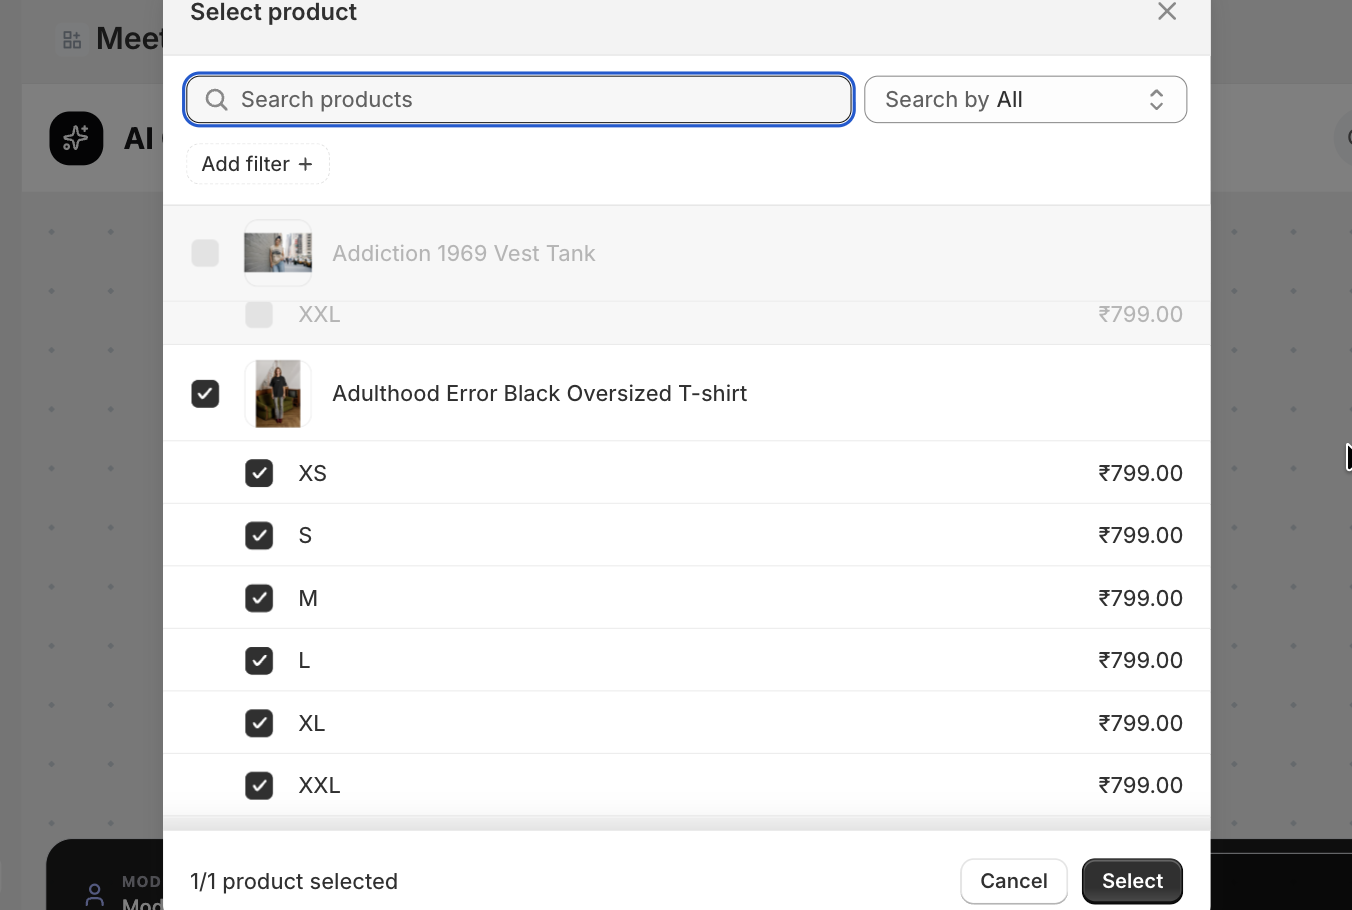
Now, click on Choose Below. A pop-up window will appear showing your Shopify product catalog. Pick the specific product and its variants and click Select.
Step 3: Generate Product Image
At the bottom of the canvas, you will see four primary configuration options:
- Model: Pick a model from the Models Library that fits your brand’s target demographic.
- Scene: Click this to open the backgrounds library. You can filter by categories or search by name.
- Settings: Set the aspect ratio and camera angle
- Describe Product: Add information about the product for AI to understand the context better (the product title name will be added by default, which you can edit).
 Click on Generate and the AI will start the rendering process to create your image.
Step 4: Review and Save to Product Page
If you are happy with the result, click the Save to Product button overlaying the image.
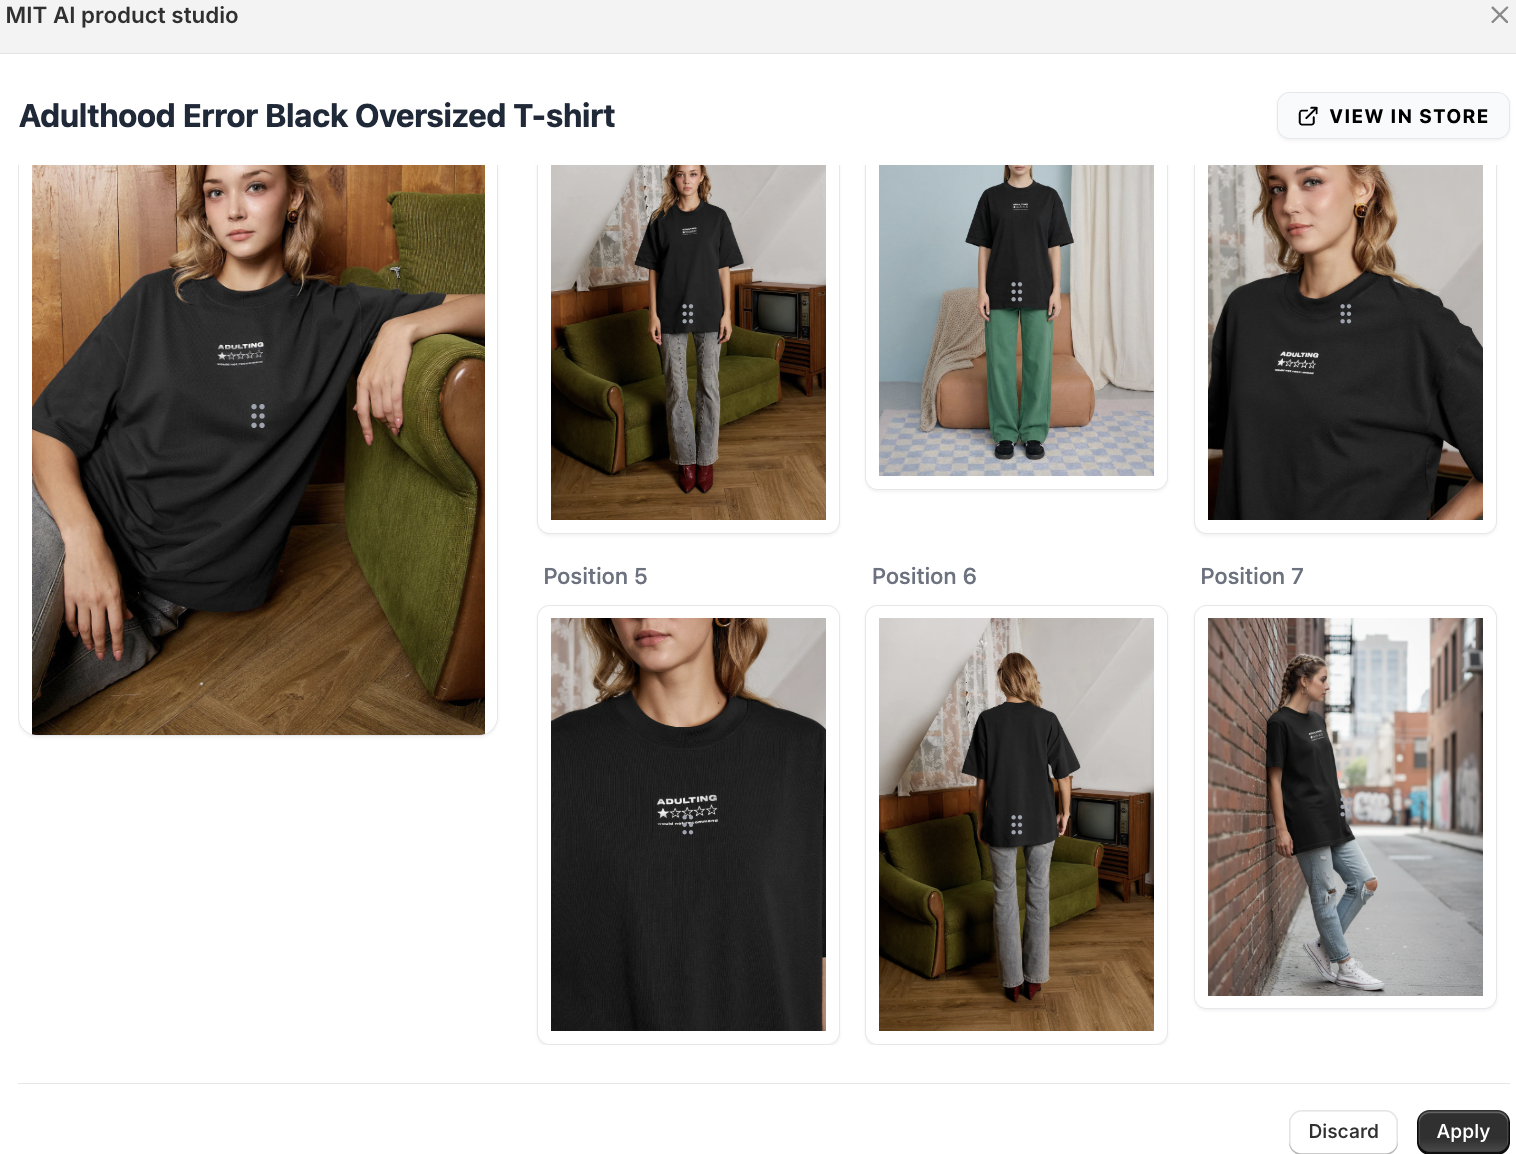 This will open a window, where you can decide if the generated image should be the Main image (Position 1) or a supporting gallery image (Positions 2-10). Make the changes and then click Apply to confirm.

Step 5: Verify in Store and Review Changes
Click the VIEW IN STORE button in the top right of the popup to see how the image looks on your live product page.
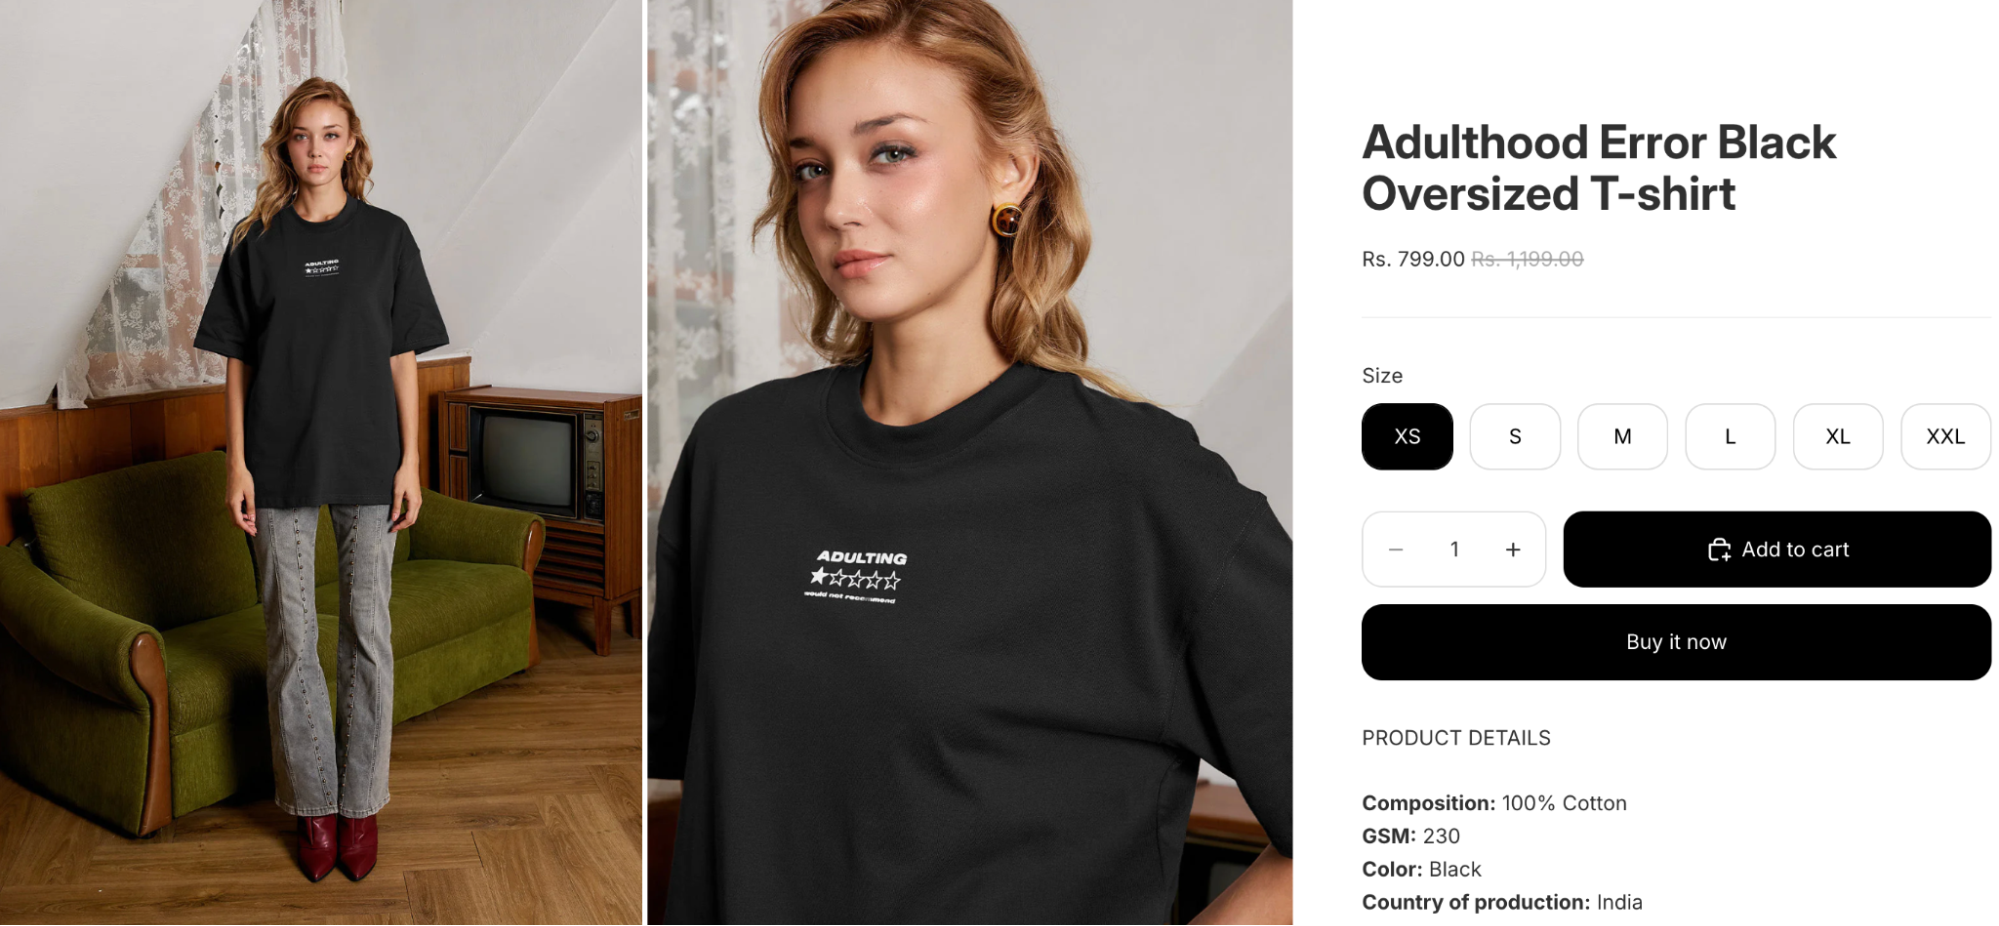 Your AI-generated image will now appear alongside your original product details, providing a professional, high-end look for your customers.
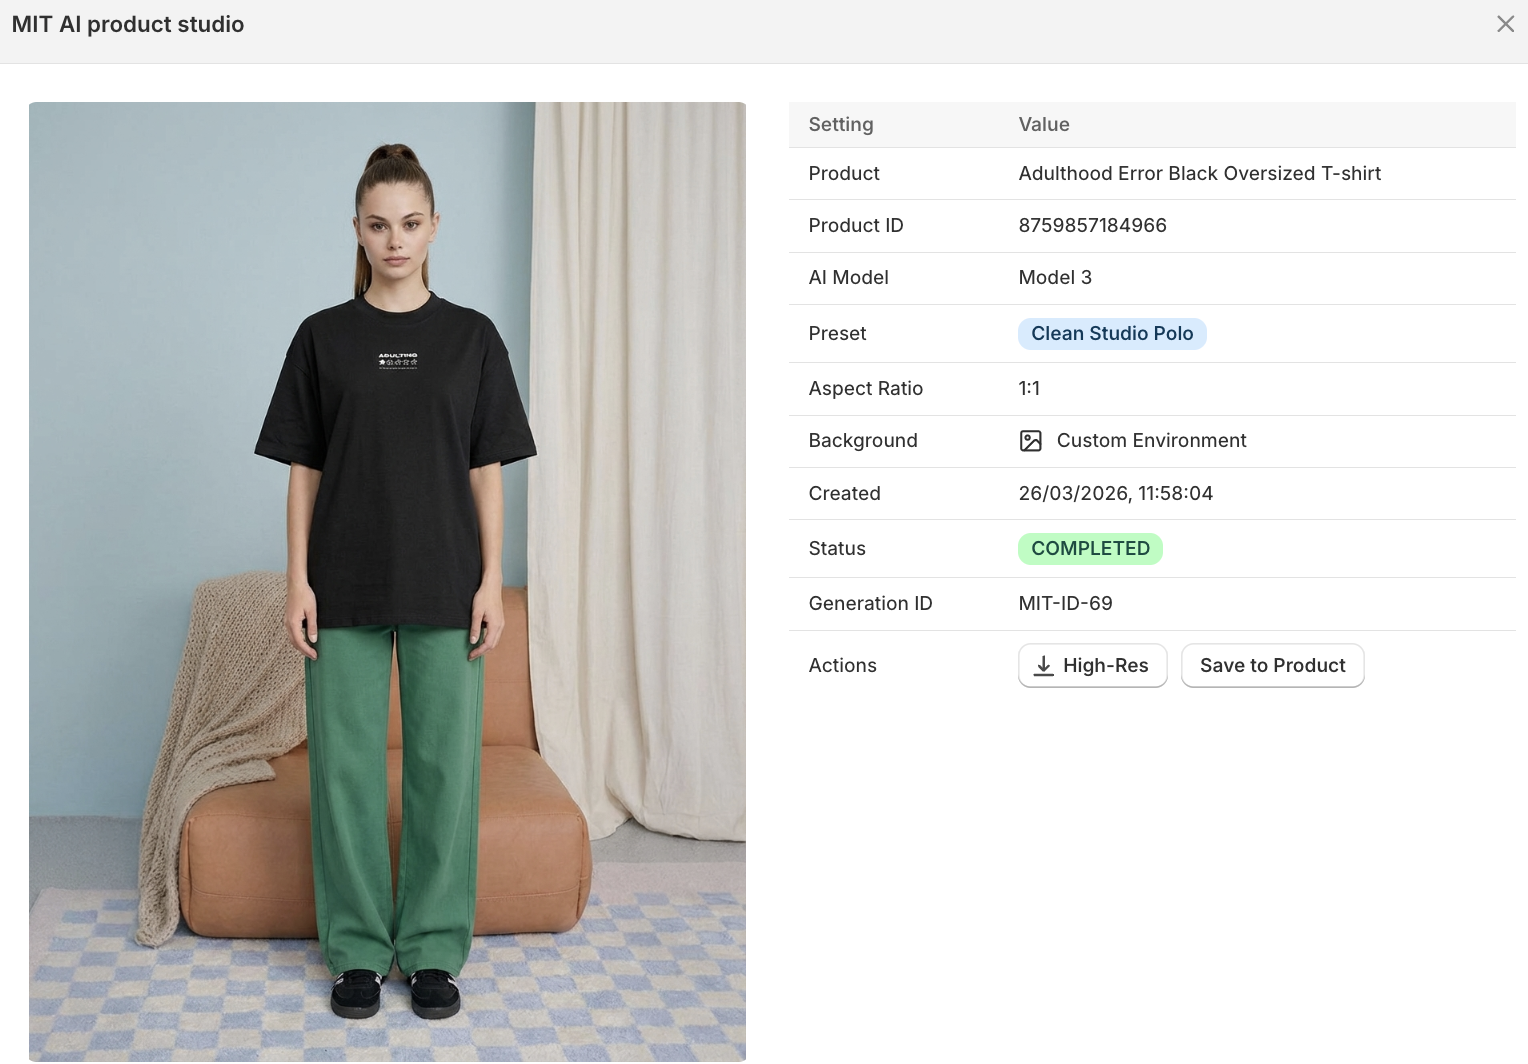
Managing Your Generation History
Use the Generation History tab, located in the left-hand sidebar of the app, to view all the created AI product images. You can click on any image and get details about the image and take action, like directly adding it to a product or downloading a high-resolution image.