MIT WhatsApp Widgets: 4 in 1 for Shopify - User Guide
How to Create a WhatsApp Chat Widget in Shopify?
On the dashboard in the MIT WhatsApp Widgets: 4 in 1 app for Shopify, click Chat Widget to start creating a widget.
Change the status to Active for the widget.

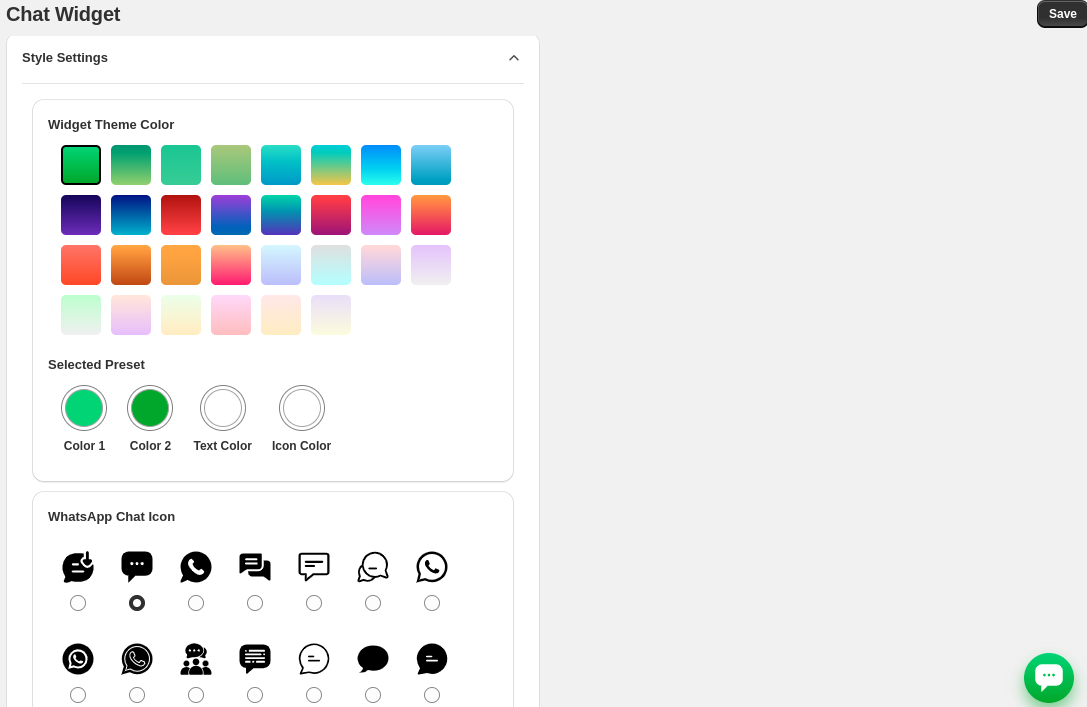
In the Style Settings, configure the way you want to show the widget. Here, you can change:
Colors for widget background, text, and icon
Icon for the WhatsApp chat widget
You'll also get a live preview of the chat widget on the right side as you configure these settings.
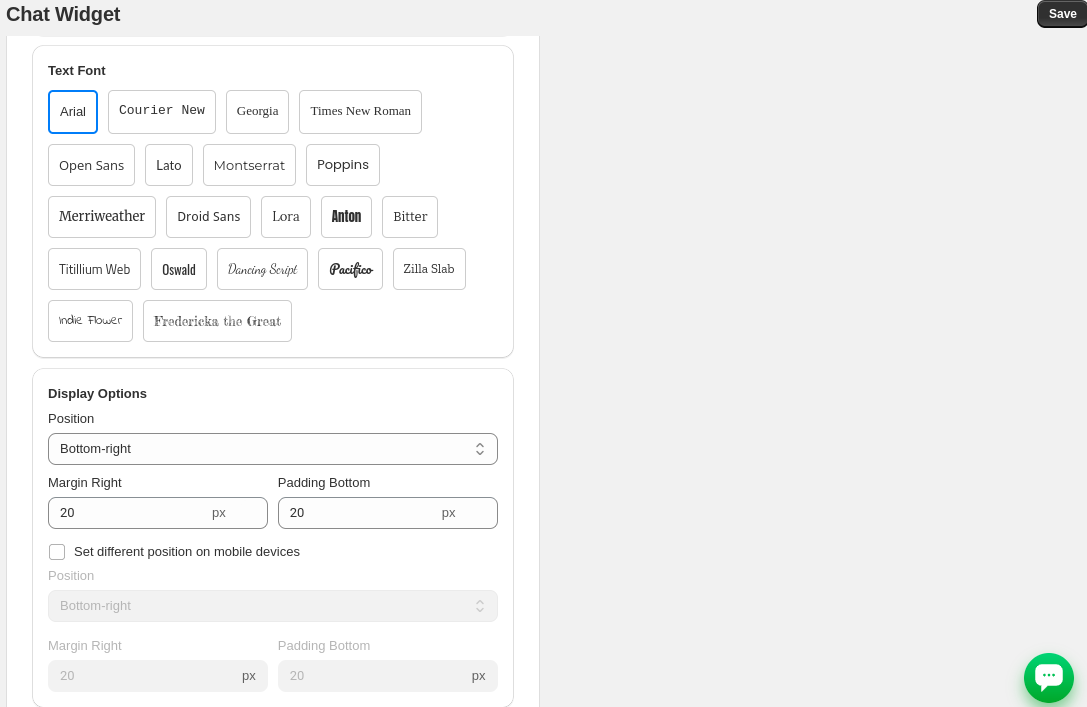
In the settings, you also get options to:
Change text font style
Set the position of the chat widget from Bottom-right / Bottom-left
Specify margins and paddings in pixels
Set a different position on mobile devices
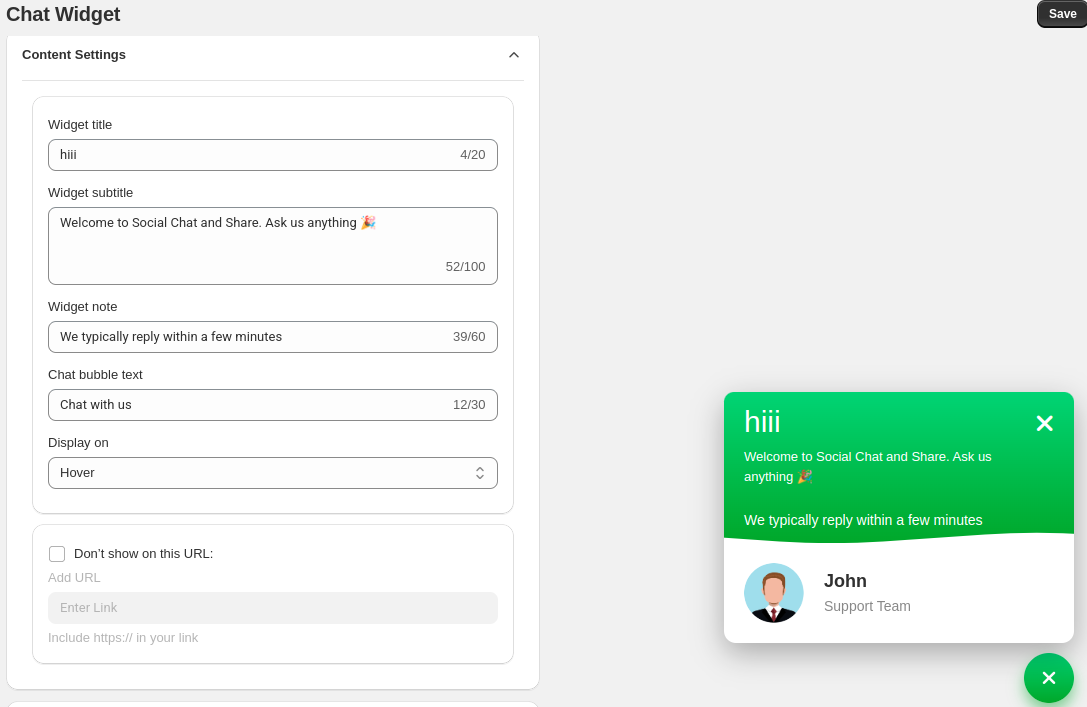
In the Content Settings, you can change the text displayed on the widget:
Add the main heading of the chat widget that appears at the top.
Add a friendly welcome message to encourage users to chat.
Display a quick note below the subtitle, typically to set reply expectations.
Add a short message to show in the floating chat icon.
Set when the chat widget appears---on hover or all.
Enable the option and enter the URL that allows you to hide the chat widget on that specific page.
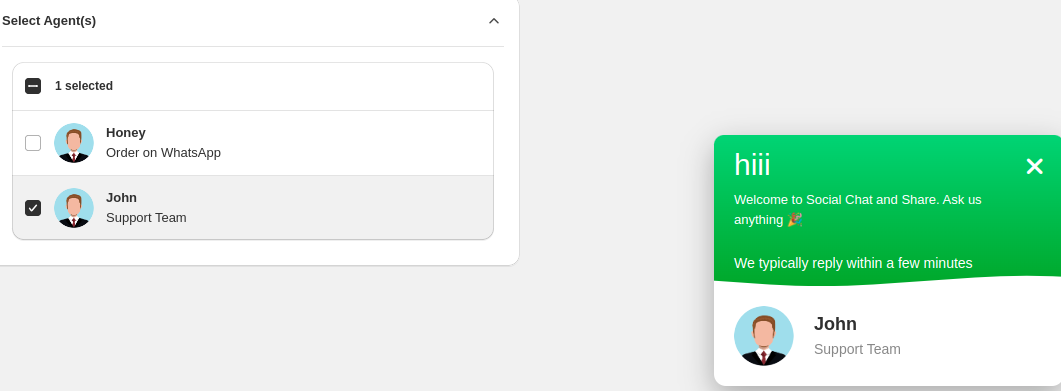
In the Agent selection, choose the relevant profile to display in the chat widget (which is John in the above screenshot)
If you do not have any agents, you may need to create one first.
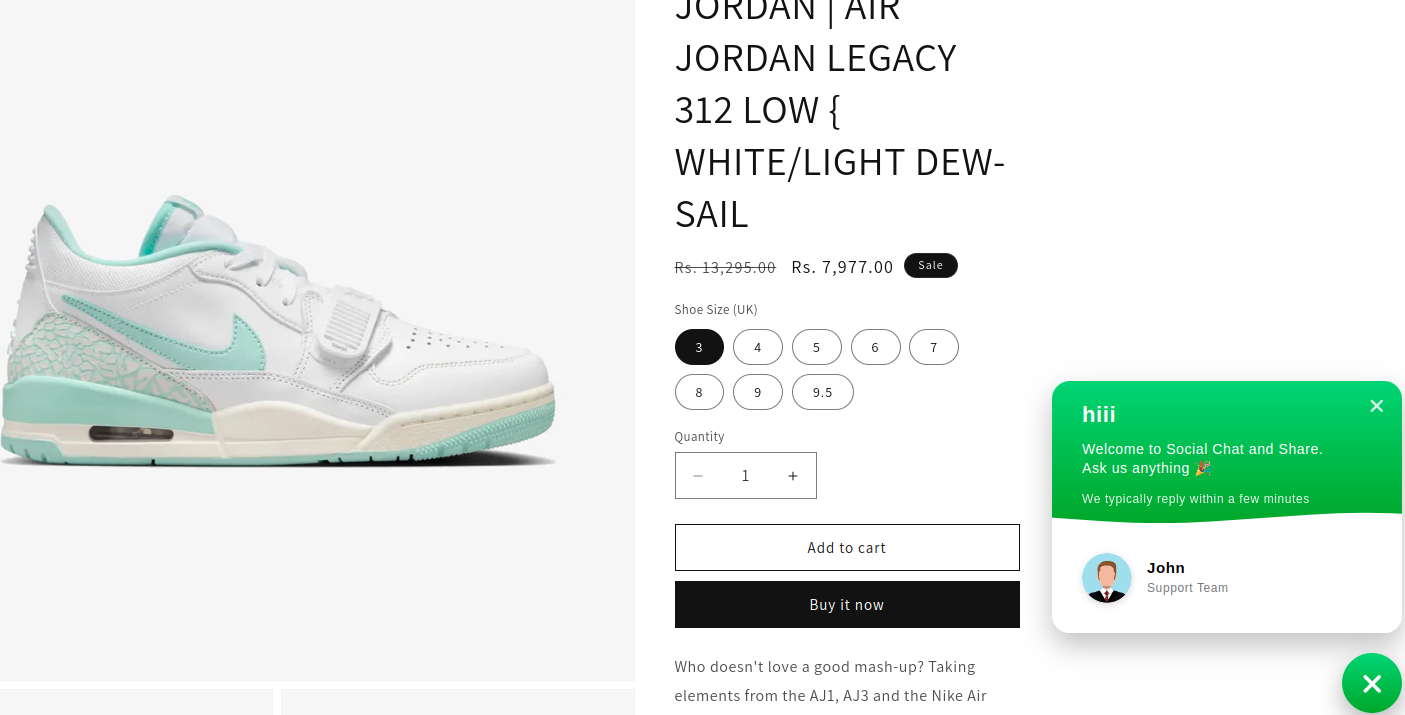
Finally, the WhatsApp Chat Widget icon will be added to your store.
On clicking the chat icon, the widget will display the list of selected agents to talk to. The customer will be taken to WhatsApp chat with the respective agent, along with a predefined message.
WA Link Share
Looking to boost product visibility?
The WA Link Share widget allows store owners to add a WhatsApp share button on their website, enabling visitors to easily share product pages via WhatsApp.
How to Create a WhatsApp Link Share in Shopify?
On the dashboard in the MIT WhatsApp Widgets: 4 in 1 app for Shopify, click WA Link Share to start creating a widget.
Change the status to Active for the widget.

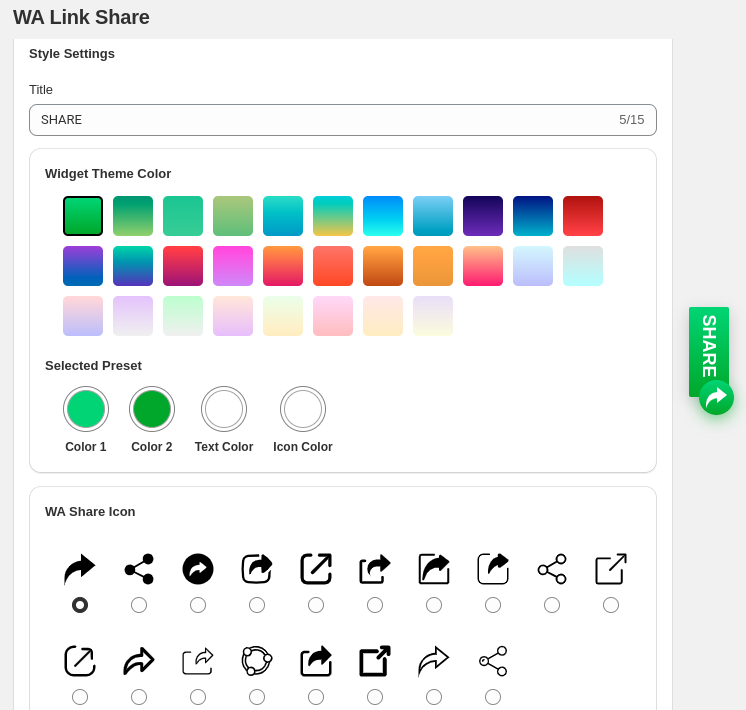
In the Style Settings, configure the way you want to show the widget. Here, you can change:
Colors for widget background, text, and icon
Icon for the WhatsApp link share
You'll also get a live preview of the WhatsApp Link Share on the left side as you configure these settings.
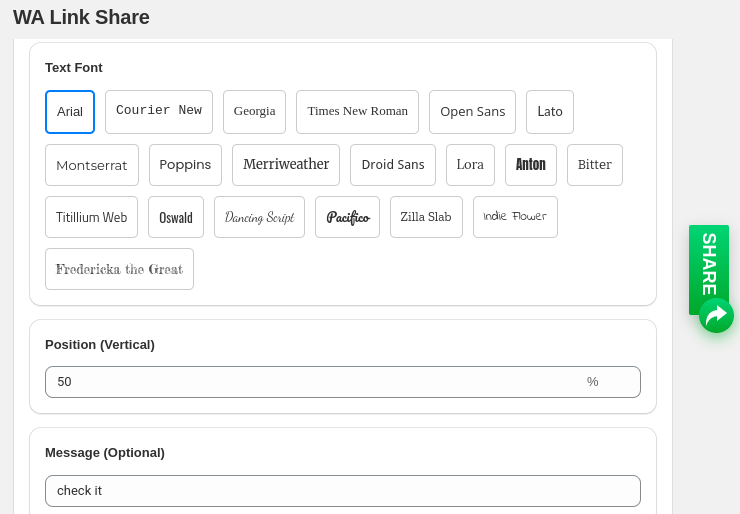
In the settings, you also get options to:
Change text font style
Set the position of the WA link share widget from Bottom-right / Bottom-left
Write a message you want viewers to see on sharing product link.
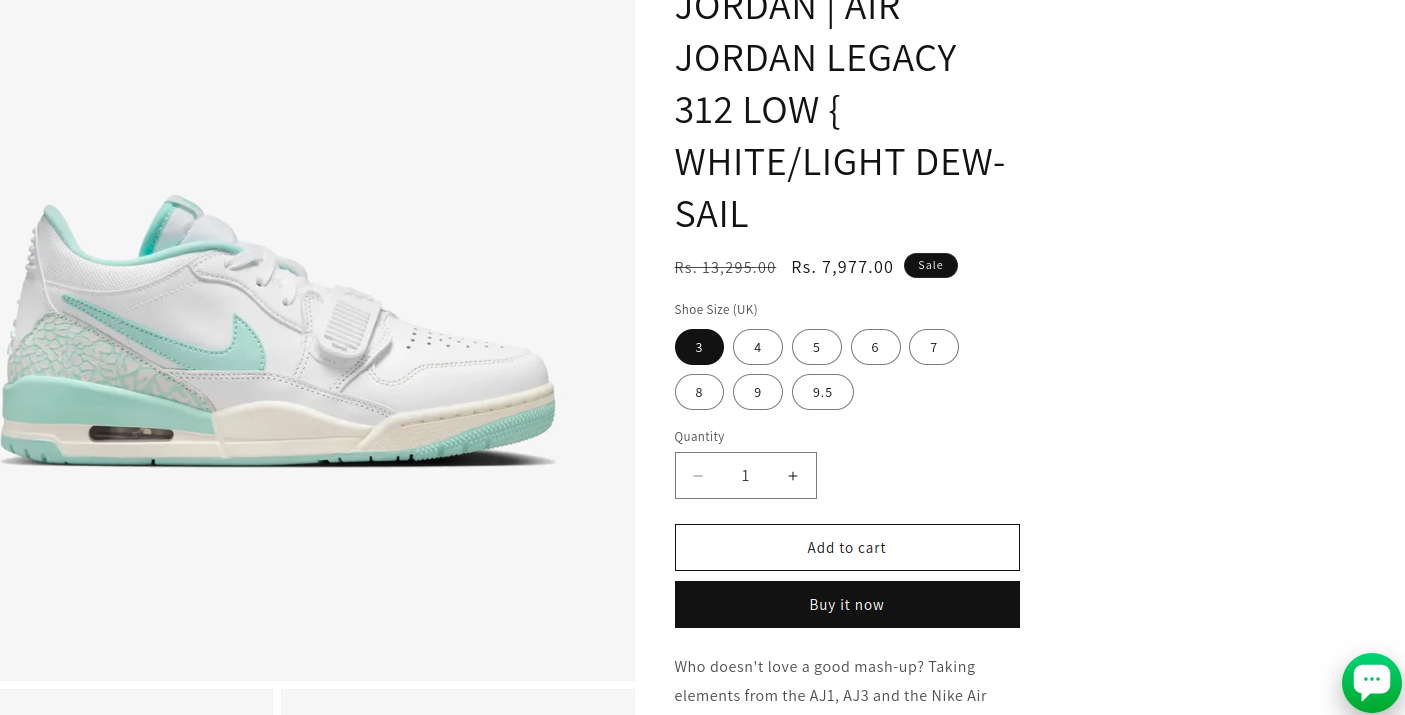
 Finally, the WhatsApp Link Share icon will be added to your store.
 Order on WA
The Order on WhatsApp feature allows customers to quickly place orders via WhatsApp, streamlining the purchase process with just a few taps.
How to Create an Order on WhatsApp in Shopify?
On the dashboard in the MIT WhatsApp Widgets: 4 in 1 app for Shopify, click Order on WA to start creating a widget.
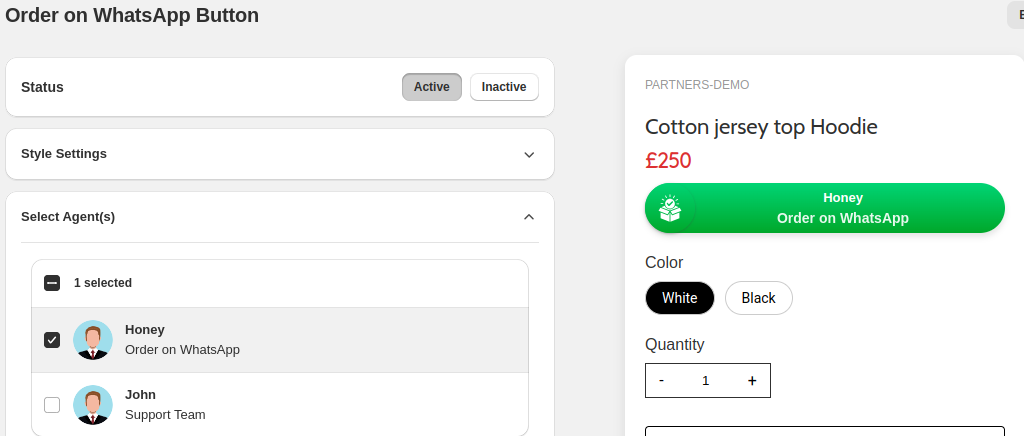
Change the status to Active for the widget.

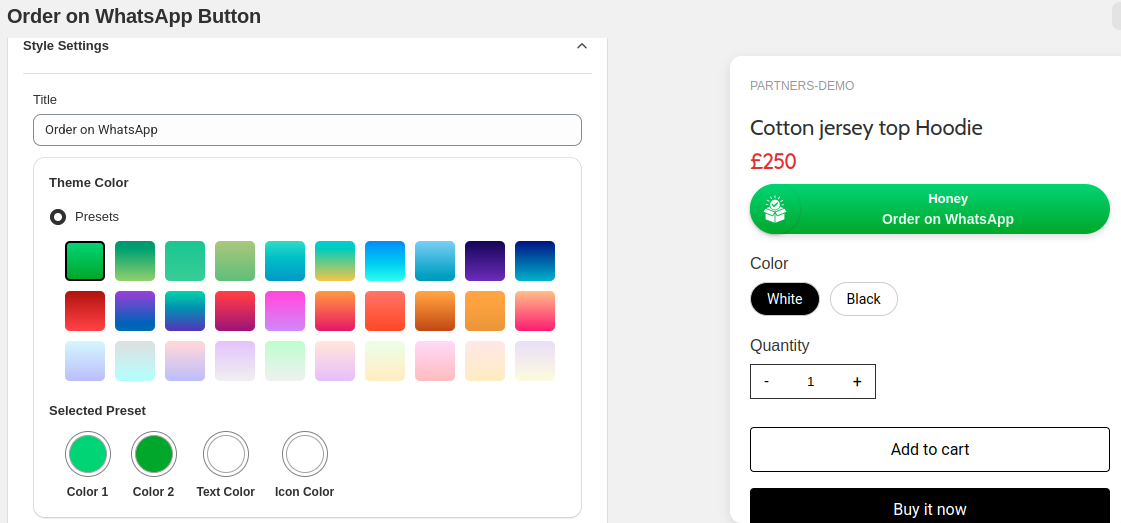
In the Style Settings, configure the way you want to show the widget. Here, you can change:
- Colors for widget background, text, and icon
You'll also get a live preview of the order on the WhatsApp widget on the right side as you configure these settings.
 In the settings, you also get options to:
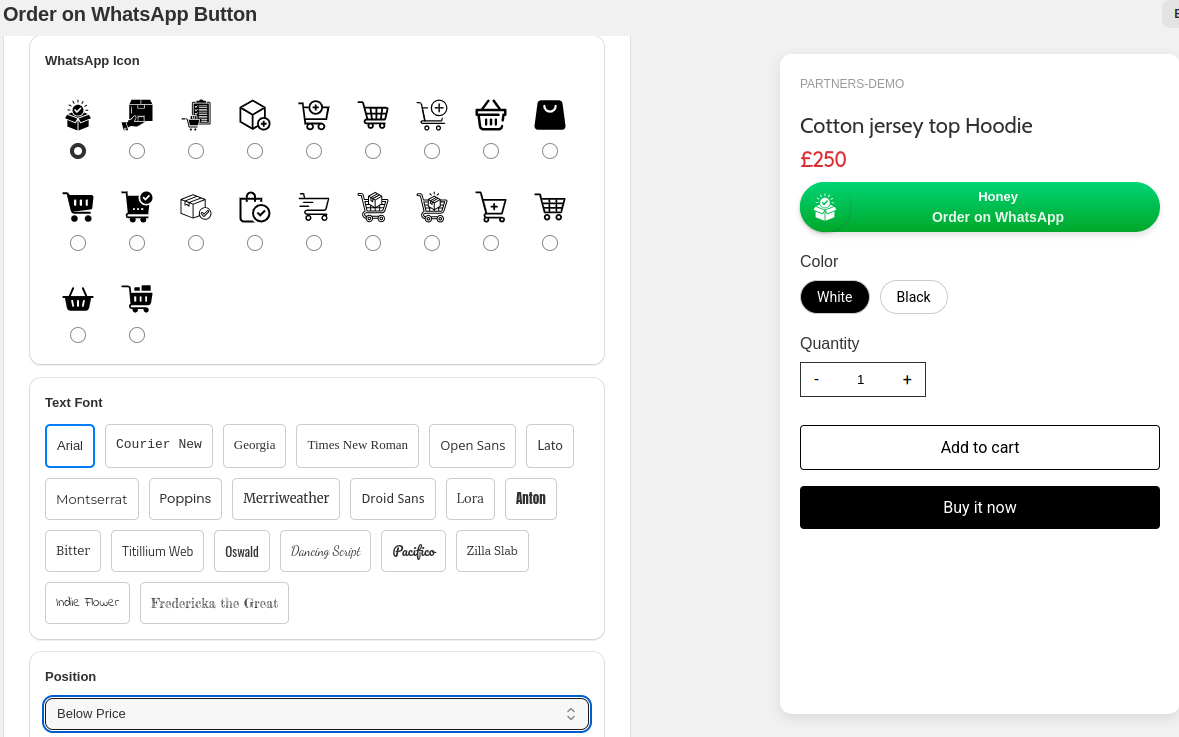
Icon for the order on WhatsApp
Change text font style
Set the position of the order on WhatsApp widget from Below Price/ Below Name or Custom position.
Select Agent
In the Agent selection, choose the relevant profile to display in the order on WhatsApp widget
If you do not have any agents, you may need to create one first.
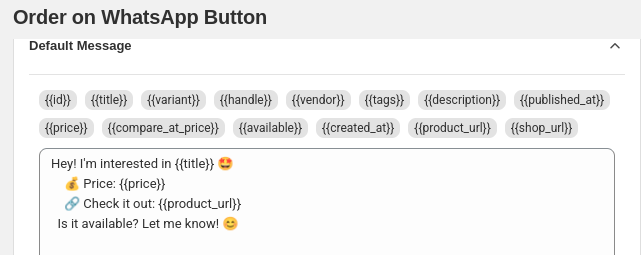
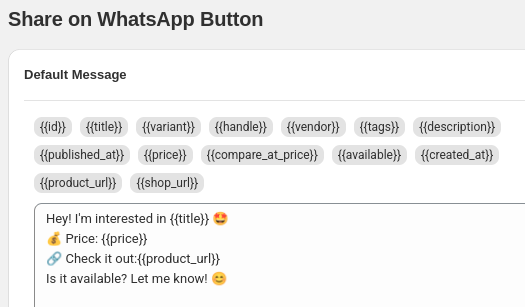
In Default Message settings customize the WhatsApp message template in the way you want the message to arrive when someone places the order.
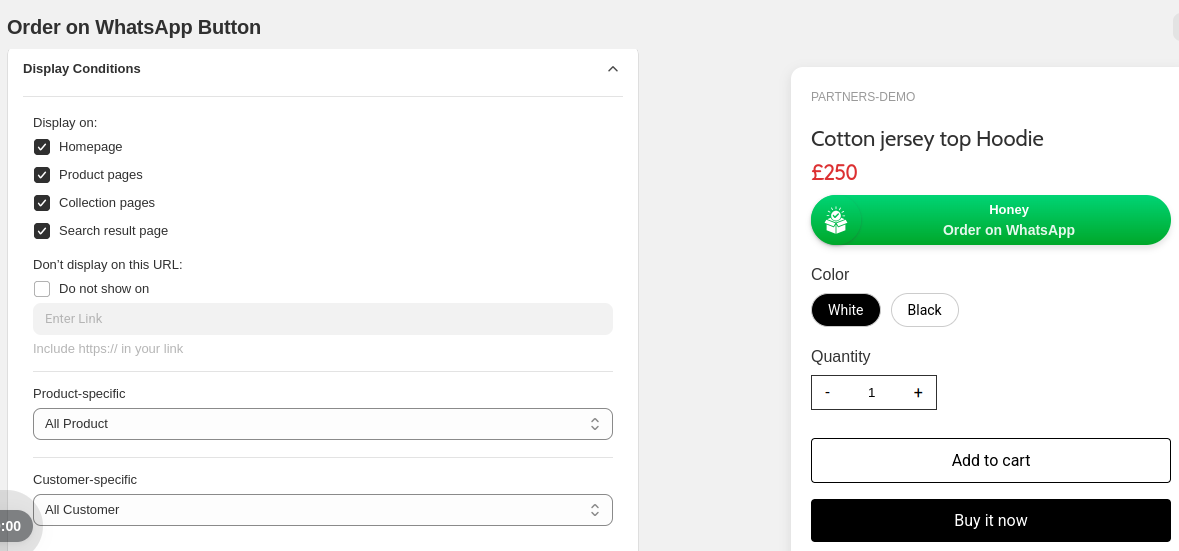
In Display Condition set the condition in the way you want the Order on WhatsApp widget to display on your store.
Select the pages on which to display the widget
Enable do not show on and enter the link on which you do not want to display the Order on WhatsApp widget.
Select product specific display
Select customer specific display
Finally you will see the created order on WhatsApp widget listed.
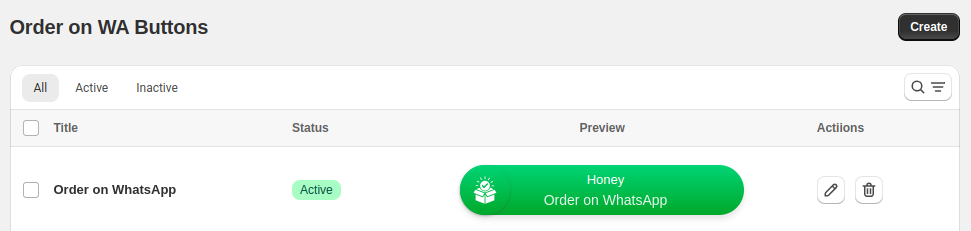
Note: You can create multiple Order on Whatsapp widgets.
Finally, the order on WhatsApp icon will be added to your store.

Share Product
Want to share your liked products on WhatsApp? Let's do that.
With just one tap, customers can share their favorite products from your store directly on WhatsApp.
How to Create WhatsApp Share Products in Shopify?
On the dashboard in the MIT WhatsApp Widgets: 4 in 1 app for Shopify, click Share Product on WhatsApp to start creating a widget.
Change the status to Active for the widget.

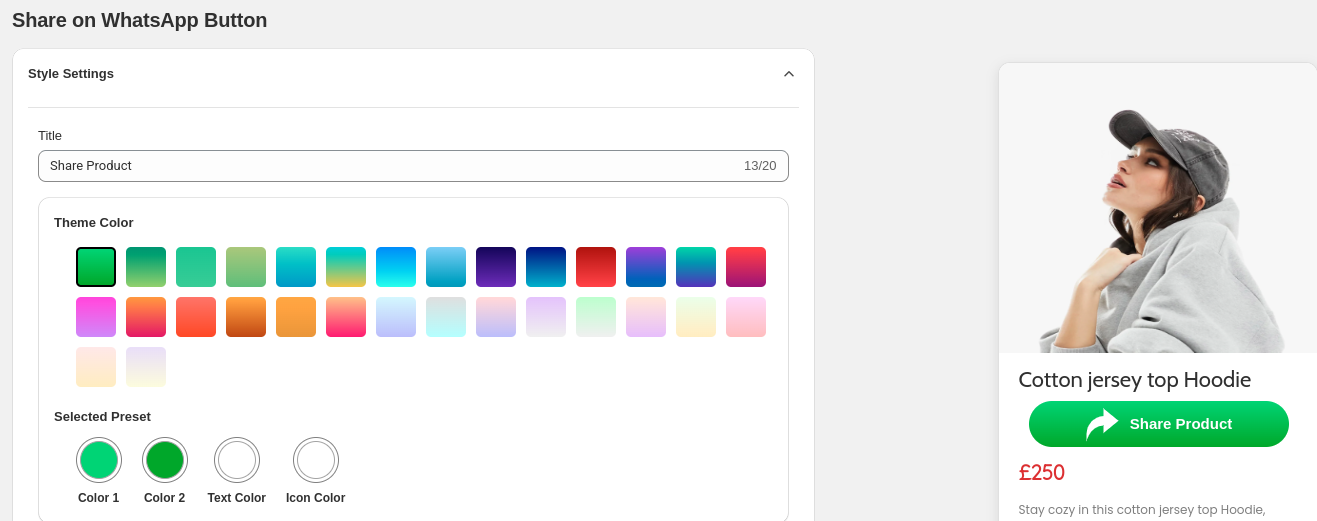
In the Style Settings, configure the way you want to show the widget. Here, you can change:
- Colors for widget background, text, and icon
You'll also get a live preview of the share product on WhatsApp widget on the right side as you configure these settings.
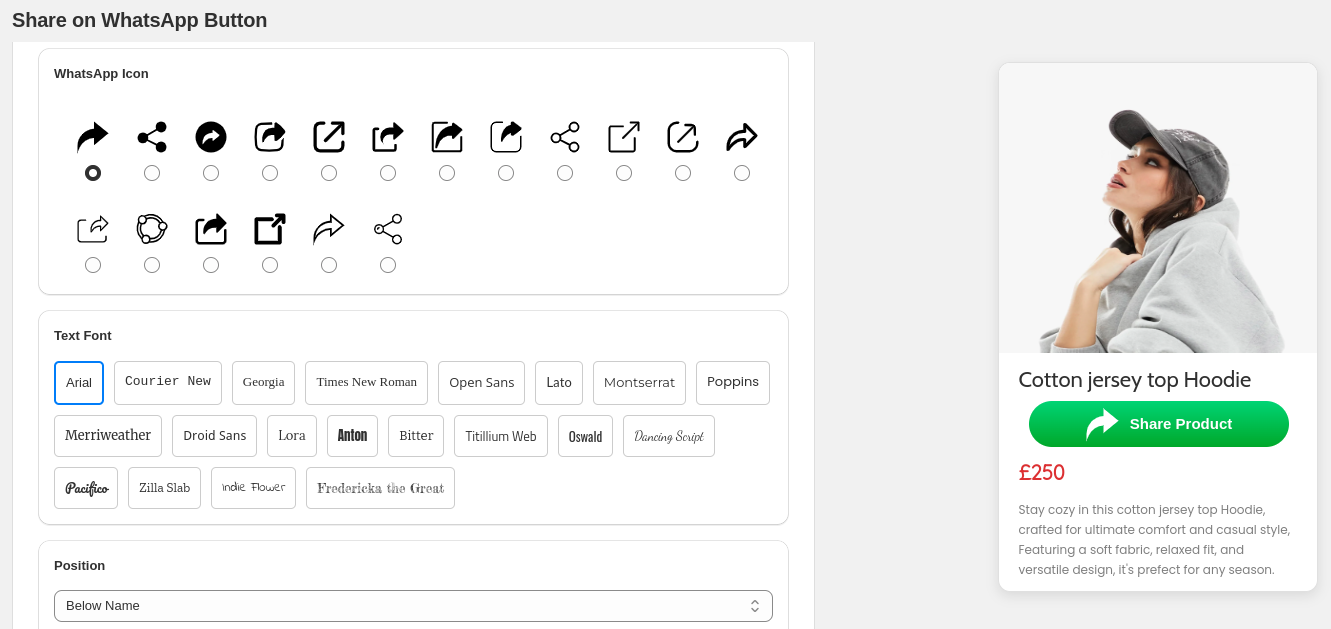
In the settings, you also get options to:
Icon for the order on WhatsApp
Change text font style
Set the position of the share product on WhatsApp widget from Below-price/Below-name or custom position.
In Default Message settings customize the WhatsApp message template in the way you want the message to arrive when someone shares the product.
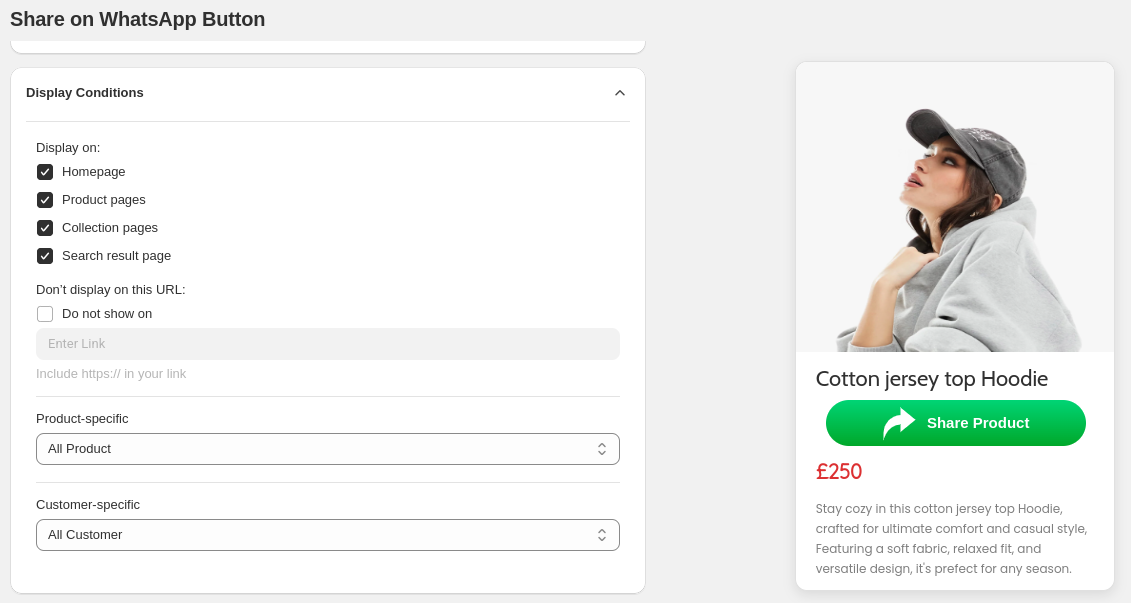
In Display Conditions set the condition in the way you want the Order on WhatsApp widget to display on your store.
Select the pages on which to display the widget
Enable do not show on and enter the link on which you do not want to display the Order on WhatsApp widget.
Select product specific display
Select customer specific display
Now you will see the created Share Product on WhatsApp widget listed.
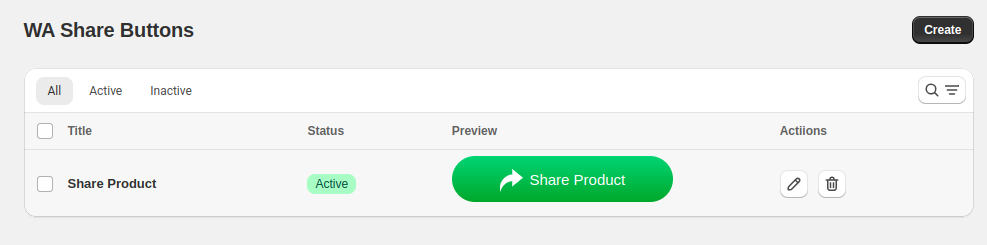
Note: You can create multiple WA Share Buttons.
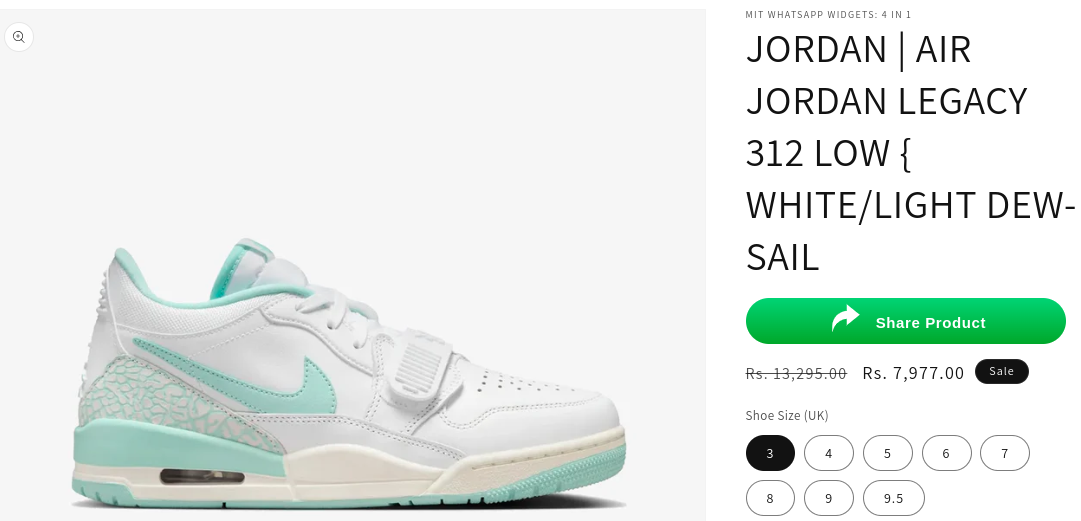
Finally, the Share Product on WhatsApp icon will be added to your store.
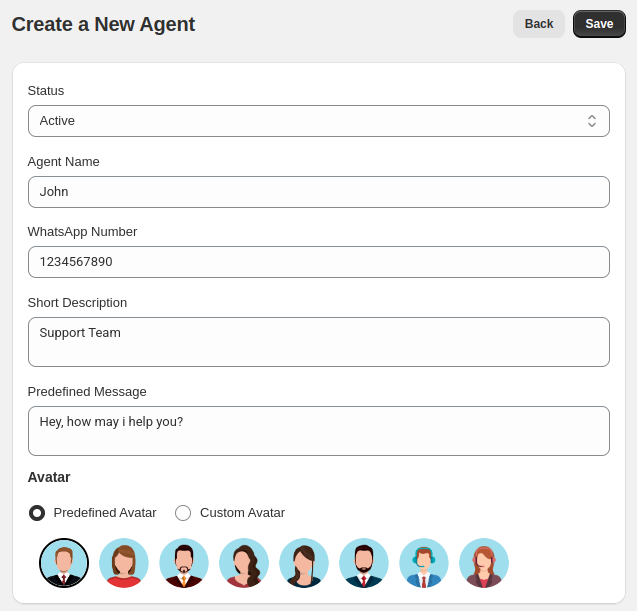
Manage Agents
Choose the relevant profile to display in the widgets. Click Create and create a new agent.
Set the status to Active for the widget.
Enter the name you want to make appear as the chat agent's identity.
Add the agent's WhatsApp phone number.
Provide a brief role or title for the agent.
Set a message that users will see when initiating chat.
Choose a predefined or custom image to visually represent the agent.
Finally, you will get all your created agents listed. You can create, edit, and delete the agent details from here.
