MIT Sections Pro for Shopify - User Guide
Welcome to MIT Sections Pro! This app is designed to help you build a stunning, high-converting Shopify store without touching a single line of code.
We go far beyond your theme's standard options, providing an ever-growing library of over 130 professionally designed, performance-optimized sections. You can add any of them directly to your theme in just a few clicks.
Many of our sections are completely free to use, and we are constantly adding more to the collection. This guide will walk you through exploring, trying, and using our sections to upgrade your store.
How It Works: A Quick Overview
Our app is built on a simple "Try Before You Buy" model:
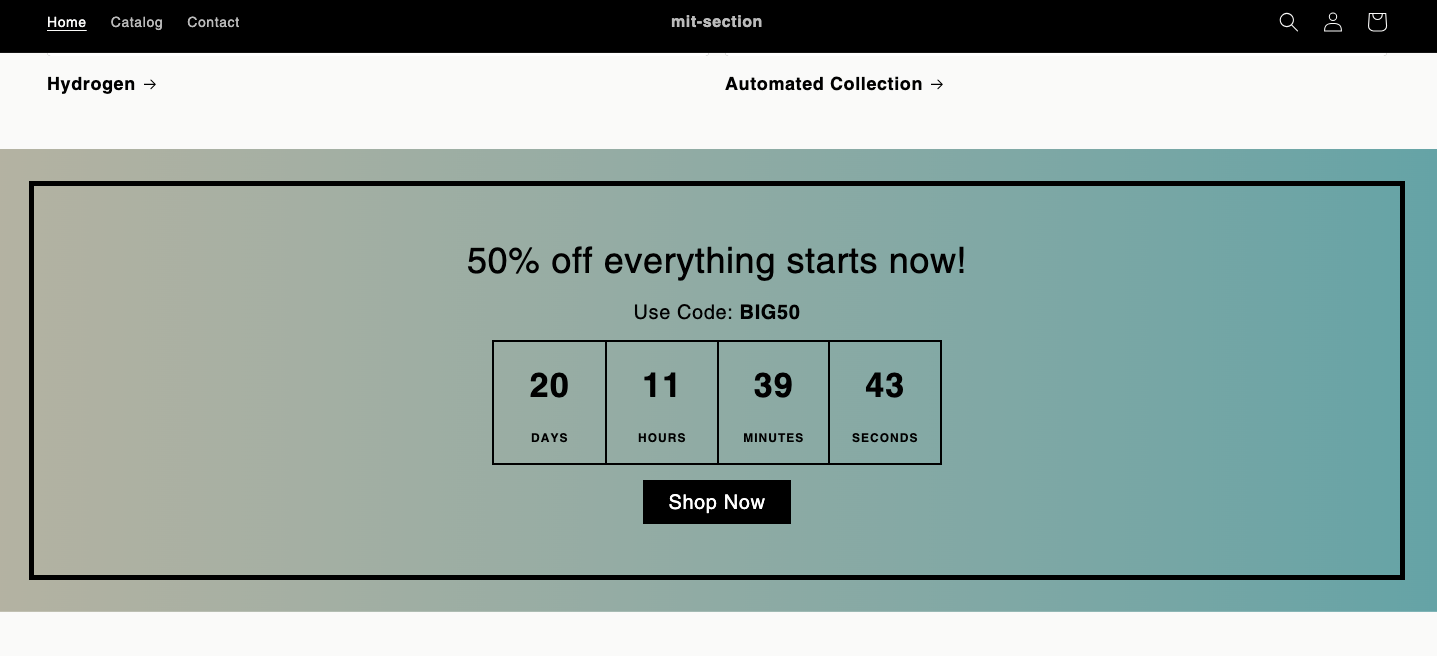
- Explore: Browse our massive library of 130+ sections (including collection sliders, shop-the-look galleries, countdowns, parallax effects, and more).
- Try in Editor for Free: Add any section (free or premium) to a demo theme. This lets you test its settings and see how it looks, risk-free.
- Use in Your Store:
- Free Sections: Apply them directly to your live theme.
- Premium Sections: Complete a one-time purchase to use them forever, then apply them to your live theme.
1. Explore Sections
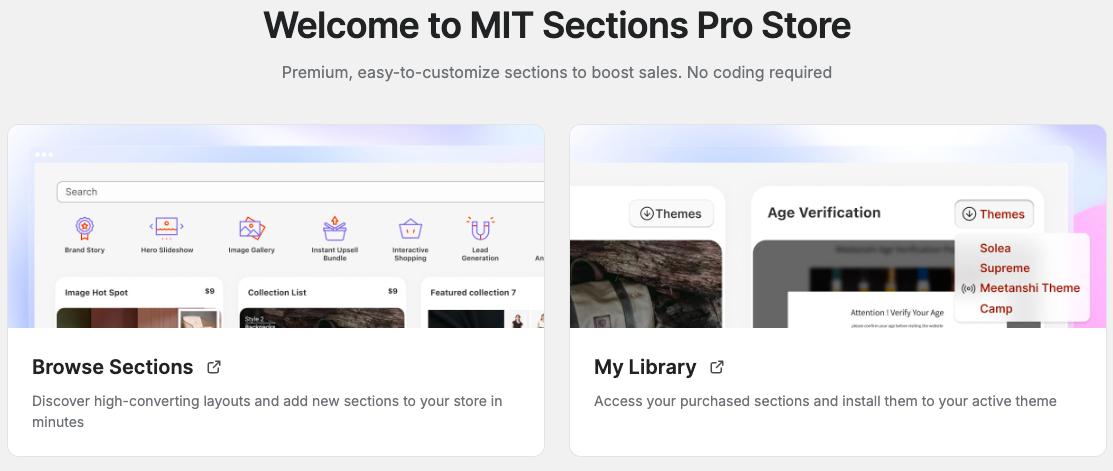
Start by discovering all the sections available to you.
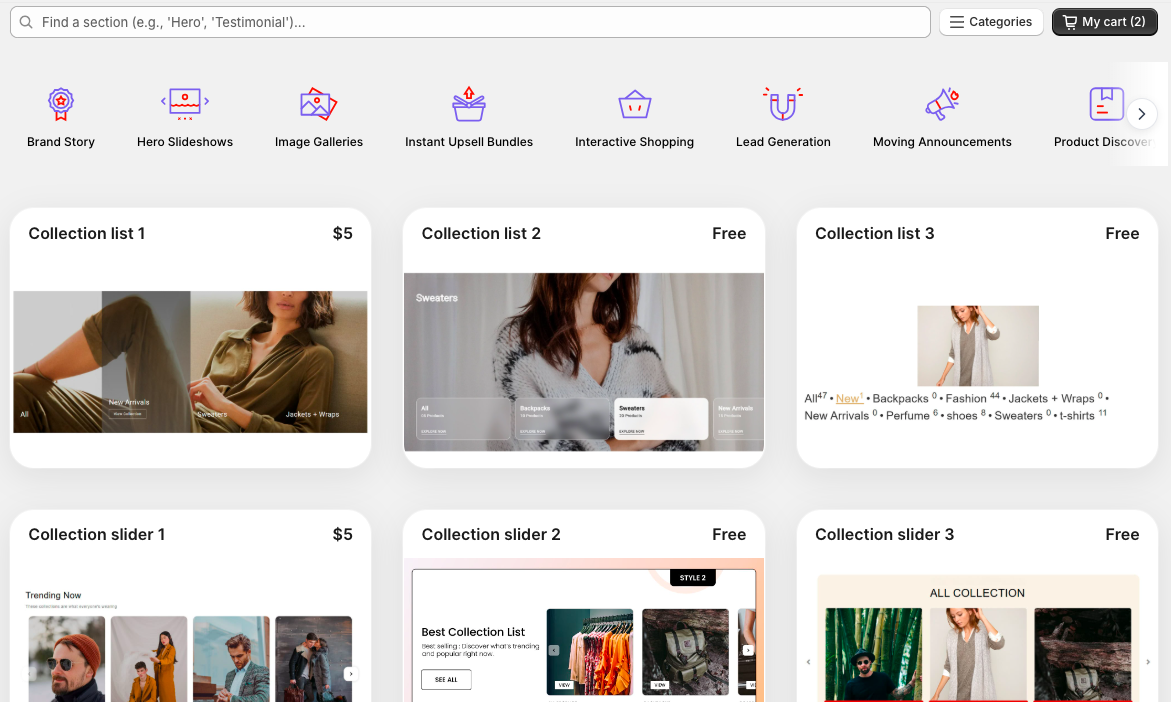
- From the app dashboard, select Browse Section to explore the wide selection.
- You'll find a variety of styles for different purposes, like countdown timers, collection lists, shop-the-look galleries, sticky add-to-carts, and much more.
2. Try a Section for Free
We believe you should be able to test-drive any section. This "Try" mode lets you experiment in a safe demo theme without affecting your live, customer-facing store.
- Once you've found a section you like, click Try in Editor.
- The app will open the Shopify theme editor in a demo theme.
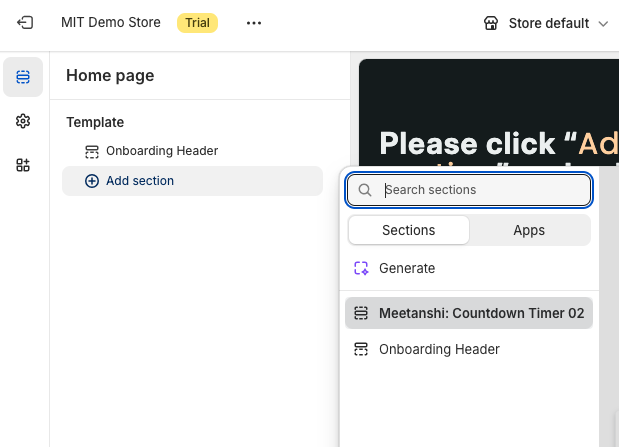
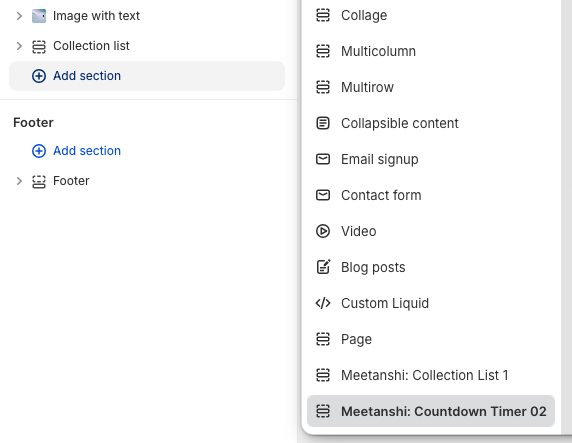
- In the theme editor's left sidebar, click Add section.
- Find the MIT Sections Pro section you just added (e.g., Meetanshi: Countdown Timer 02) and click it to add it to your page.
- Once added, you can fully customize its appearance and content to match your brand. This allows you to see exactly how it looks and functions before you decide to use it.
3. Use a Section in Your Live Store
When you're ready to add a section to your main theme, the process is simple.
A) Using FREE Sections
For any section marked as "Free," you can add it directly to your theme:
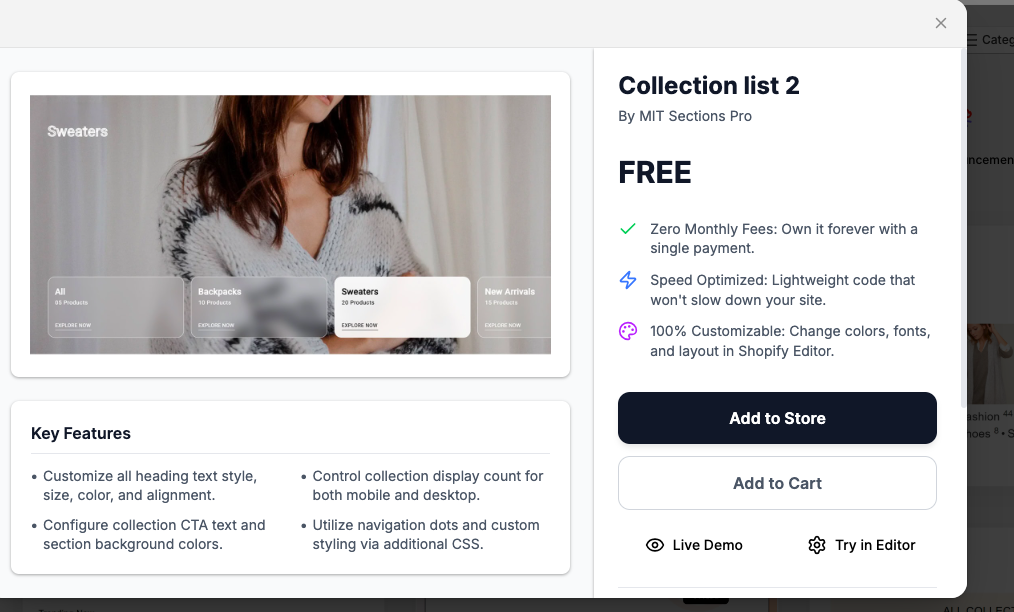
- Find the free section in the Browse Section library and click Add to Store.
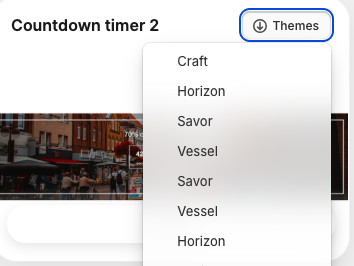
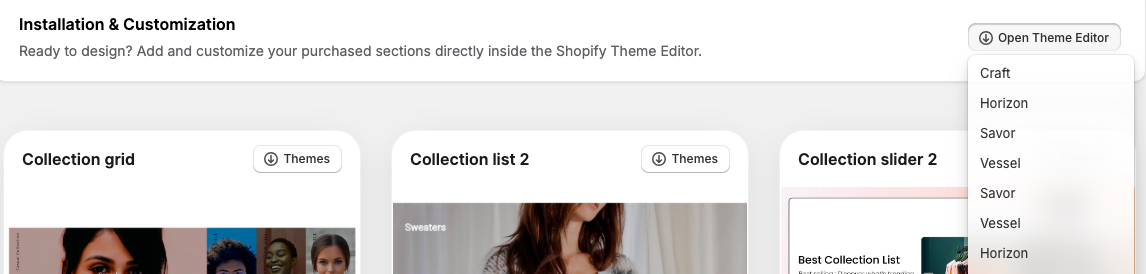
- Click Themes.
- Select the theme you want to add the section to and click Open theme editor.
- In your theme editor, click Add section, find the free section (e.g., Meetanshi: About Us 01), and add it to your page.
- Customize the settings and click Save. It's now live!
B) Buying & Using PREMIUM Sections
Once you have tested a premium section and are ready to purchase, follow these steps:
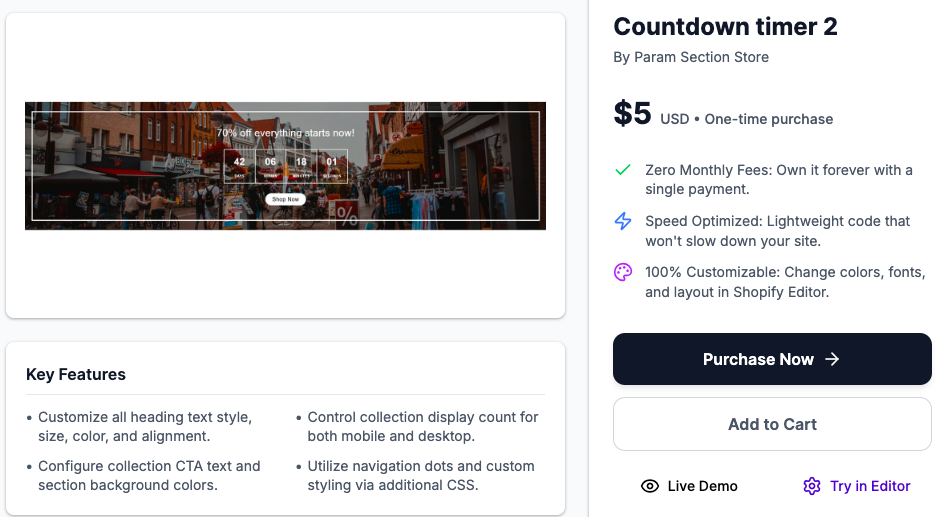
- Purchase the Section:
- Back in the app, find the section and click Purchase now.
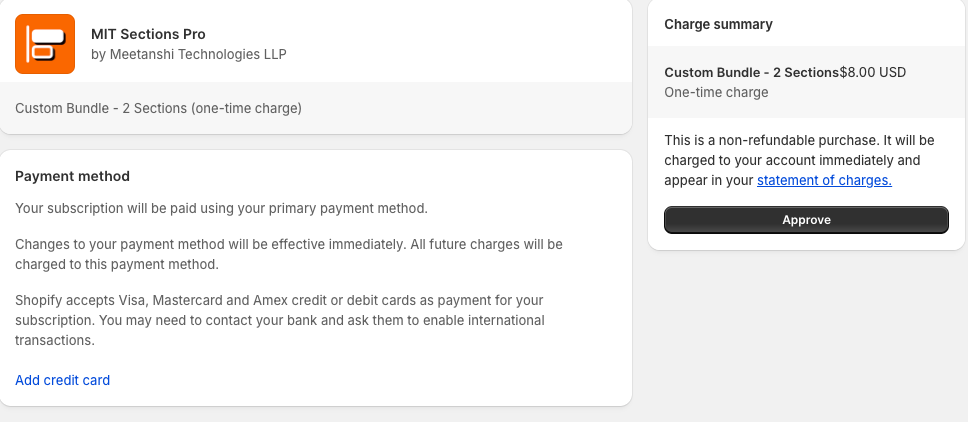
- The price is a one-time charge, allowing you to use the section forever.
- Select your payment method and click Approve.
- Themes:
- After purchasing, click Themes on the section.
- Select the live theme you want to add the section to from the dropdown menu.
- Add to Your Theme Editor:
- Click Open theme editor. This will open your selected live theme in the editor.
- In the left sidebar, click Add section.
- Find your newly purchased section (e.g., Meetanshi: Countdown Timer 02) and click it.
- Customize and Save:
- Once the section is on your page, use the settings panel to customize its appearance and content.
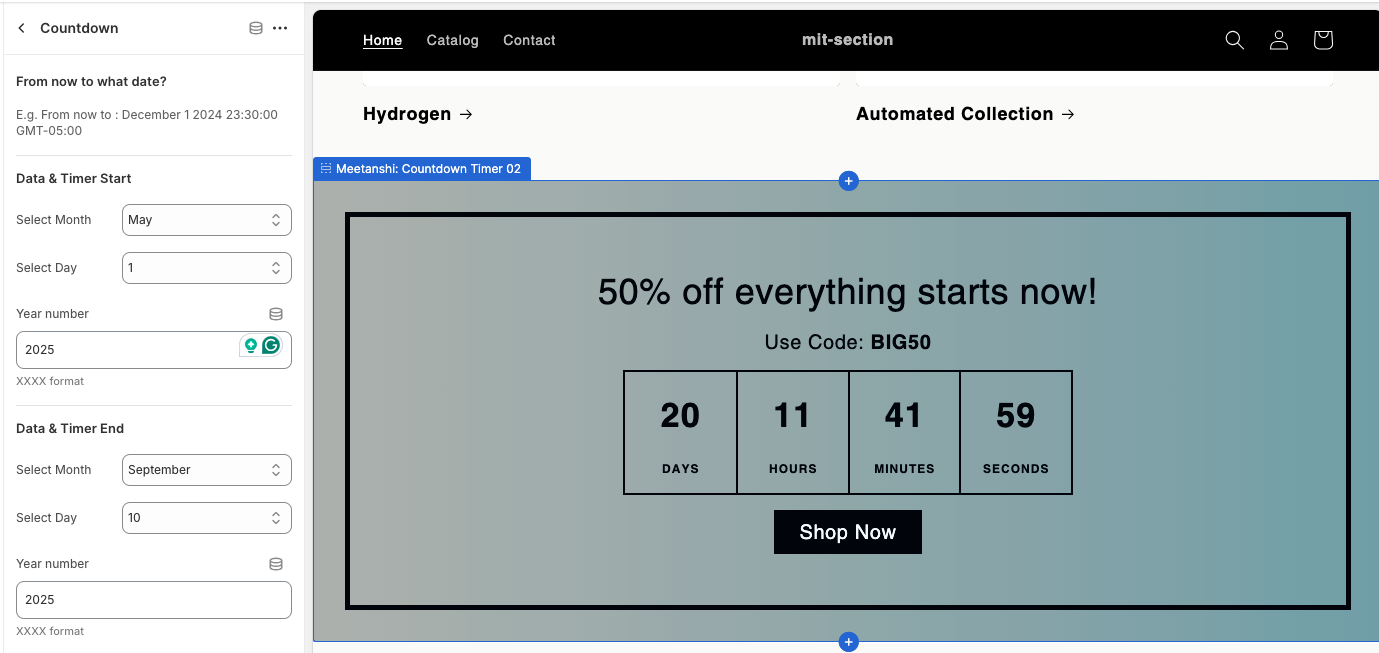
- When you're finished, click Save in the top-right corner.
The section is now successfully added to your live store!