Meetanshi AI Content Generator for Shopify - User Guide
Dashboard & Navigation Overview
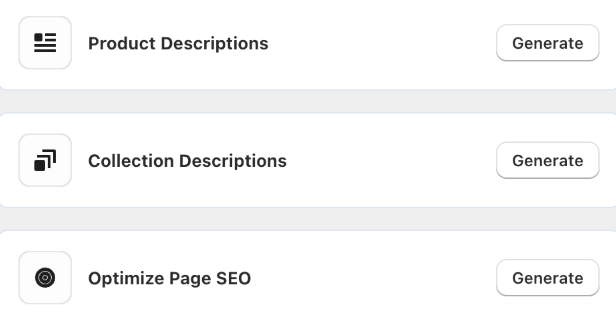
The app dashboard lets you quickly jump to different sections of the Shopify AI Content Generator app. It helps you navigate to the following important sections:
- Product Descriptions
- Collection Descriptions
- Optimize Page SEO
- Unlimited Mode (Premium Only)
Based on your plan, on the top-right of the dashboard you will find the plan name and the credits.
Using the left-hand side navigation menu, you can move to the other important sections of the app, like Dashboard, Products, Collections, Pages, Purchase Credits, Plans, and Help Center.
How to Bulk Edit Shopify Products, Collections & Other Pages Content?
Step 1: Navigate to the Specific Pages
From the app dashboard, select Generate and navigate to either the Products, Collections, or Pages section based on the content you want to create.
For example, we will go ahead with the Products section.
Step 2: Select the Items to Bulk Edit
Here, you will find the product name and a quick analysis of the missing SEO Title and SEO Descriptions that the app extracts. This helps you quickly identify which items need content.
Go ahead and check the boxes next to all the items you wish to update.

Step 3: Click “Bulk Generate Content”
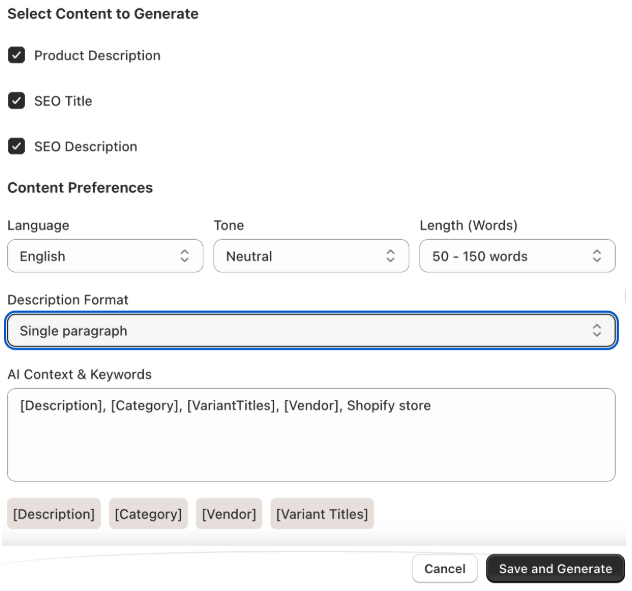
Select the "Bulk Generate Content" button (located at the top of the page) and define the content settings for AI to generate content for this batch of products:
- Check the boxes for the content you want to create (e.g., Product Description, SEO Title, SEO Description).
- Content Preferences:
- Choose the output language.
- Select the brand voice (e.g., Professional, Neutral, Friendly, and Playful).
- Set the desired word count (e.g., 50 - 150 words).
- Choose how the description should be formatted (e.g., single, 1, 2, or 3 paragraphs, or customize it).
- Add relevant keywords and provided variables (like [Category], [Vendor], and [VariantTitles]) to give the AI more context for better results.
Once all settings are configured, click "Save and Generate" to start the bulk creation process.
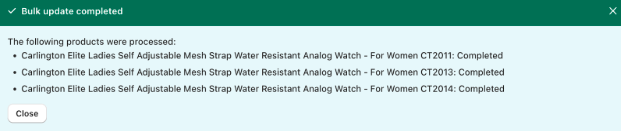
Then, the Shopify AI app will start doing its work and update the content in just a few minutes. Additionally, the SEO analysis will also change in the product grid.
If you wish to edit the content of a specific product, simply click on the "Edit Content" button column in the product list. This will take you to the content generation page for that item.
Now, follow the same method to bulk edit content for collections, and other store pages.
How to Purchase Additional Credits?
If your plan uses credits, your current balance is visible in the top-right corner of the dashboard. When you run low, you can easily purchase more.
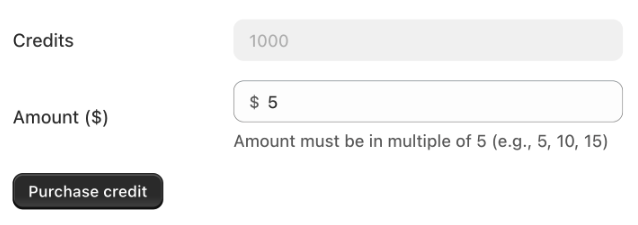
Navigate to Purchase Credits from the left-hand menu. Then, enter the amount you wish to spend. The amount must be in a multiple of 5 (e.g., 5, 10, 15).
The "Credits" field will automatically update to show you how many credits you will get for that amount.
Finish this up using the "Purchase credit" button to complete your purchase. The new credits will be added to your account.
Generate Unlimited Content Using Different AI Models
Use popular AI models and their latest versions—like the GPT series, Google Gemini, and Anthropic's Claude—to generate unlimited content using your favorite AI tool.
This feature allows you to connect your own language model API to generate content without any limits
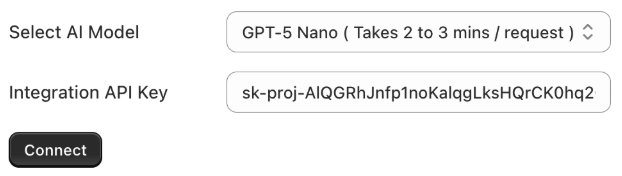
- Navigate to the "Unlimited Mode" settings in the app dashboard.
- Choose your desired AI model from the dropdown list (e.g., Gemini 2.5 Flash-Lite (Cost Efficient)).
- Paste your personal API key from your AI model provider into this field.
- Click the "Connect" button to save and activate the integration.
Once connected, all your future content generation will be processed through your own API key.
Frequently Asked Questions (FAQs)
How to Get Your API Key?
To use this feature, you must get an API key directly from the AI model provider. Here
OpenAI (GPT Models)
- Navigate to platform.openai.com
- Log in and go to the "Billing" section to add a payment method.
- Navigate to the "API keys" section.
- Click "Create a new secret key," give it a name, and copy the key.
Google (Gemini Models)
- Navigate to ai.google.dev
- Log in with your Google account.
- Click "Get API key" and create one in a new project.
- Copy the generated key.
Anthropic (Claude Models)
- Navigate to console.anthropic.com
- Log in and navigate to the "Plans & Billing" section to set up payment.
- Find the "API Keys" section (usually under your Account Settings).
- Click "Create Key," give it a name, and copy the key.
How Much Does the API Cost?
The API cost is based on tokens. You pay your chosen AI provider a tiny amount for the content you generate. The cost is broken down into input (your prompt) and output (the AI's response).
| Model | Input Cost (per 1M tokens) | Output Cost (per 1M tokens) |
|---|---|---|
| Gemini 2.5 Flash-Lite | ~$0.10 | ~$0.40 |
| Gemini 2.5 Pro | ~$3.00 | ~$10.00 |
| GPT-5 Nano | ~$0.05 | ~$0.40 |
| GPT-5 Mini | ~$0.25 | ~$2.00 |
| GPT-5 (Latest) | ~$1.25 | ~$10.00 |
| Claude Haiku 4.5 | ~$1.00 | ~$5.00 |
| Claude Sonnet 4.5 | ~$3.00 | ~$15.00 |
Models like Gemini 2.5 Flash-Lite and GPT-5 Nano are extremely cost-effective.