Adding products to Shopify is easy, but making them SEO-friendly is a must for them to get visibility on the search results.
Learn here how to add products to Shopify all by yourself and make them discoverable.
How to Add Products in Shopify? – Step-by-Step
Step 1: Head to Products on Shopify
Log into your Shopify admin panel, head to Products, and click Add Product from the right-hand side.

Step 2: Add SEO-friendly Product Details
Fill in the product details below and stay detail-oriented here.
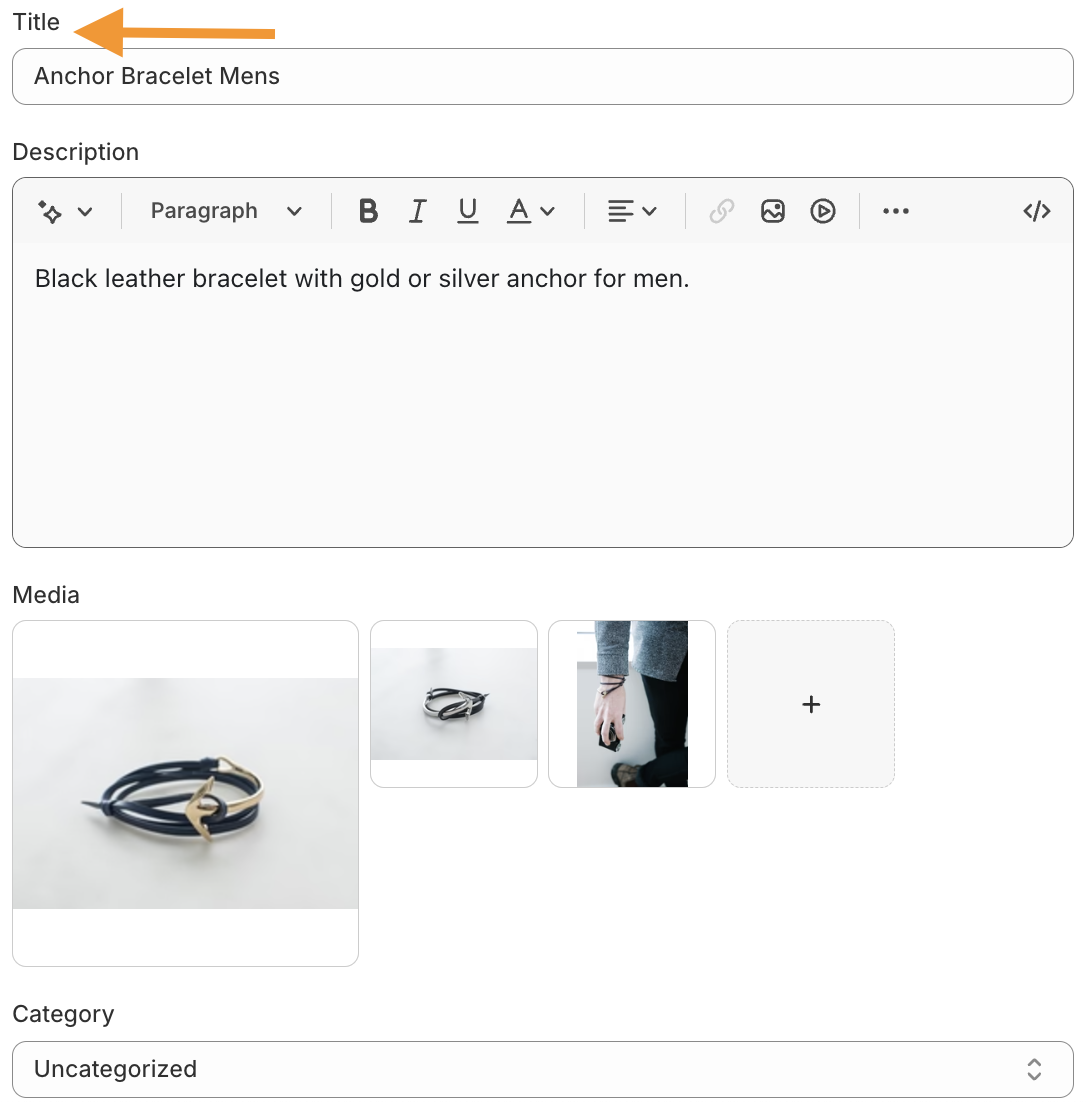
- Product Title: Write a product title under 60 characters
- Product Description: Write a complete product description
- Media: Upload files in Shopify and add product images/videos
- Category: Select your product category from the dropdown
Step 3: Add Your Product Pricing
Scroll down and set the Pricing.
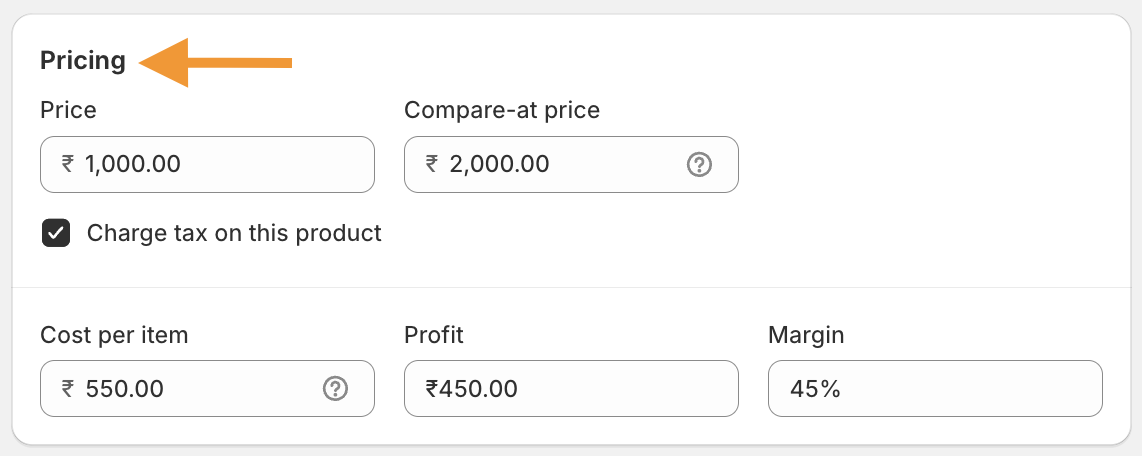
- Price: Mention the product price
- Compare-at price: If you offer any discount, use this to show the original price along with the discounted product price
- Tax details: Check the box, if you charge sales tax or any other tax for the product
- Cost per item: This is helpful to track the profit margin. It is not visible to your shoppers
Step 4: Manage Your Inventory & Shipping Information
Next in line for you is Inventory and Shipping details.
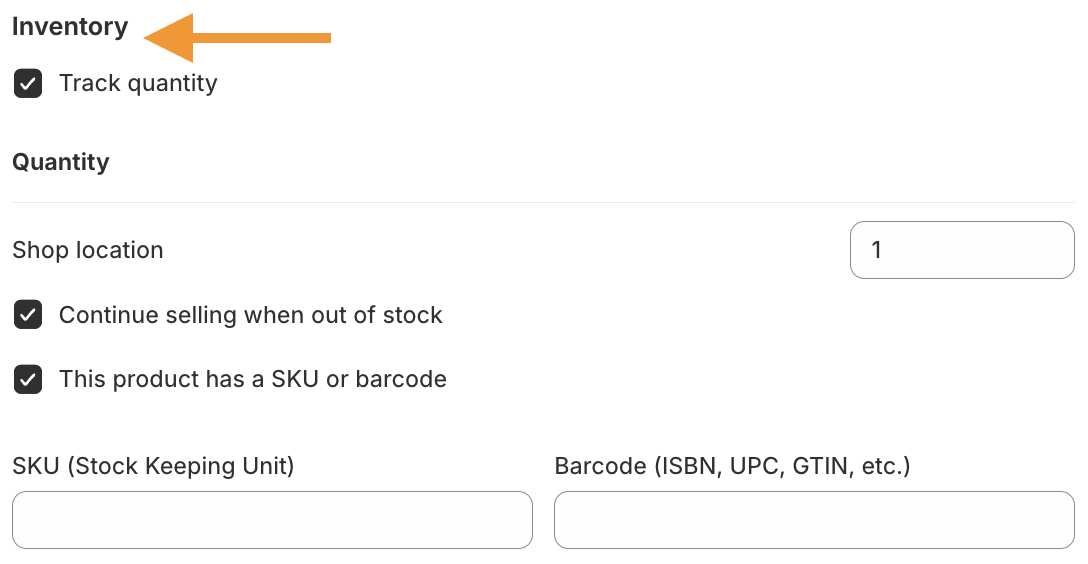
For inventory details:
- Check the box if you want to manage the inventory
- In the box add the number of stock you have for the current product
- Option to continue selling when out of stock
- Add SKU or barcode details, if you product has any
Now, for shipping details.
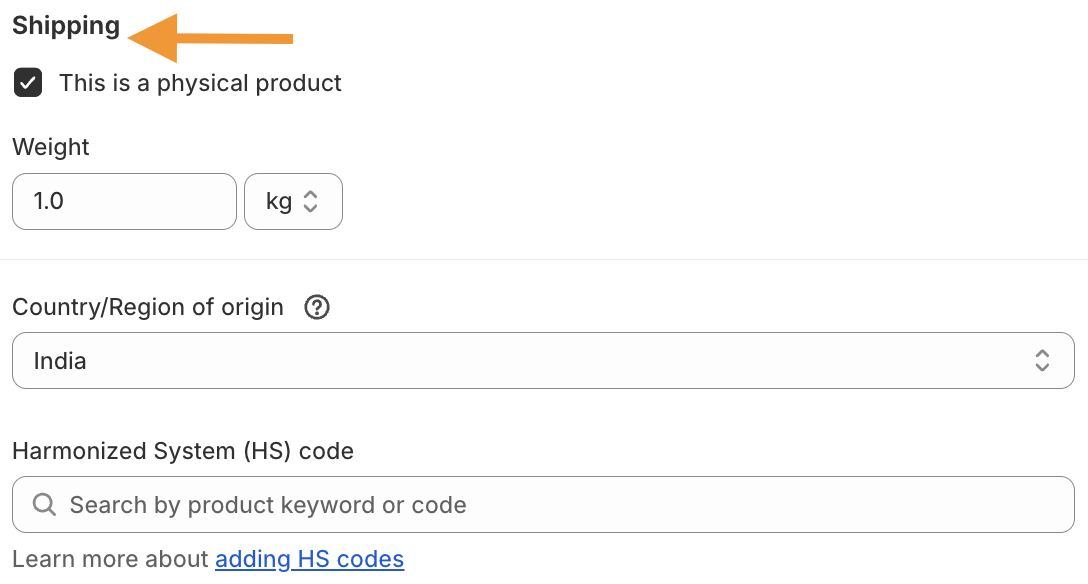
- Select if you are selling a physical product (in the case of a digital product, skip it) and enter the product’s weight
- Add customs information like the country/region of origin and the HS code
Step 5: Add Product Variants
Click on + Add Variants options to add different options for your product, like size or color, and fill in the product information.
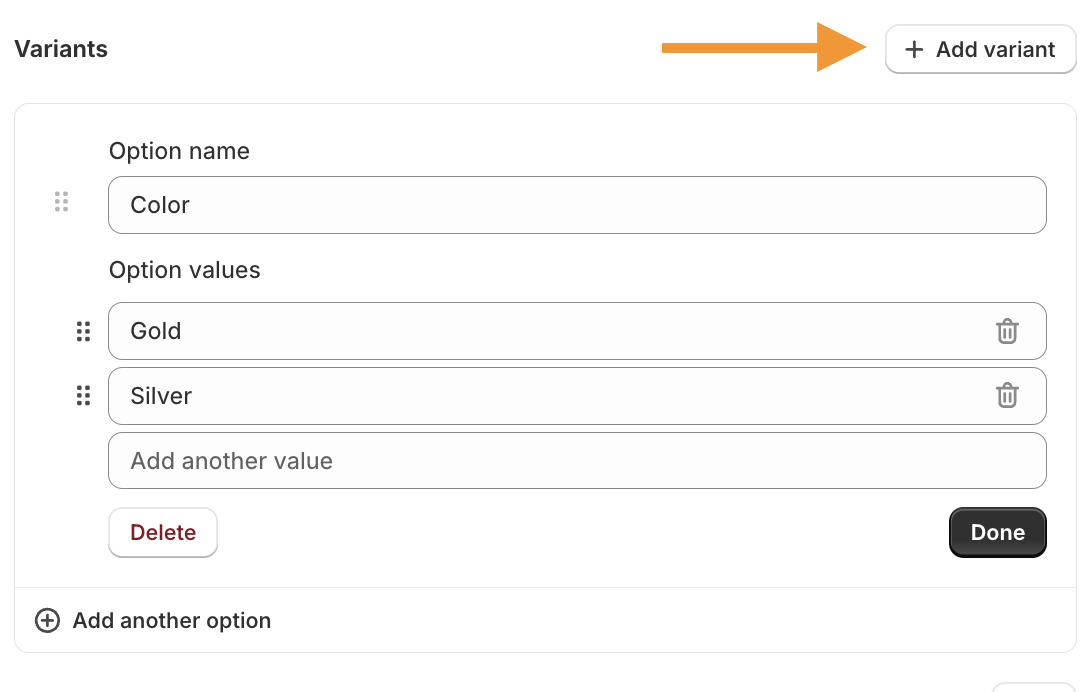
Below this, you will see a Metafields, which is used to display specialized information that you can skip.
Step 6: Edit Search Engine Listing
By default, Shopify will pick the product title and product description that you entered in the first step here.

You can click on edit and make changes accordingly. Here are some SEO practices to follow:
- Keep your title under 60 characters
- Keep your meta description under 160 characters
- Edit the URL handle, if needed
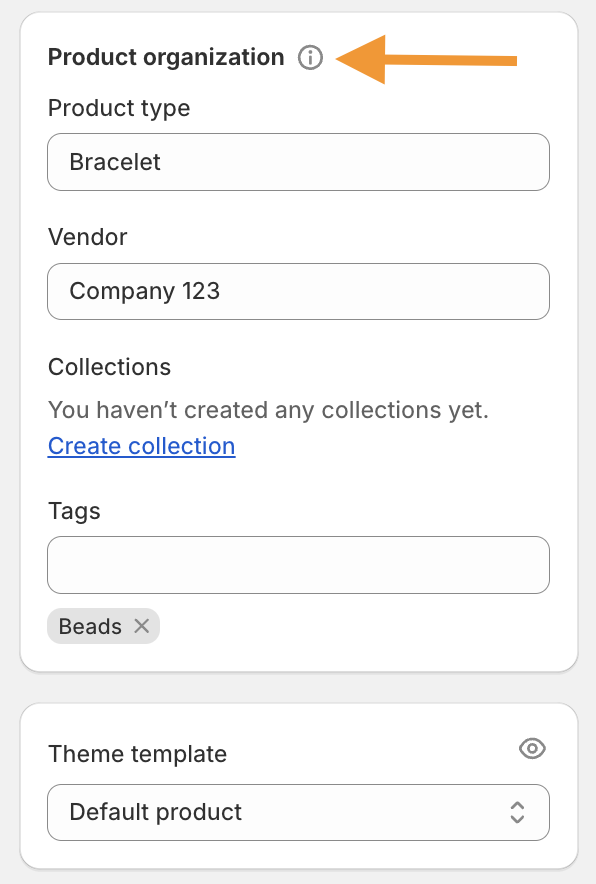
Step 7: Product Organization and Theme Template
Now, scroll up and move to the right-hand side of the dashboard. You will see Status, Publishing, Product organization, and Themes.
Let’s see product organization first:
- Mention the product type (t-shirt, jeans, top, etc)
- Select the vendor for this product
- Create a collection and add it or skip
- Add tags related to the products
Then, set the Theme template as it is — the default product.
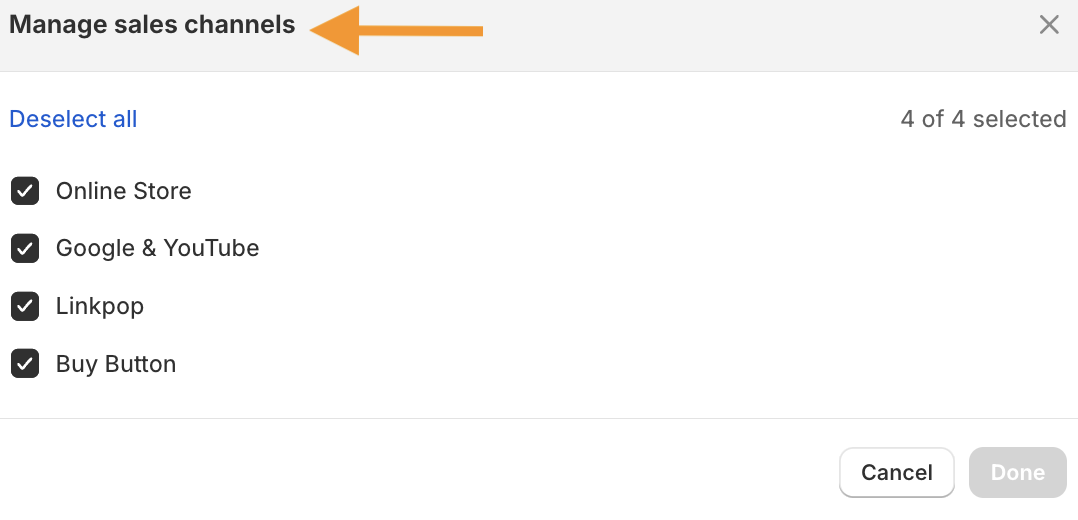
Step 8: Select Sales Channel, Market & Status
Click on the three dots next to Publishing and select the Manage sales channel. Simply select the channels where you want to sell your product.
Similarly, repeat the steps and select Manage Markets. Shopify would have picked the primary market based on your location; you can select an international market as well.
Lastly, set your store’s status and click save to finish.

This way, you have finished adding a product to Shopify. You can then create collections and product bundles or add a frequently bought products together section to manage how your products display to your shoppers.
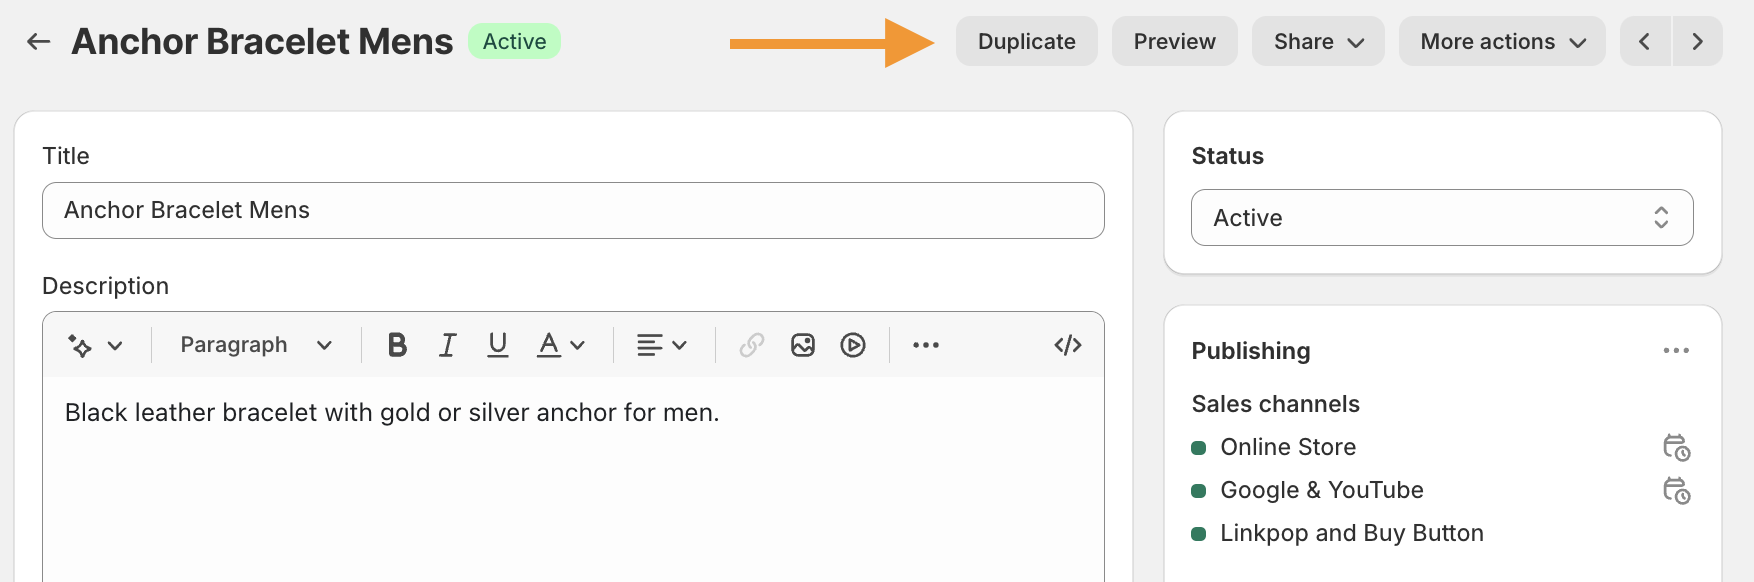
Create a Duplicate Shopify Product Page
After you create one Shopify product page, you can easily duplicate it to directly start editing for the 2nd product.
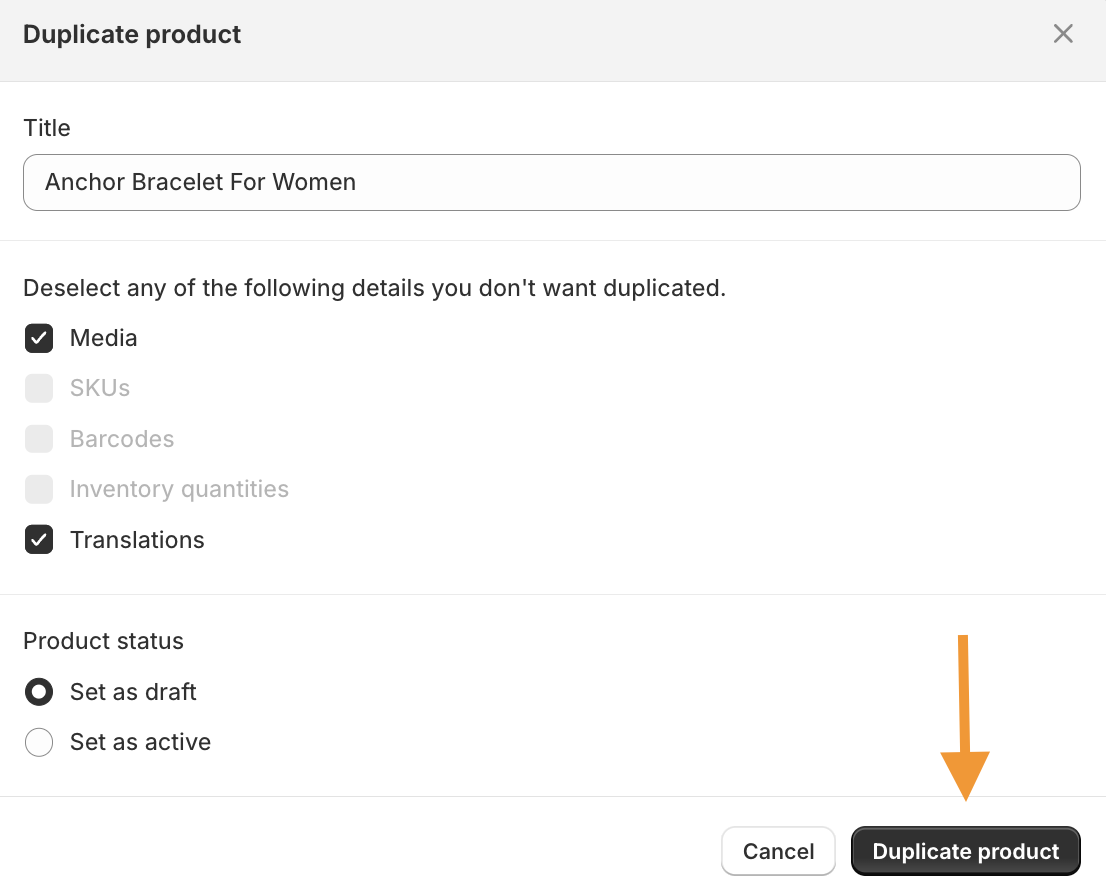
Head to Products > All Products. Click on the product you want to duplicate and select the Duplicate box.
Give a name to the duplicate page, and click Duplicate product again.
Now, you start editing the duplicate page. This is a way to instantly add your product when you are building a store with 2-4 products.
If you have thousands of products, then you need to import products using a CSV file.
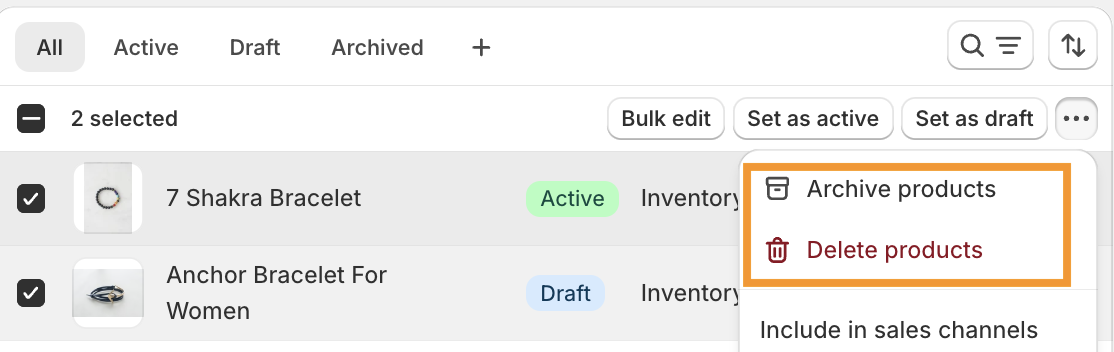
In case you wish to archive or delete any product page, head to the product dashboard, select the products, click on the three dots, and select the action from the dropdown.
Frequently Asked Questions
How to Add Multiple Products to Shopify?
You have two options here: you can either upload a CSV file or install a third-party app.
How Many Products Can You Add on Shopify?
There is no product limit set by Shopify. You can add unlimited products.
Can You Add Custom Products to Shopify?
Yes, you can create and add customized products to Shopify.
Make Your Products Shine On SERP
Adding products on Shopify is your first win. Then, timely organize and manage products in bulk to improve store efficiency.
You can also include a product comparison table for your shoppers to easily differentiate between your products and the competitors.
For a double-win, make sure to keep them search engine friendly so you don’t spend much time again optimizing for search results.
Don’t leave your store setup to chance—trust the experts to handle it for you!
Hire Us Now