Migrating from WordPress to Wix might appear daunting, but it doesn’t have to be complicated. Numerous website owners opt for this change due to its user-friendliness, design options, or improved functionality.
If you’re thinking about switching to Wix, this blog post provides a step-by-step method to switch from WordPress to Wix to make sure your transition is seamless.
But first, let’s understand why it is beneficial to move website from WordPress to Wix
Why Migrate from WordPress to Wix?
Here are some benefits of WordPress to Wix migration:
- Keep your website always up and secure with the hosted platform. Unlike WordPress, you don’t need to take care of hosting, security, backups, and updates.
- Reduce dependency on third-party plugins and solutions, which would pose security risks.
- The drag-and-drop interface in Wix is significantly more user-friendly than WordPress’s block editor or custom-coded themes.
- The platform’s ease of use, combined with its integrated eCommerce features, enables businesses to launch and grow their online presence quickly and effectively. As Wix is good for ecommerce.
In a nutshell, Wix is a choice If you are looking for an easy to use CMS that doesn’t require much of your time or resources. Also migrating from wordpress to Wix is beneficial as the platform Wix offers built-in SEO features that will make your migrated site optimization straightforward.
WordPress to Wix Migration Checklist
Migrating WordPress to Wix needs to be done with careful planning and execution. The following technical checklist will help you ensure that the migration is complete and that all critical components such as content, URLs, SEO settings, and functionality are transferred seamlessly.
1. Set Up a Wix Site
The first step to transfer WordPress to Wix is setting up your new Wix site. This includes selecting an appropriate pricing plan, choosing a template, and configuring essential settings. To begin with this:
- Sign up for an account at Wix and choose your plan.
- Configure basic settings such as site name, meta descriptions, and homepage layout. You can also use Wix templates to design your site.

2. Create Required Pages
Once setup is done, you can create/design required pages like home page, contact us, and about us. Here are the steps to create a page in Wix:
- On your Wix dashboard, go to Pages and create new pages.
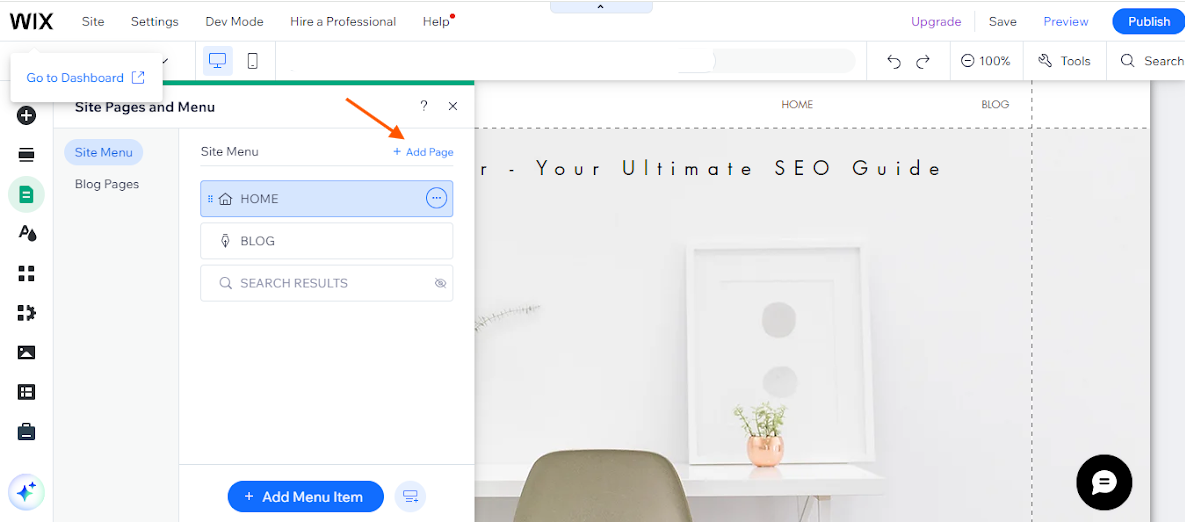
- Copy and paste your content into the corresponding Wix pages.
- Use Wix’s design tools to arrange your content, making sure it looks good on both desktop and mobile views.
- Try to keep your URL structure same as your WordPress site. This will preserve your existing search engine rankings by avoiding broken links or redirections.
3. Import WordPress Blog Posts
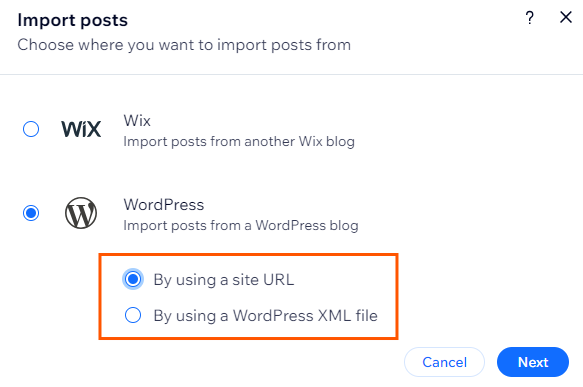
If your WordPress site has posts, you can easily transfer them to Wix using the in-built import features. You can import the posts by site URL or XML file exported from WordPress.
Here’s how you can transfer WordPress Blog posts to Wix by site URL:
- Go to Wix Dashboard > Blog and click on More Actions
- Select Import Posts and choose WordPress as the source
- Choose By Using a site URL and click Next
Confirm your rights to use the posts you wish to import and click Yes, Import Posts.
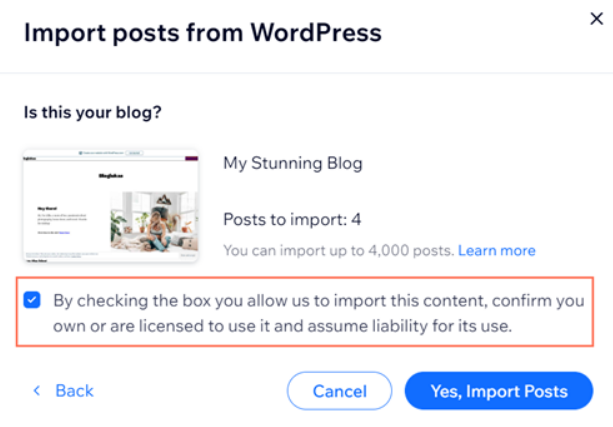
Once your posts have been successfully imported, you will see a success message.
4. Map Old to New URLs
Once you migrate pages and posts from WordPress to Wix, it may happen that some content may not be found on their old URLs due to different site architecture. However, you should try to follow the exact URL structure in Wix as your WordPress site.
In case you’ve changed URLs, you can redirect the old URLs to new ones.
- Export all URLs from your WordPress and Wix website (you can use sitemap file)
- In Google Sheet, compare all the slugs (URLs excluding domain part) to find changed URLs
- List out URLs that do not match between WordPress and Wix
You can use Wix’s Custom URL feature to manually adjust URLs. For other URLs, you’ll need to set up 301 redirects in the Wix site so that old URLs point to new ones.
5. Set Up 301 Redirects
For the old URLs that are not present in your Wix site, you’ll need to set up redirects.
Here’s how to do it:
- Go to the URL Redirect Manager in your Wix dashboard > Website & SEO > SEO
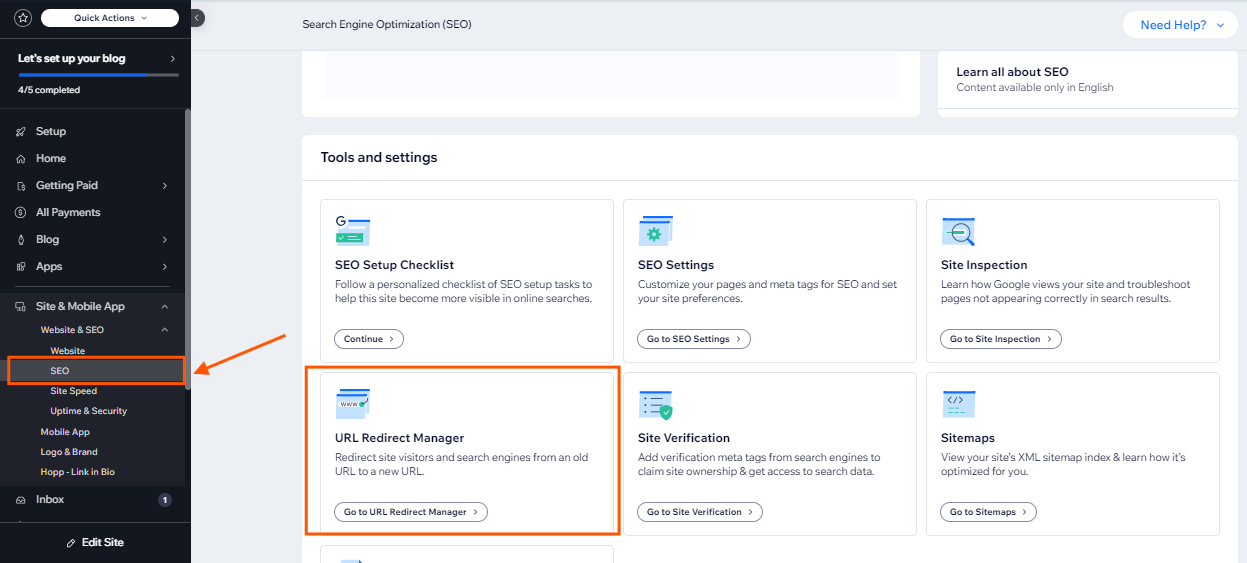
- Go to the URL Redirect Manager and upload the CSV file containing old and new URLs.
- After that, review and edit your redirects as needed.
6. Install GSC Verification Meta Tag
If you use the HTML tag verification method in Google Search Console, you may need to add that tag to the Wix site as well. This is to ensure that your Search Console property verification remains valid even after the migration.
- Go to your Google Search Console and get your HTML meta tag
- In your Wix dashboard, go to SEO Tools > Tracking & Analytics and paste the code
- Save the settings
Now, this will ensure that GSC remains verified even after the migration.
Note: If you’re using domain verification in Google Search Console, you can skip this step.
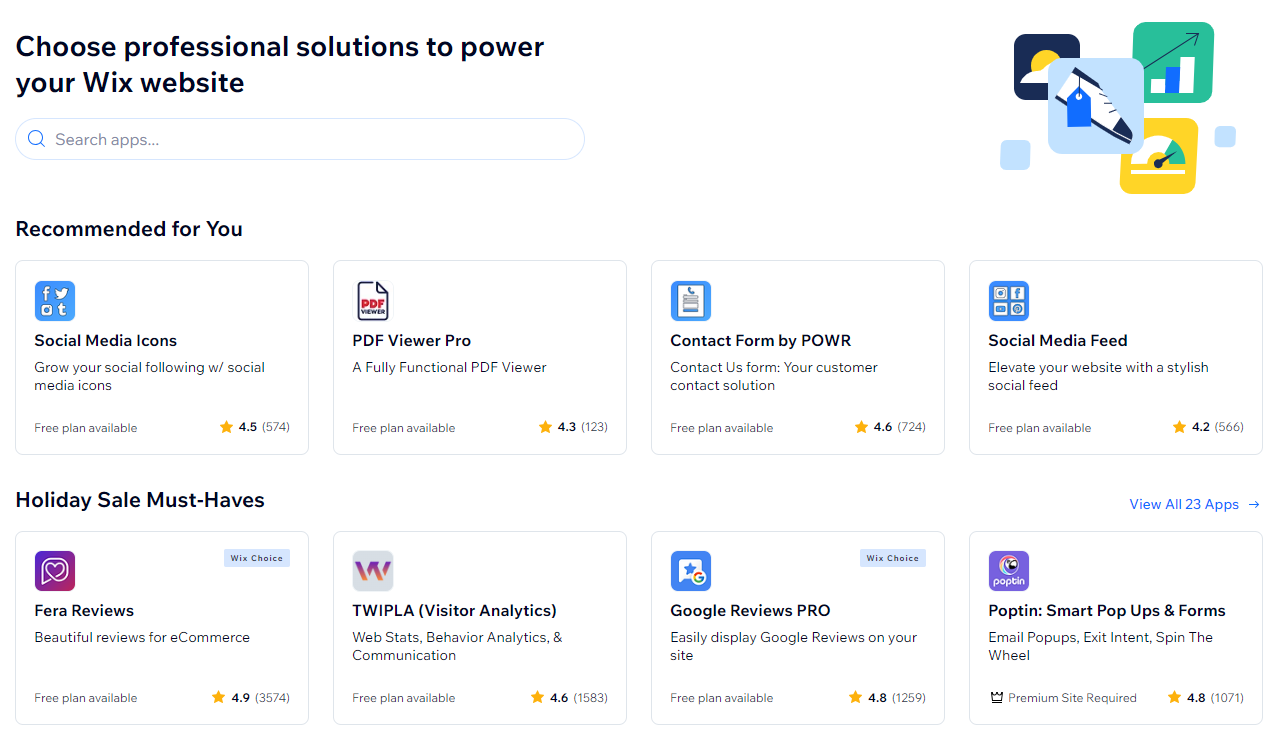
7. Install Essential Wix Apps
Wix’s App Market offers many apps that can do the same tasks as WordPress plugins. You should choose apps for SEO, analytics, and marketing to make your site versatile.
Check the Wix App Market and pick apps that work like your WordPress plugins.
8. Point Your Domain to Wix
Once your new site is ready, it’s time to make it live. You need to add your domain to Wix account and then update the name servers in your domain.
For this –
- First, log in to Wix and go to Domains.
- Click Add an Existing Domain > Connect a domain you already own.
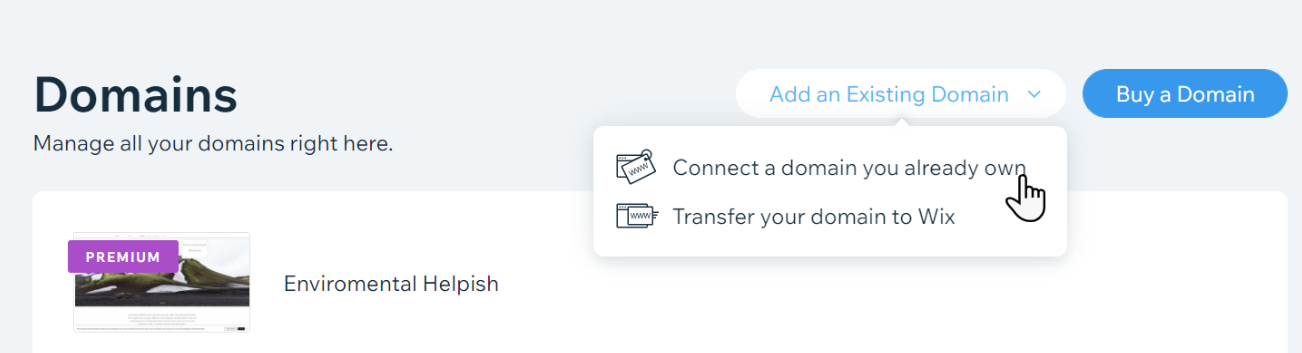
- Select your site and click Continue.
- Enter your domain name and click Let’s Go.
- Confirm Yes, I own this domain.
To update the name servers in your domain host account-
- Log into your domain host account
- Go to the domains section on your domain host’s site.
- Select your domain and open the settings panel.
- Return to the Wix page and click ‘I found my domain settings.’
Change the name servers:
- In your domain settings, look for where to edit name server records.
- Go back to Wix and click ‘I found the nameservers’.
- Remove the old name servers and enter the Wix name servers shown on your screen.
- Finally, click ‘I’ve replaced my nameservers’.
The changes may take up to 48 hours to come into effect.
9. Generate Sitemap & Submit to Google
Once your Wix site is live, you can generate a sitemap for the new site and submit it to Google Search Console for faster indexing.
- In your Wix dashboard, go to SEO Tools and click Generate Sitemap
- Wix will automatically generate an XML sitemap for your site
- In Google Search Console, navigate to the Sitemaps section and remove any old sitemaps
- Add a new sitemap with Wix sitemap address (typically yourwixsite.com/sitemap.xml)
10. Connect Wix to GA4 (Google Analytics)
Tracking your site’s performance through Google Analytics is crucial to monitor visitor behavior and site performance metrics after the migration.
- Sign in to Google Analytics 4 (GA4) and select the property for your site
- Copy the Measurement ID
- In your Wix dashboard, go to Settings > Marketing Integrations > Google Analytics and paste the GA4 Measurement ID into the field
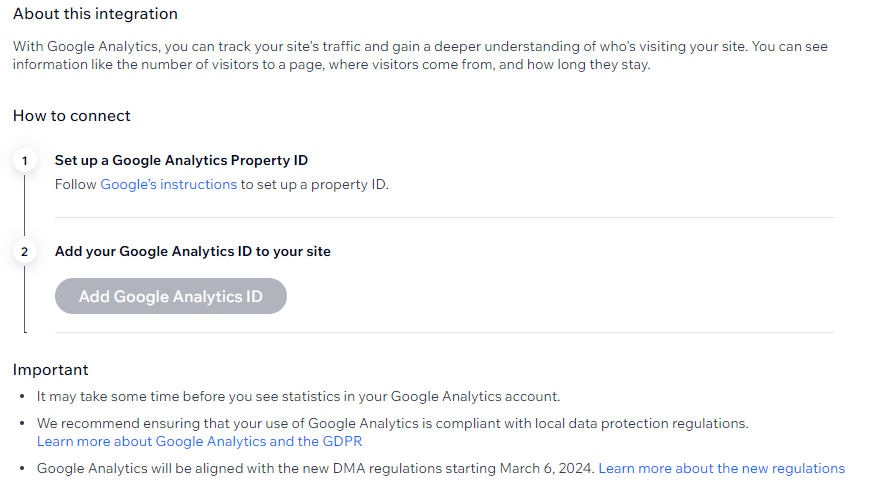
- Then, click Save to add GA4 to your Wix site
11. Monitor Search Console for Errors
Once your Wix site is live, keep an eye on Google Search Console for crawling and indexing-related issues.
Keep an eye out for 404 errors or crawl issues and sort them out right away (usually because of broken links or pages that are missing). Also, make sure to check regularly to make sure all the pages you’ve just made are showing up in the search results.
After successfully migrating your WordPress content to Wix, if you want to sell products on the platform add products to wix and and complete one more step in the migration process.
Ensure a Seamless WP to Wix Transition
Let’s hope your curiosity about how to migrate from WordPress to Wix is resolved now. Switching from WordPress to Wix can be a straightforward process if you follow the right steps.
First, take the time to back up your content to avoid any data loss. Then, set up proper redirects to maintain your SEO rankings and guide visitors to the right pages.
Finally, customize your Wix site to fit your brand and style. By carefully planning each step and using Wix’s easy-to-use tools, you can ensure a smooth and successful transition to your new platform without any hiccups.
