Moving from WooCommerce to Shopify is a great choice for online store owners.
This is because Shopify has top-notch features, more user-friendly options and better customer support.
However, migrating WooCommerce to Shopify can seem tricky if you are unfamiliar with the steps involved. But don’t worry – with the right tools, you can make the transfer in no time.
Why Should You Migrate WooCommerce to Shopify?
Even though WooCommerce is a powerful platform, there are a number of reasons why converting to Shopify may be better for your business:
- WooCommerce needs a lot of manual maintenance and in-depth technical expertise. This is especially challenging for store owners who are not strong at website development.
- It is hard to find compatible plugins and extensions as per your business’s specific needs on WooCommerce. This may greatly limit the store’s functionality and also cause compatibility issues.
In comparison, Shopify is a more streamlined e-commerce platform, especially if you plan to scale your business. It offers more features, can handle a large amount of traffic, and is easier to use.
Additionally, since Shopify is a hosted platform, it has the advantage of enterprise-level security. This includes benefits such as auto backups, PCI compliance and more.
What Data Can You Migrate from WooCommerce to Shopify?
Manually, you can only import the customer and product data into Shopify.
If you want to migrate other types of data, such as products, categories, coupons and orders, you need to use a third-party tool like Shopify Import Export app to import the collections into Shopify.
With the help of a third-party tool, in just a few steps, you can easily transport the following data categories, along with all their components:
- Products
- Product Categories
- Manufacturers
- Customers
- Orders
- Coupons
- Reviews
- CMS Pages
- Blogs
Steps to Migrate Your Store from WooCommerce to Shopify
You can choose to migrate your store either manually or with the help of an importer service, like Meetanshi.
- Manual migration: This is best suited for store owners who have less number of products, orders and customers and are comfortable formatting and data mapping by themselves.
- Importer service: This is ideal for all store owners who have a larger number of products, orders and customers and want to migrate efficiently and reduce errors. Using a service like Meetanshi also ensures that the experts take care of your website, and you have zero data loss or website downtime.
Also Read: Export Products From WooCommerce to Shopify
Migrate WooCommerce to Shopify Manually
Step 1: Create your Shopify store
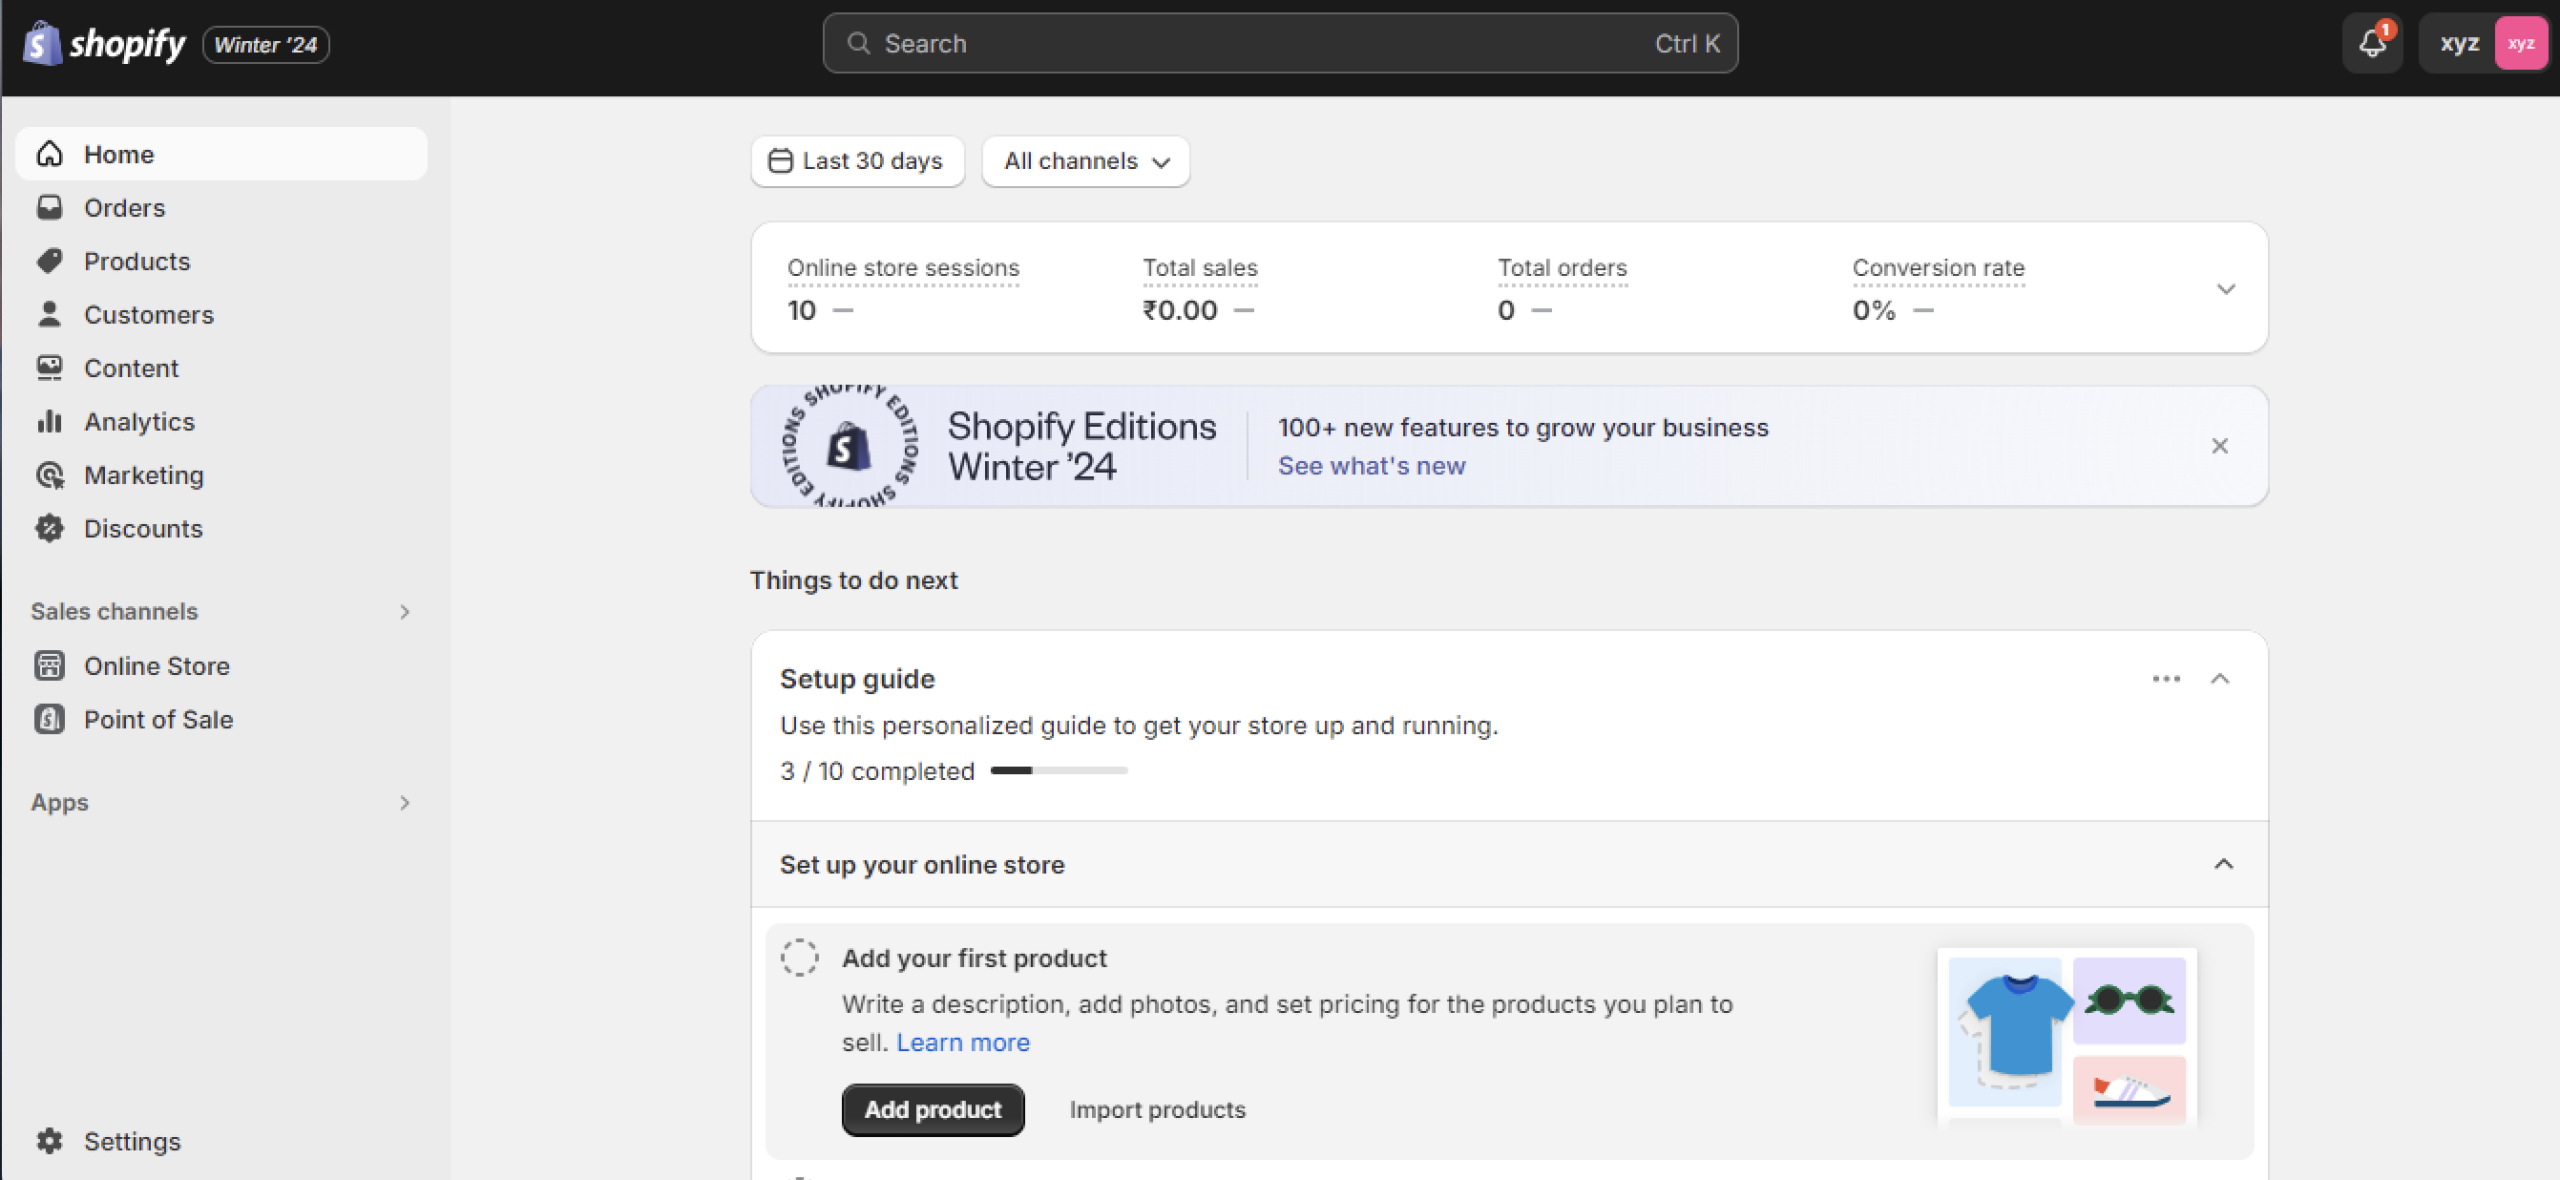
For this, visit Shopify, click on the ‘start free trial’ button. Then, enter your email, password, store name, country and currency. Click on ‘Create your store now’ and you will reach the admin dashboard.
Related Read: How to Set Up a Shopify Store
Step 2: Migrate data to Shopify
After the Shopify login, we are ready to migrate to WooCommerce. For this, log in to your WooCommerce store.
Now, let’s export the data first:
1. Head to your WordPress admin panel
2. Navigate to Tools > Export
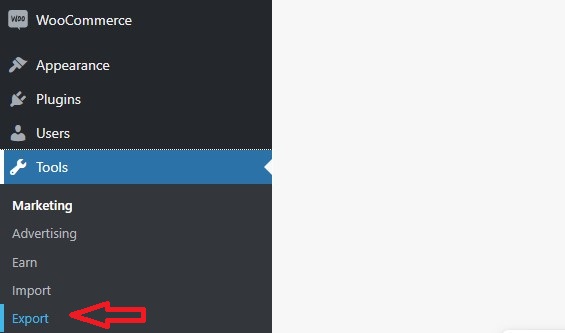
3. Select the data you want to export, such as products, orders, customers, etc.
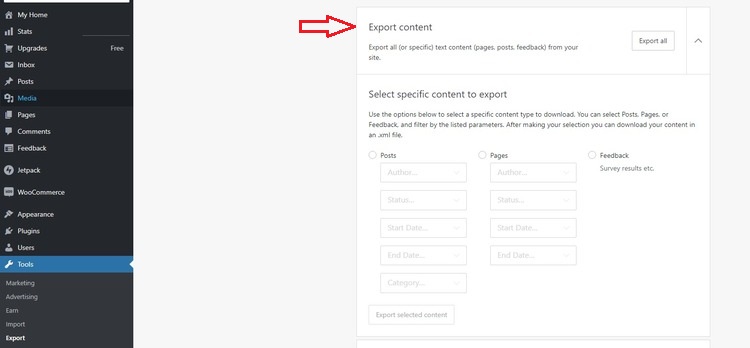
4. Now save the data as a CSV file.
Note: You can skip this step if you use a third-party importer app.
Now, let’s import WooCommerce products to Shopify.
On your WordPress Admin Panel, click on Products.
The easiest way to transfer your data is through a CSV file. To create a CSV file of your products:
1. Opening the Products page
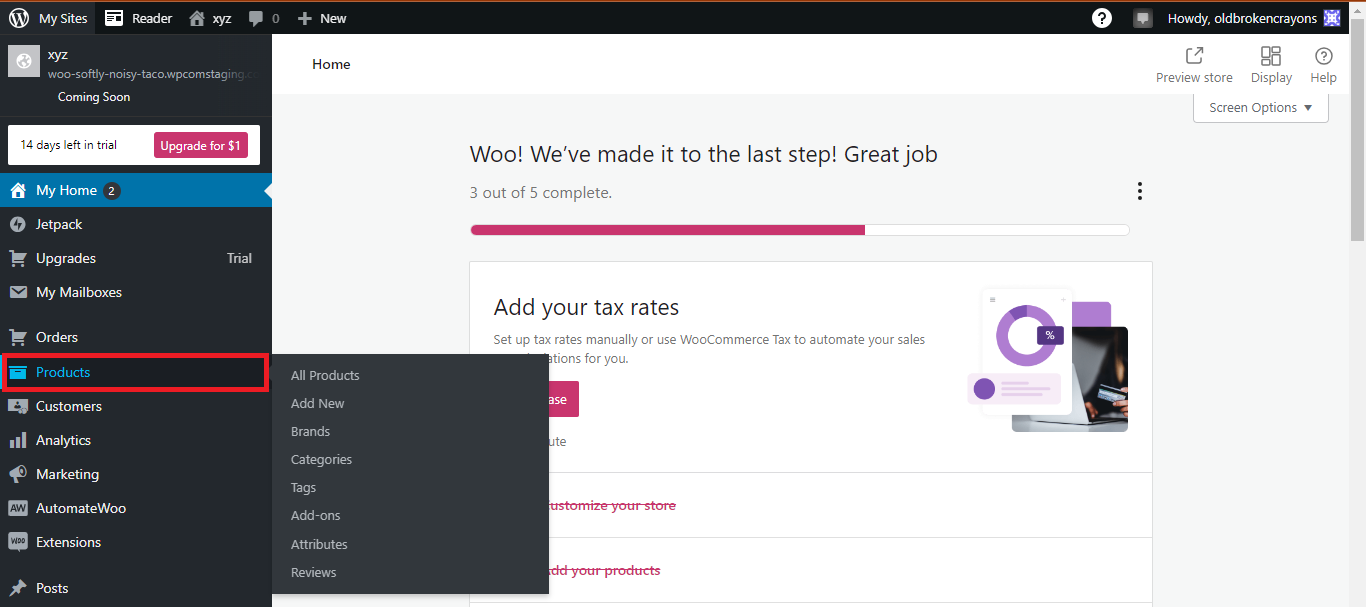
2. Select all the products you need to migrate
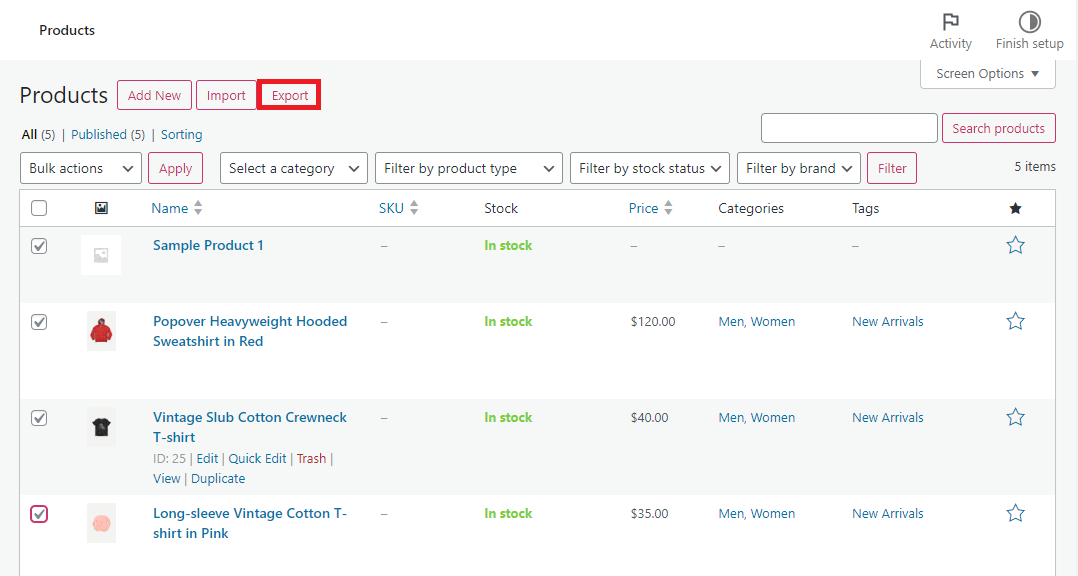
3. Click on Export.

Now, you need to upload the generated CSV file to your newly created Shopify store. For this:
1. Go to your admin dashboard on Shopify.
2. Click on Products > Import.
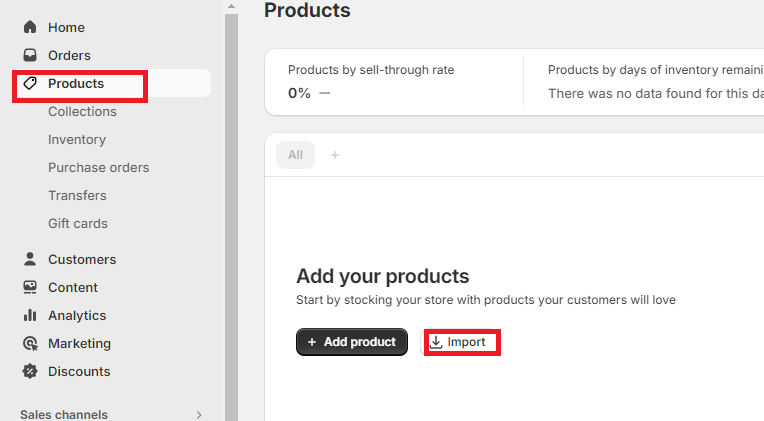
3. Import the CSV file you had generated from WooCommerce.
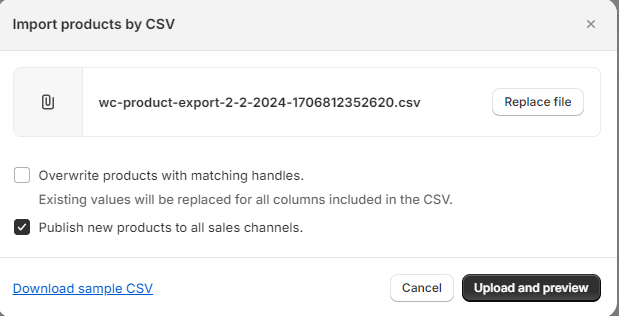
This might take a while, but you can see the products listed in your Shopify store after the process is complete.
You can also import your Customer data into Shopify in a similar way. Open the Customers tab on your WooCommerce Admin Dashboard, select and export to a CSV file and import into Shopify.
Step 3: Install essential Shopify apps
Now that you have migrated your store to Shopify, install essential Shopify apps that you may need for your business. For this, Go to your Shopify Admin Dashboard > Apps and type the name of the required apps, and install.

Step 4: Connect Domain to Shopify
Here is how you can transfer your WooCommerce domain to Shopify:
1. Login to your account with the domain provider.
2. Head to the DNS settings. You will usually find this under Manage DNS.
3. Now locate the “www” CNAME record and change it to “shops.myshopify.com.”
4. If a host name with “A record” is there then use @.
5. Locate the A Record and change it to your Shopify’s IP address.
6. Confirm & save your settings.
Now, you need to head to the Shopify dashboard to change the primary domain of your store.
1. Head to Setting > Domains.
2. Click on Connect existing domain and enter your custom domain.
3. Now verify the connection and change the primary domain.
Note: It might take 48 hours for a custom domain to connect. So, don’t worry if it doesn’t happen instantly.
Step 5: Identify & create a URL Redirect Map
You need to map your old WooCommerce product URLs to the corresponding new product URLs on Shopify.
For this, you will create 301 redirects.
301 redirects are permanent redirects that let browsers and search engines know that a website’s content has a new location.
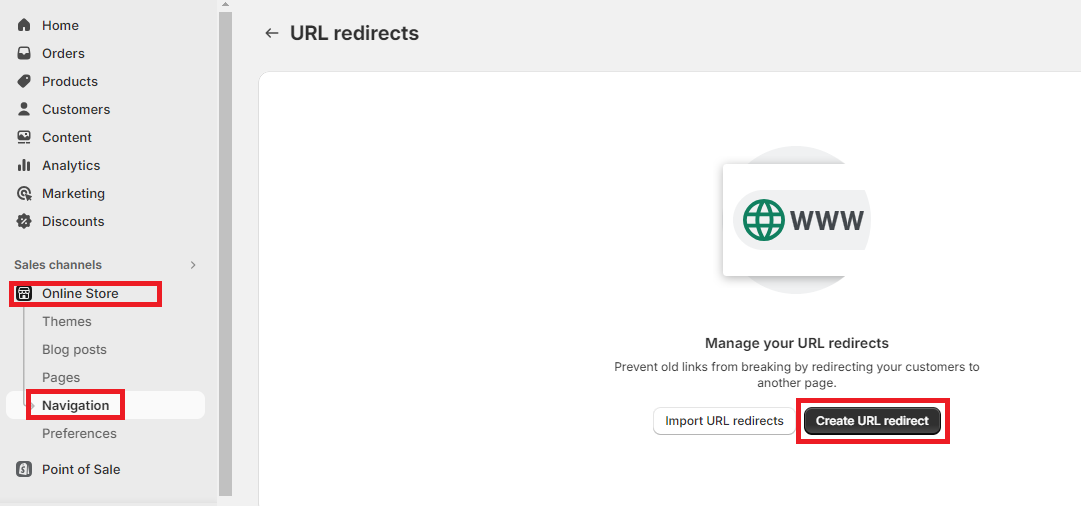
For this, you can use the Shopify URL Redirects tool:
1. Go to your Shopify admin dashboard.
2. Click Online Store > Navigation.
3. Click on View URL Redirects > Create URL Redirect.
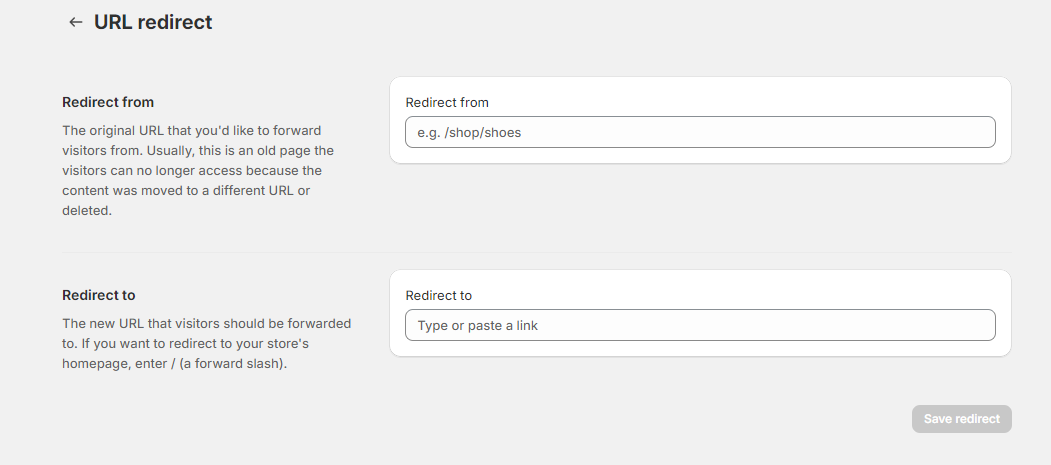
- In the ‘From’ field, enter the previously used WooCommerce URL (xyz.com/product-name).
- In the ‘To’ field, enter the new Shopify URL (xyz.com/products/product-name) and click on Save Redirect.
Step 6: Set up URL redirects
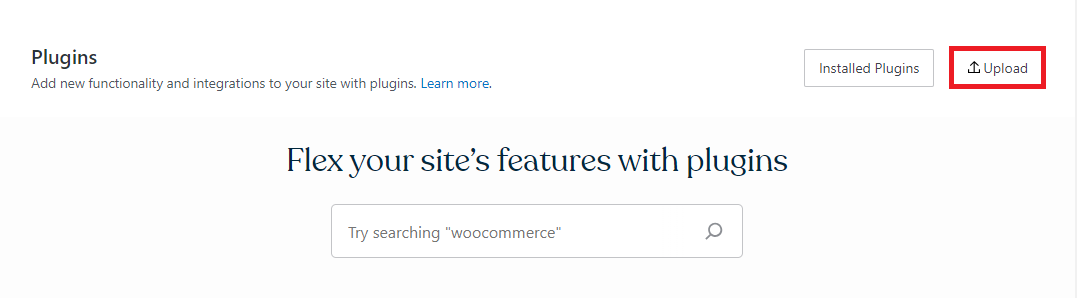
Install this Redirection plugin, and then go to Plugin > Upload on your WooCommerce dashboard to activate it.
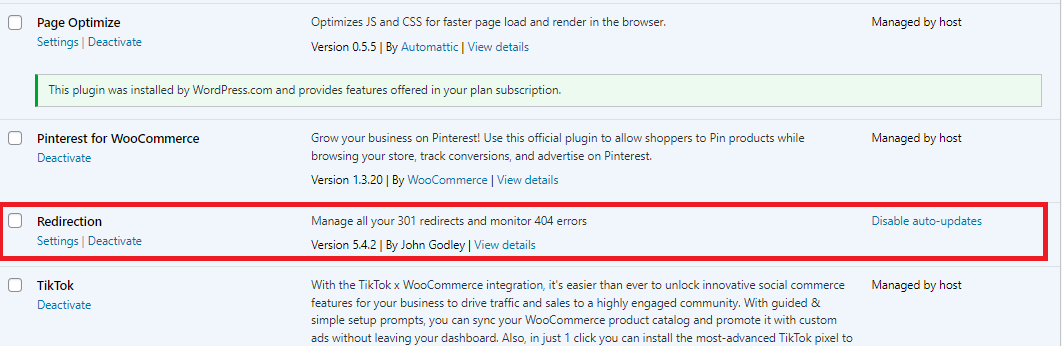
Now click on Plugins > Installed plugins.
You will see a dashboard of all your installed plugins. Scroll till you find the Redirection plugin, and click on settings.
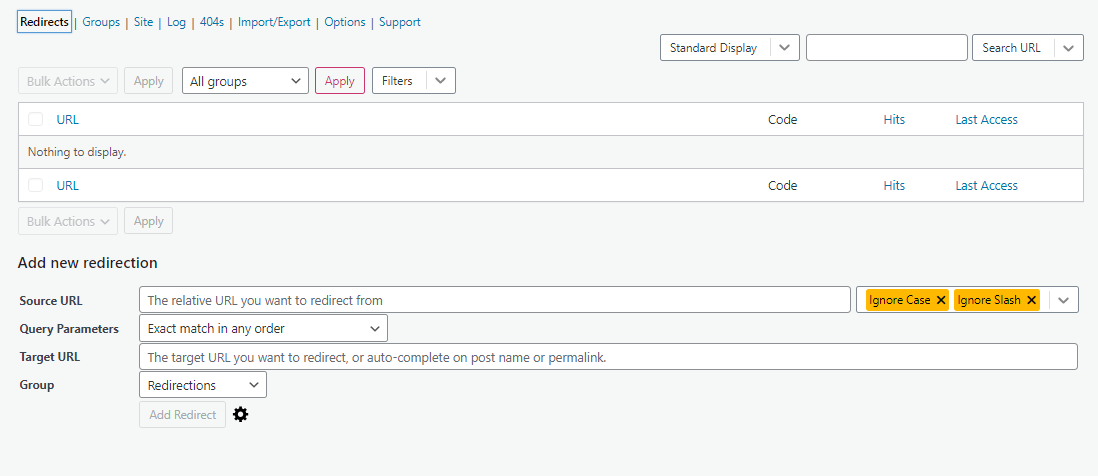
This will set up the Redirection plugin. Henceforth, you can find it in the Tools panel of your admin dashboard. Open the Redirection plugin now and enter details as follows:
- Source URL – Enter the old URL of your WooCommerce page that you want to redirect. For example – https://xyz.com/shop
- Target URL – Enter the new URL of the corresponding page on your new Shopify site. For example –https://xyz.myshopify.com/collections/all
Click on Add Redirect to save. Repeat these steps for all pages on your WooCommerce site that need to get redirected to Shopify.
You can test the redirection set up by entering the old WooCommerce URLs in a web browser and ensuring that they redirect to Shopify.
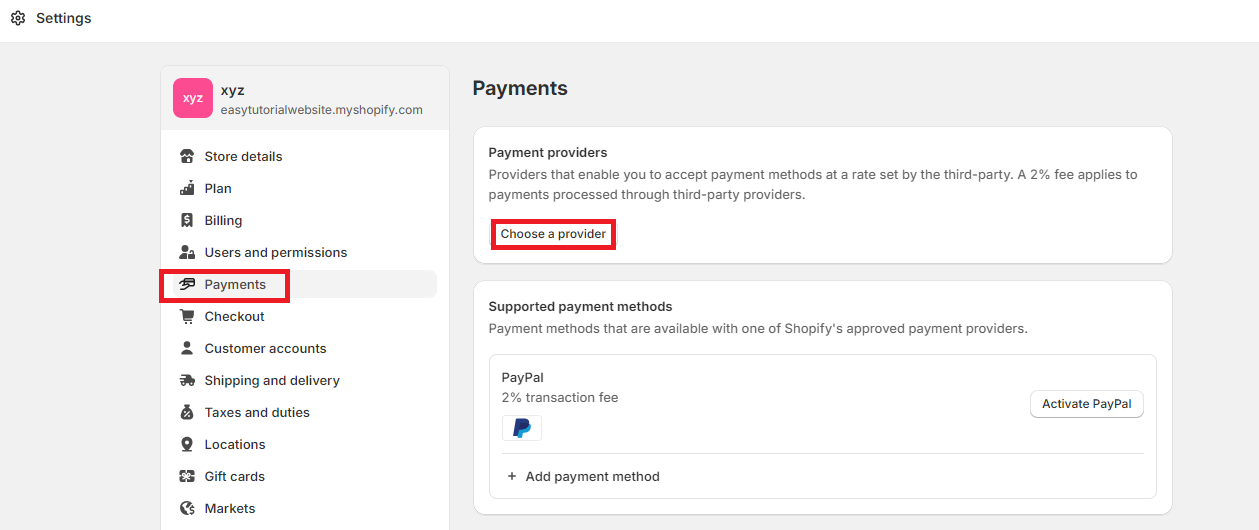
Step 7: Set up payment gateways & shipping information
Go to your Shopify admin dashboard > Settings > Payments > Choose a provider and set up the payment methods of your choice like credit & debit cards, PayPal, etc.
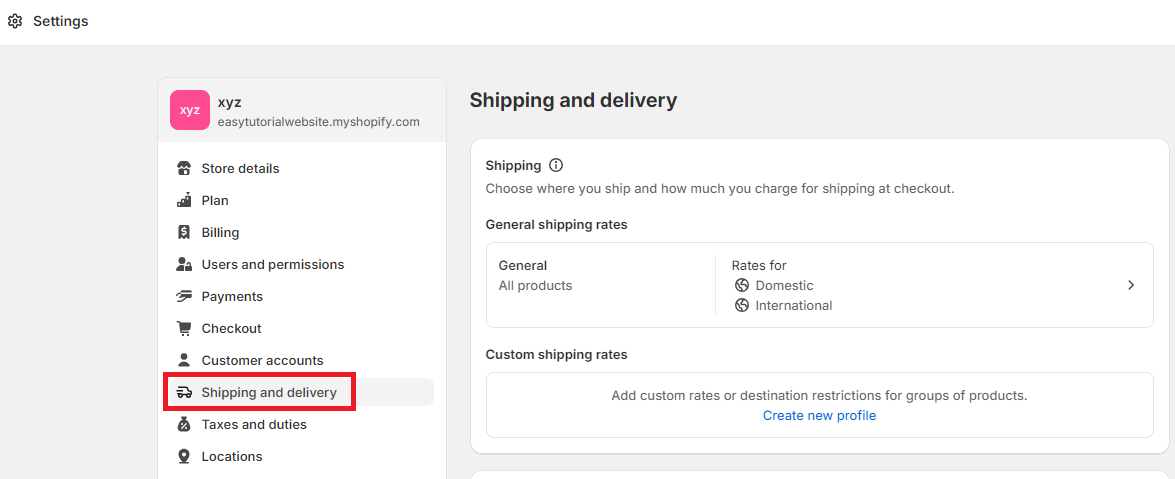
Next, open the Shipping and delivery tab under the Settings panel and customize the shipping options as per your choice.
Step 8: Add Google Search Console & Google Analytics
Now that your Shopify store is set up, don’t forget to add Google Search Console and Analytics to it.
Both these tools help users to gain insights into their website’s performance in organic search results. They can also help to spot errors, check indexing issues, and analyze website visibility.
Related Read: How to Add Google Search Console to Shopify
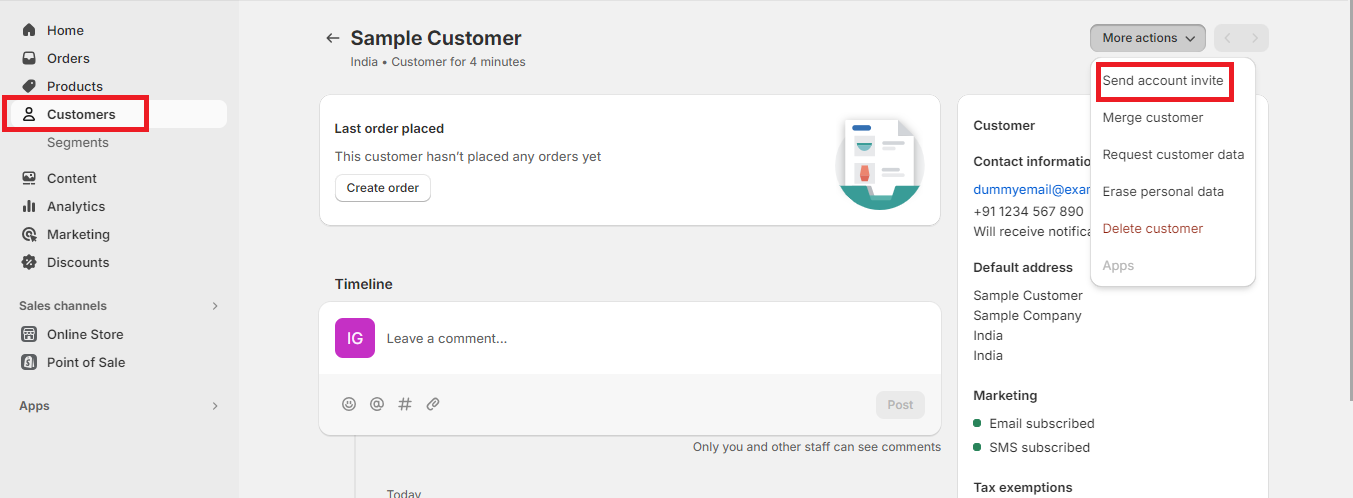
Step 9: Send account invites to customers
Open your Shopify admin and click on the Customers panel. Select the names of the customers you want to invite, and click Send Account Invite.
Type in your custom message and send the invite.
Step 10: Review, update, and test
Place a test order on your newly set up Shopify store. Make sure to check that the product listings, checkout process, payment methods all work, your shipping and tax rates are correctly calculated and the speed and performance of the website is not impacted.
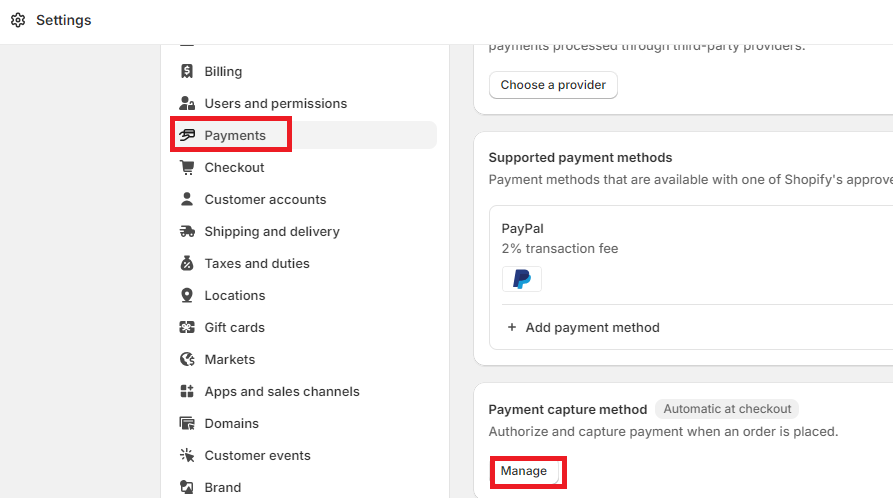
To activate Shopify Payment test mode, go to the Settings Panel > Payments > Manage Payments and Enable Test Mode.
Also Read: Woocommerce Alternatives
Mistakes to Avoid While Migrating from WooCommerce to Shopify
While manually migrating your WooCommerce online store to Shopify, there are a few potential errors you may face. Here are some of the most common issues and how you can fix them:
- Data compatibility – It is likely that some data imported from WooCommerce is not compatible with Shopify. This may cause errors or even data loss during migration. To avoid this, ensure to double-check the format your data is in before you import it.
- Missing images – If images are on a separate server for your WooCommerce store, they are likely to not get transferred to Shopify during migration. To fix this, manually upload images in your Shopify and link each of them to the corresponding products.
- Shipping and tax settings – Settings for shipping and taxes are different for both WooCommerce and Shopify. This can cause discrepancies. To prevent this, carefully review and test your shipping and tax settings in the Shopify store and adjust them as required.
- Broken links – When you transfer WooCommerce to Shopify, some product links may break. This may be because of differences in the URL structure. To fix this, it is important that you set up URL redirects in Shopify that will redirect traffic from the old WooCommerce URLs.
Note: Also learn to make 301 redirect in Shopify after migration to ensures you don’t lose valuable SEO rankings or traffic of your website.
Tip: You can avoid these mistakes and ensure your store gets migrated from WooCommerce to Shopify seamlessly by opting for Meetanshi’s store importer service.
Frequently Asked Questions (FAQs)
Is it worth moving from WooCommerce to Shopify?
Choosing to move from WooCommerce to Shopify depends on your individual business needs and goals.
In general, Shopify has quite a few advantages over WooCommerce. These include easier management, more features, faster web speed, and intuitive design. It also does not require business owners to have extensive data mapping knowledge and can be set up and scaled easily. If these factors are important to you, then it is a good idea to switch.
How to import orders from WooCommerce to Shopify?
Here are the steps to import orders from WooCommerce to Shopify:
- Open WooCommerce > Orders and select the Export Orders.
- Select the order statuses you want to export, and whether you want it as a CSV or XML file.
- To import, open Shopify > Orders > Import and add the CSV/XML file you generated in WooCommerce.
Perform a Seamless WooCommerce to Shopify Migration
If you migrate WooCommerce to Shopify manually, it is definitely a cheaper option, but it is time-consuming and requires technical knowledge and a high level of reviewing and testing.
Alternatively, using the Meetanshi WooCommerce to Shopify migration service ensures that you save time and seamlessly get your online store migrated by experts. The service comes with minimum downtime and six months of free service for any issues.
