You can efficiently bulk edit collections in Shopify and its various properties without spending much time.
Shopify offers an internal bulk editing feature to make the needed changes with simple navigations.
In this blog, I will show you how to bulk edit collections in Shopify using the bulk editor and edit collections if you are migrating into a new Shopify store.
Steps to Bulk Edit Collections in Shopify Using Bulk Editor
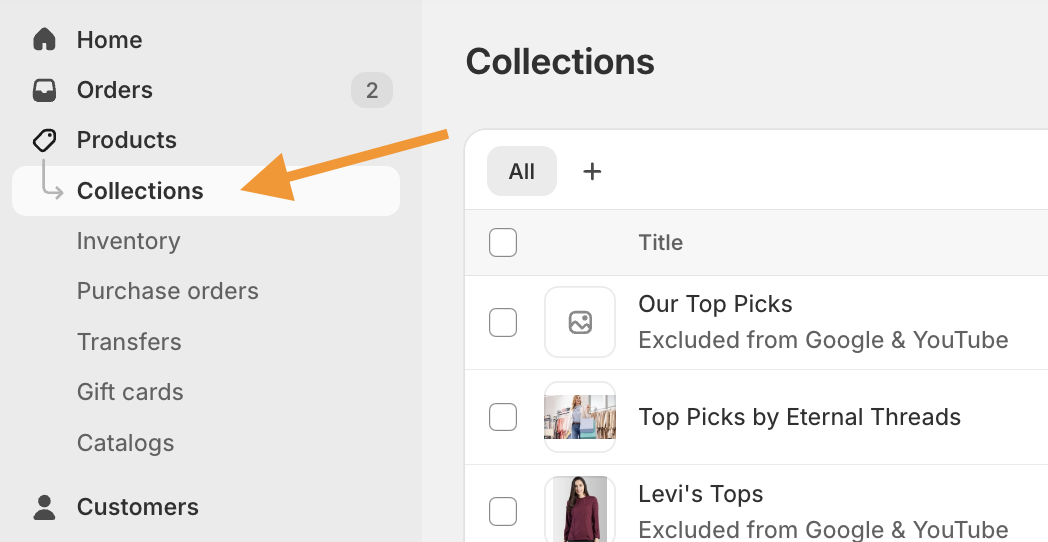
Step 1: Head to Collections in Shopify
In your Shopify admin, select the Products and then click Collections.
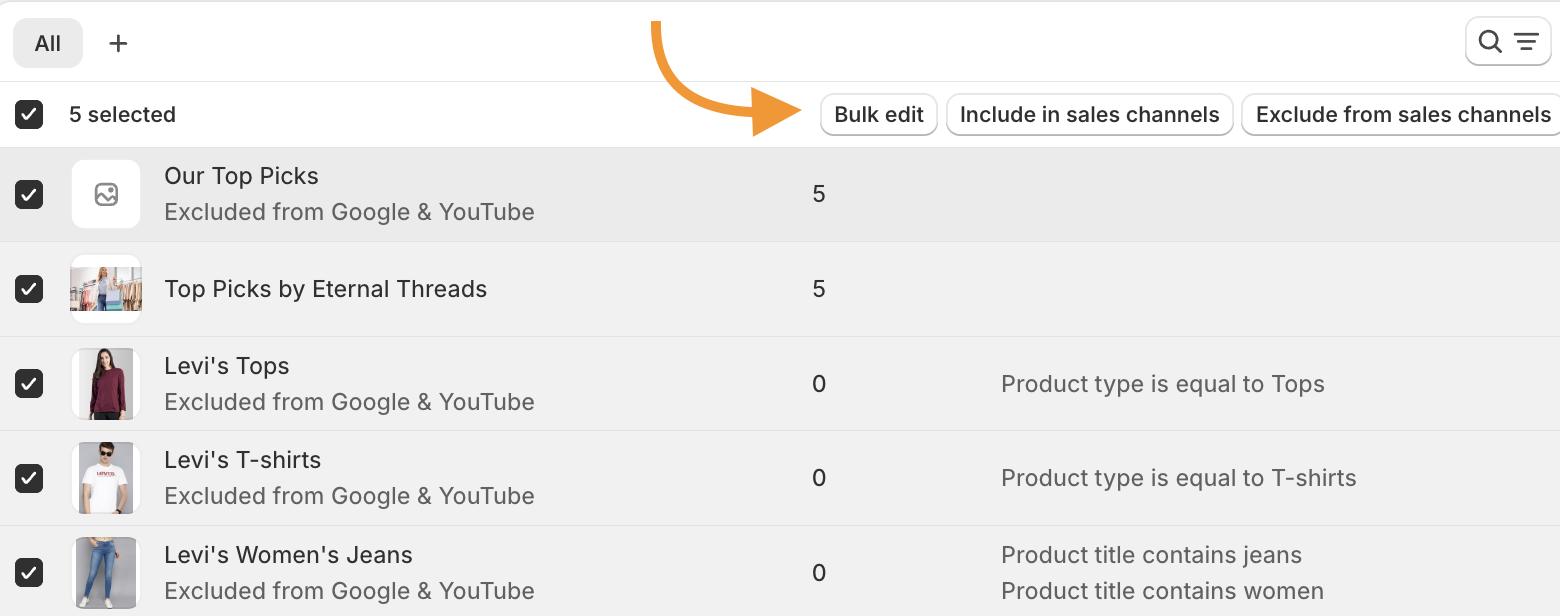
Step 2: Select Collections to Bulk Edit
In the list of collections, select the ones that you want to edit by checking the boxes on the left side. Then, click the Bulk edit button.
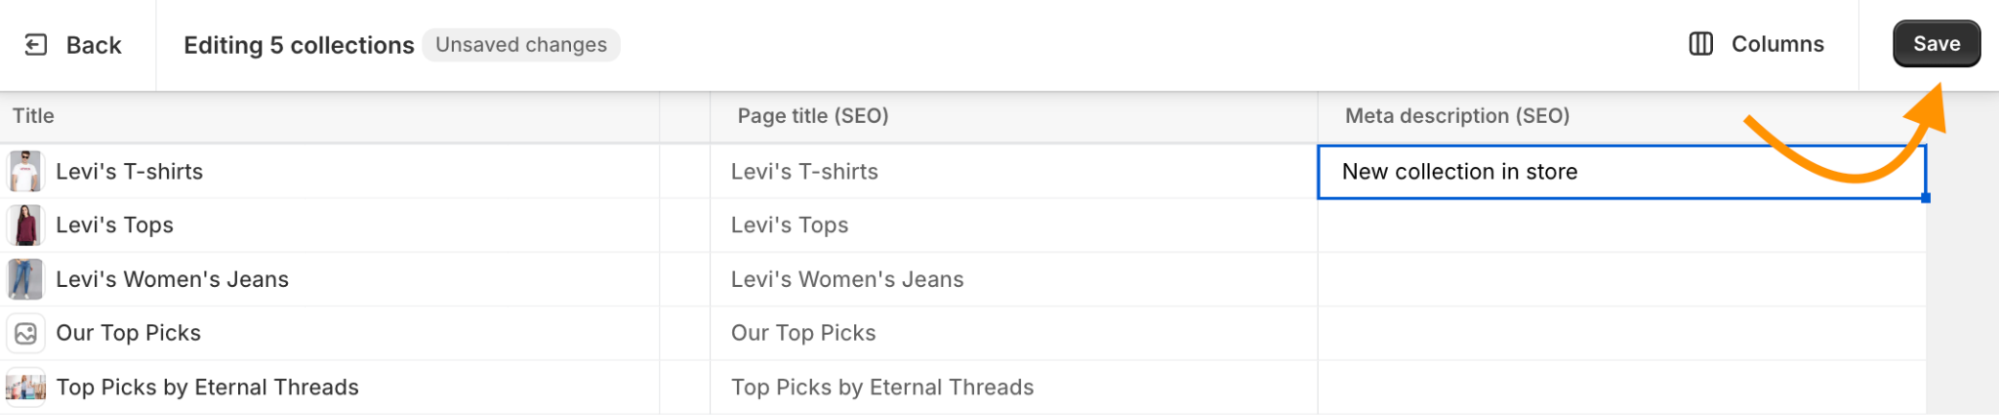
Step 3: Edit Columns & Save
The list of collections will be displayed, along with a certain column. If you want, you can also enable more attributes to edit from the Columns option on the top right.
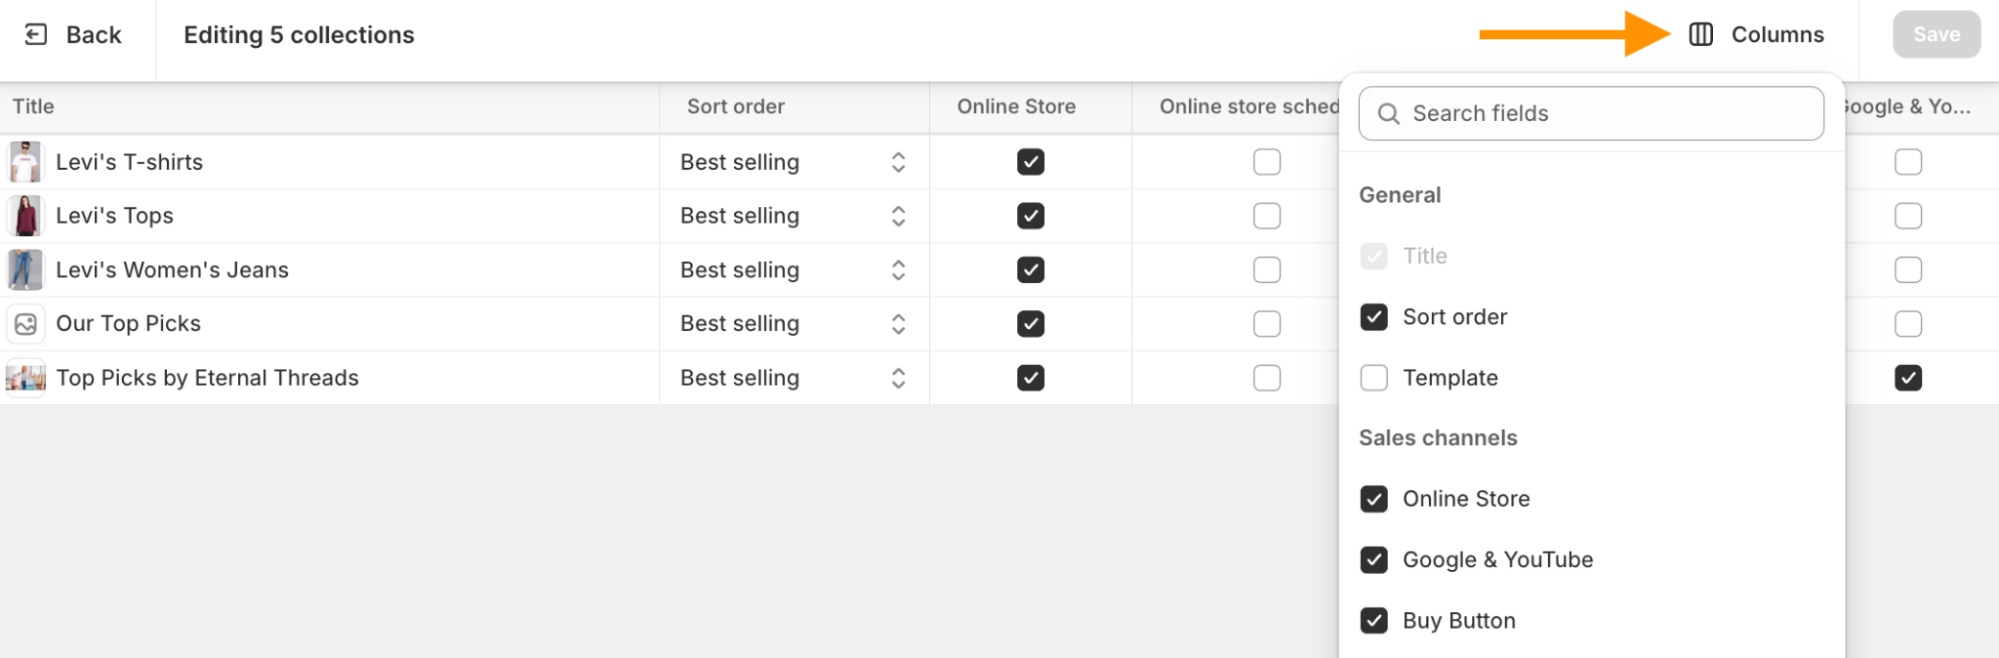
Edit the collection attributes as per your needs and click the Save button.
What Collection Details You Can Bulk Edit in Shopify?
You can edit multiple elements of your collection as per your requirements, like:
- Sort orders and templates
- Edit the sales channel of your collections
- Option to display the buy button of a particular collection
- SEO elements like product description, title, and URL handles
- Add custom canonical and other meta-field options
Bonus: Bulk Update Collections using CSV in Shopify
You can easily bulk update your collection using a CSV format if you plan to migrate into a new Shopify store.
Shopify doesn’t offer a default option to export/import collections in Shopify. However, you can get the Meet Collections Import Export Shopify app to complete this task.
Here are easy steps to bulk edit your collections using a CSV file:
- Step 1: Export Collections CSV
- Step 2: Edit the file in Spreadsheets
- Step 3: Import CSV into the Store
Let’s look at them in detail.
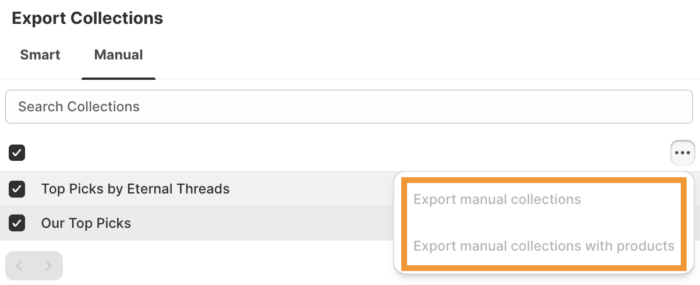
Step 1: Export Collections CSV
Select the collections you want to export between Automate or Manual, then click Actions. Export the collections with or without their products. The exported CSV file will be in your downloads.
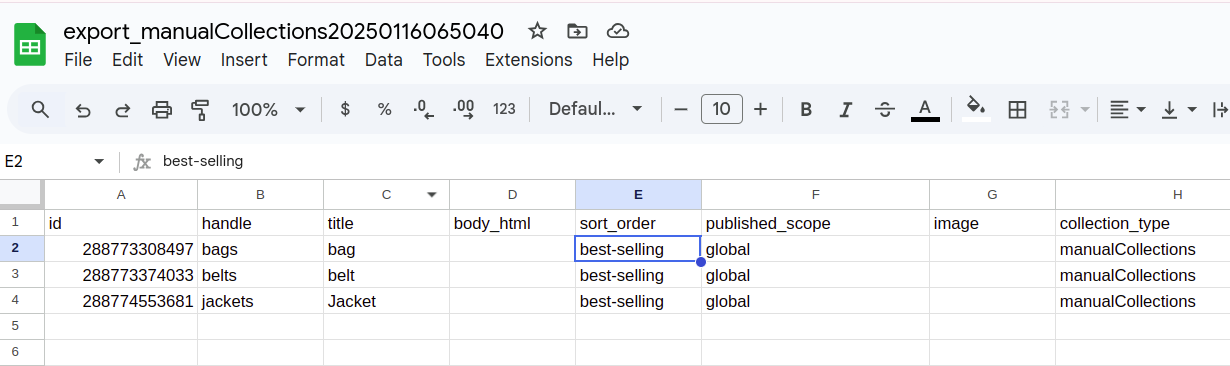
Step 2: Edit the file in Spreadsheets
Import the CSV file in Spreadsheets and make changes as needed. Then, download the file again in CSV once you are done.
Step 3: Import CSV into the Store
Import your edited CSV file in your new Shopify store with a simple drag & drop or by selecting a file and click Import.
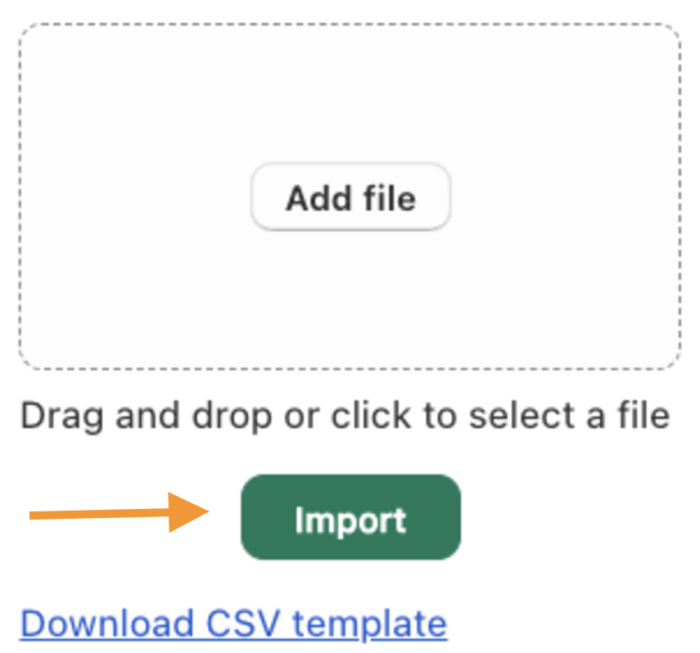
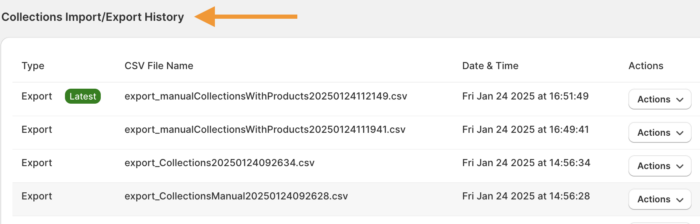
Then, you can view the new collection in the Collections tab with all the details and view all the collection history under the Collection Import/Export history section within the app dashboard.
There are various Shopify Collection Manager Apps that simplify the organization, editing, and automation of product collections to enhance store efficiency and navigation. The Meet Collection Import Export app simplifies the process of moving one collection/product to another Shopify store without the need to manually add them individually.
With this app,
- Export automated and manual collection
- Edit the exported file and re-import it back
- Freshly import a CSV file using the sample CSV format
- Keep track of all the exported/imported CSV files
- Select specific conditions while exporting automated collections
This way, you end up saving more time, and you can focus on other parts of your Shopify store. Want to make a copy of an existing collection instead? Learn how to duplicate a collection in Shopify in a few simple steps.