A great customer experience is the key to the success of your business, especially when customer expectations are soaring in an evolving market.
Unlike in the early days of e-commerce, now, customers might expect to know certain things about a product before buying it. For example, they might want to watch a demo to see how it works. Or a license to be sure about its authenticity.
Providing your customers with helpful information and helping them make informed decisions is an effective way of winning your customer’s trust.
In this guide, you’ll learn how to attach files to products in Magento 2.
What is The Product Attachment For Magento 2?
Product attachment for Magento 2 is a way to attach files, whether PDFs, images, videos, etc., to products listed on your Magento 2 store.
The purpose behind adding attachments is to provide customers with additional, crucial information about products. For example, you can add a PDF to a product in Magento 2 to showcase the step-by-step working functionality of your product.
Product attachments in Magento 2 help you improve customer experience, resulting in a better chance of selling more products.
However, Magento 2 doesn’t provide built-in functionality to add attachments. This leaves you with two options – either you custom-build the attachment functionality or rely on third-party extensions. If you’re not tech-savvy or don’t want to engage in custom coding, the second option is best for you.
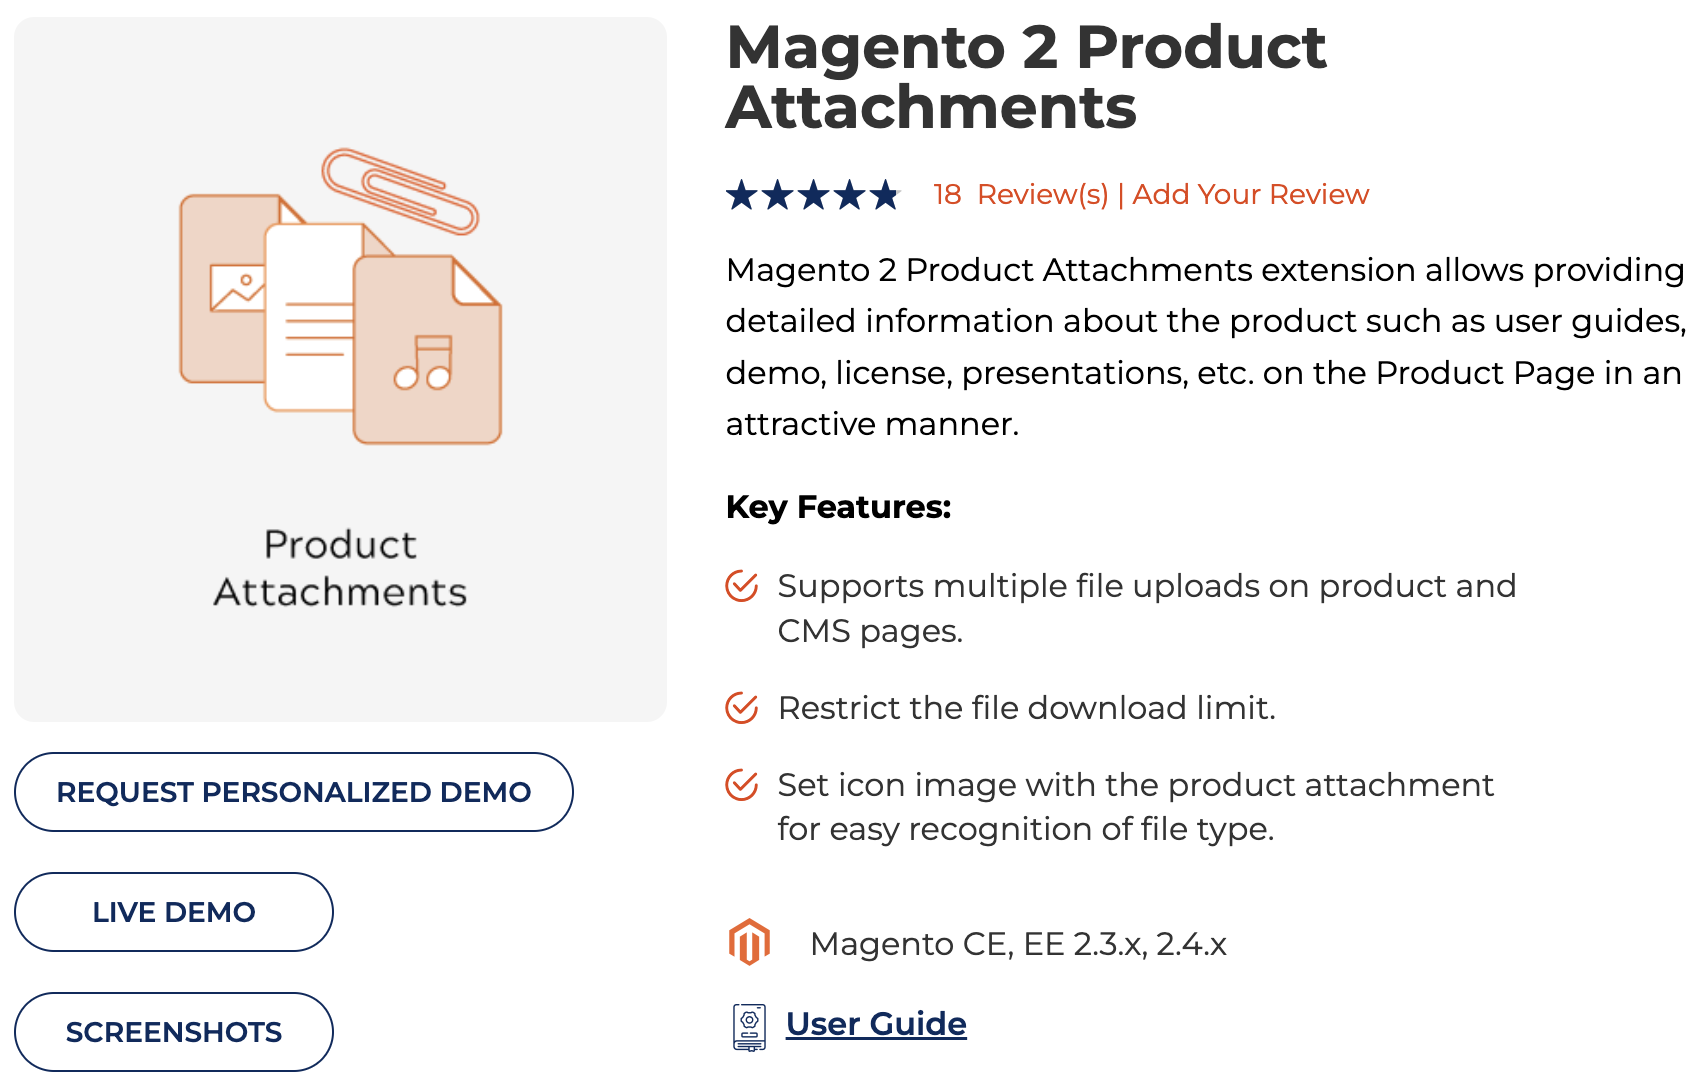
In this guide, you will learn how to attach files to products in Magento 2 without coding using Meetanshi’s Magento 2 Product Attachments.
How to Attach Files to Products in Magento 2?
1. Install the Magento 2 Product Attachments Extension
Get the Meetanshi Magento 2 Product Attachments extension and download the zip folder.
Next, via FTP, upload the extension to the root of your Magento 2 directory. Lastly, run the following commands in your SSH step by step:
php bin/magento setup:upgradephp bin/magento setup:static-content:deploy (for Magento version 2.0.x to 2.1.x)php bin/magento setup:static-content:deploy –f (for Magento version 2.2.x & above)php bin/magento cache:flush
2. Configure the Extension
Once you have installed the extension, it’s time to configure it. For that, log in to Magento 2, and follow the following path: Stores > Configuration > Product Attachments.
There, you will find different configuration tabs. Adjust the settings as per below:
- Product Attachments: Select Enable from the dropdown.
- Product Attachments Tab Title: Enter your title for the attachment tab on your product page.
- Product Attachments Heading: Add a heading for the attachments.
- Display File Size: Select YES from the dropdown to display file size in the frontend. You can select NO if you don’t want to show the file size.
- Display Count of Downloads: Select YES from the dropdown to display the number of downloads in the frontend. If you choose not to show it, select NO.

3. Configure the CMS Page Settings
After configuring the extension, the next step would be enabling product attachments to CMS pages. For that, follow the following instructions on CMS Page Settings
- In the Enable CMS Attachments tab, select YES from the dropdown.
- In the CMS Page Attachments Heading, enter the heading for product attachments that would be shown on CMS pages.

4. Create Attachment Categories
The purpose of creating attachment categories is to manage similar attachments properly in a single category.
For that, follow the following path in the extension: Catalog > Product Attachments > Manage Attachment Categories. To create a new attachment category, you have to fill three fields below
- Name: Give an appropriate name to the category
- Description: Add a description for the category
- Is Active: Select Yes from the dropdown to enable the category

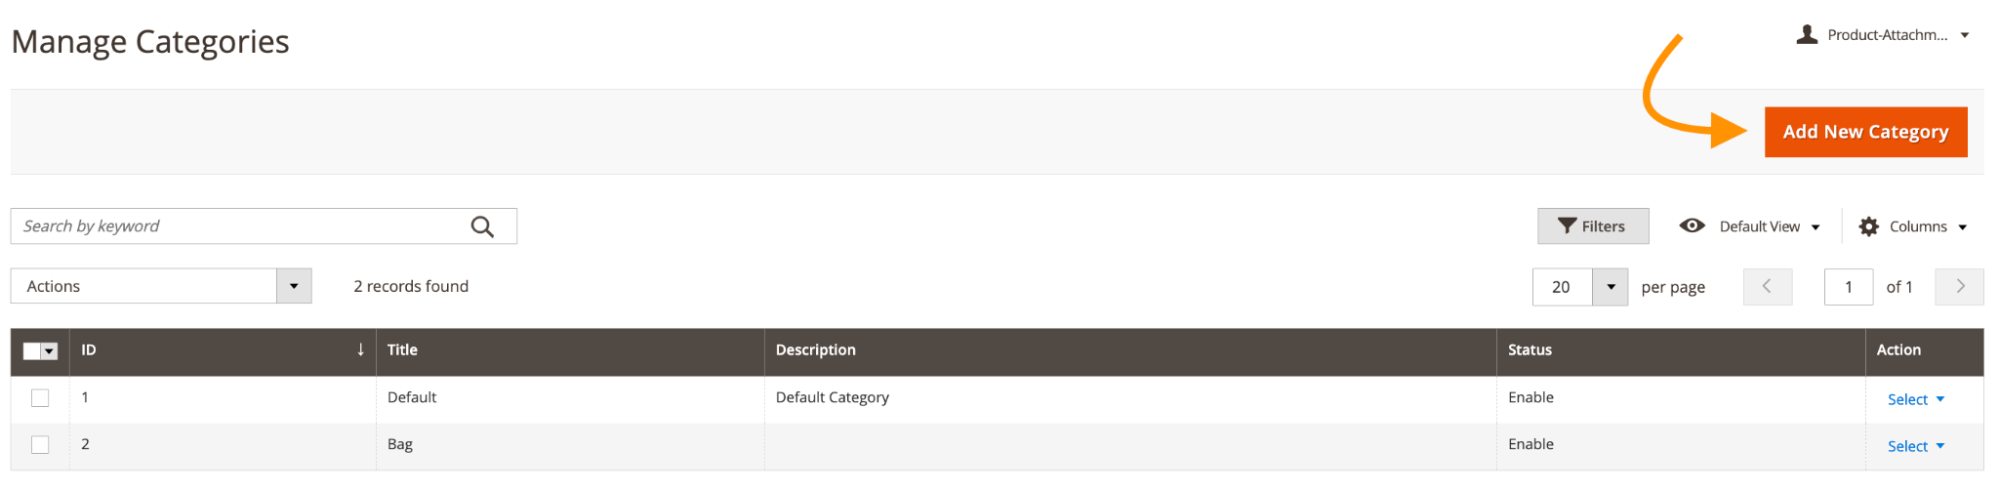
In the Manage Category tab, you can find all your existing categories. You can create a new attachment category by clicking the Add New Category button on the top right corner of the tab.
5. Create Product Attachments
After creating attachment categories, you can start adding product attachments to them.
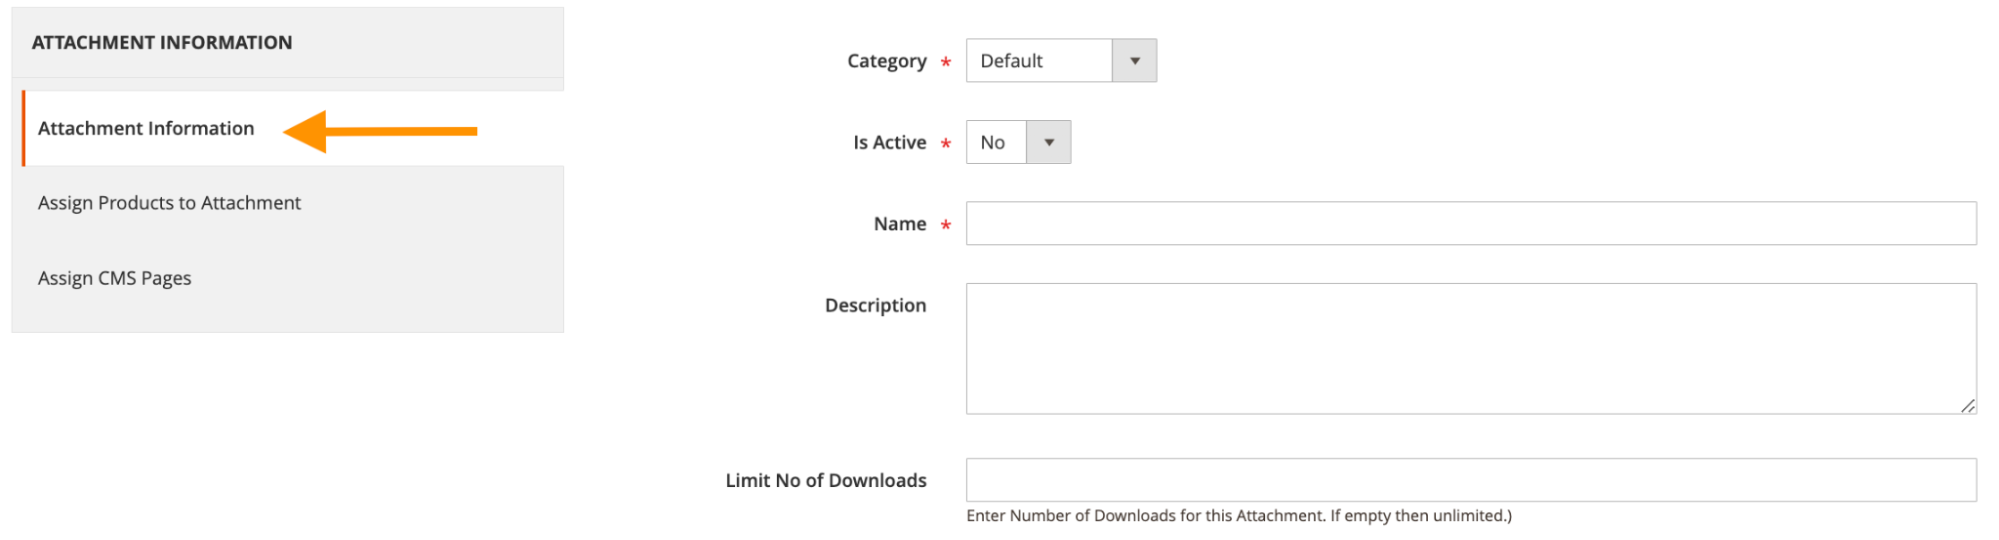
For that, go to Manage Attachments using the following path – Catalog > Product Attachments > Manage Attachments – and set the appropriate values in the below fields.
- Category: Select the Attachment Category from the dropdown under which you want to list the attachment.
- Is Active: Select Yes to enable the attachment. You can select No if you need this particular attachment disabled.
- Name: Add an appropriate name for the attachment.
- Description: Add a meaningful description for this attachment.
- Limit number of downloads: Set a limit for the number of downloads for that attachment.
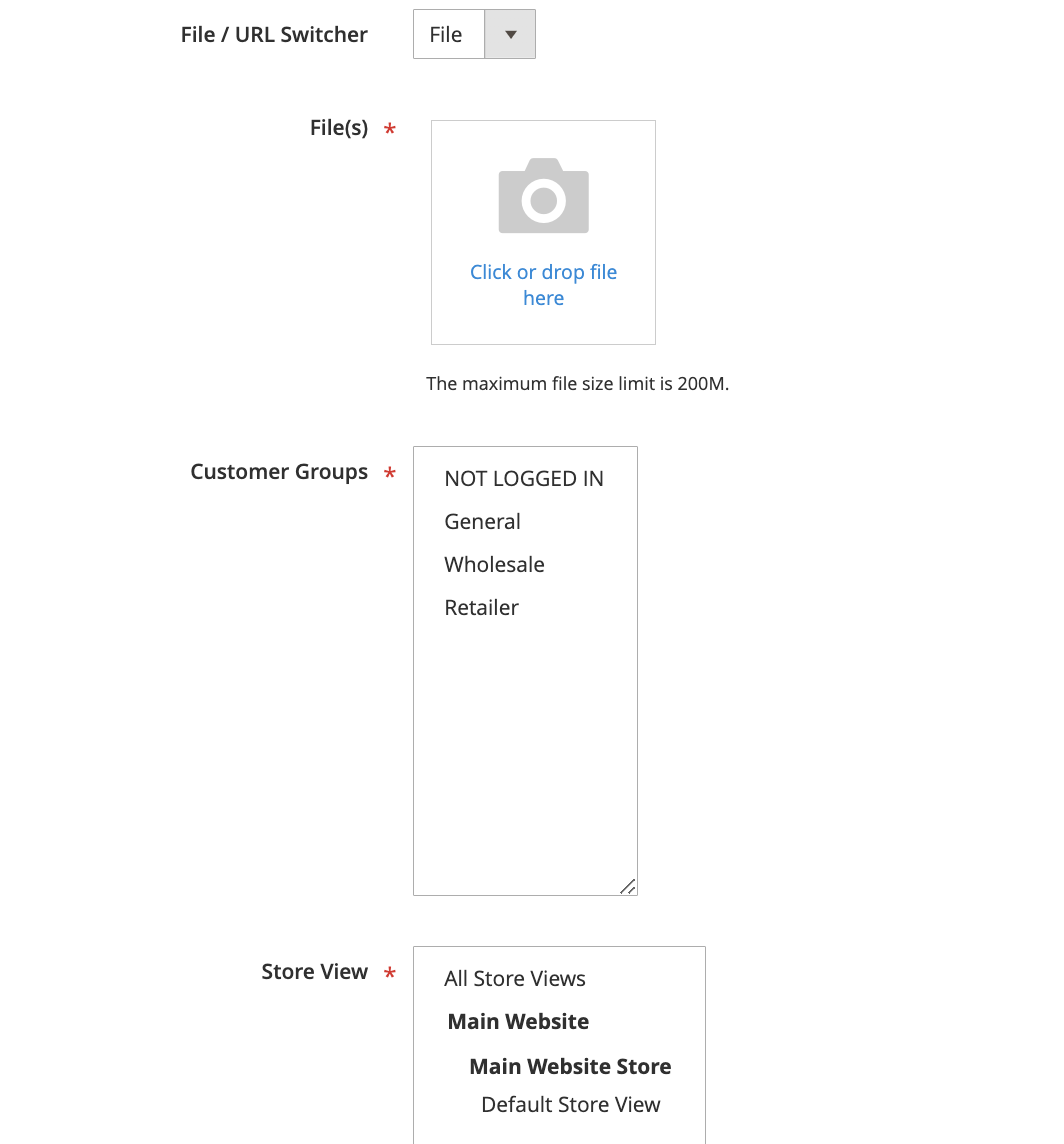
Uploading a File or Adding a URL for the Attachment
- File/URL Switcher: Select the attachment type, whether File or URL
- Files: If you’ve selected File in the switcher, you can browse and upload the file(s). On the other hand, if you’ve selected the URL option in the switcher, add the URL in the URL field.
- File Name: The name and size of the browsed file will be displayed here, which you can remove too if you choose to.
- Customer Groups: The extension lets you select the customer groups you want to view and download the attachment.
- Store View: Select the store views you want to enable the attachment for
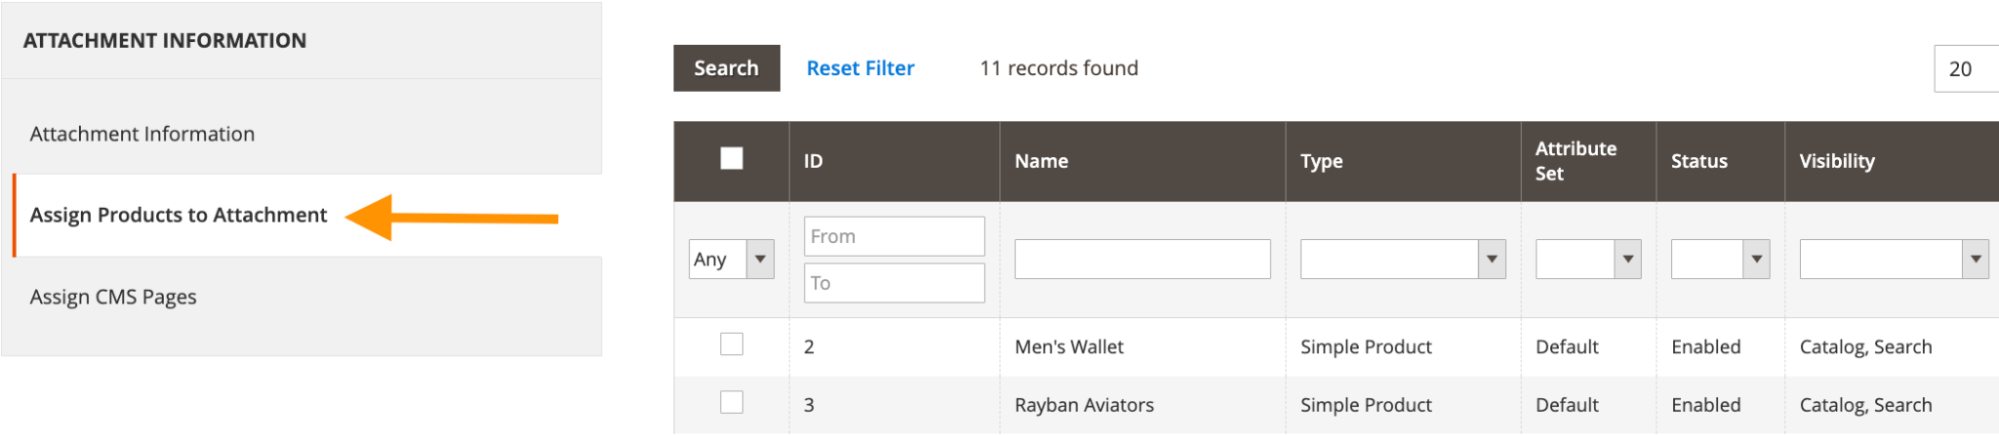
Assigning Products to Attachment
Now, go to the Assign Products to Attachment tab on the top left under the Attachment Information menu and start assigning the products to attachments to display on the frontend.
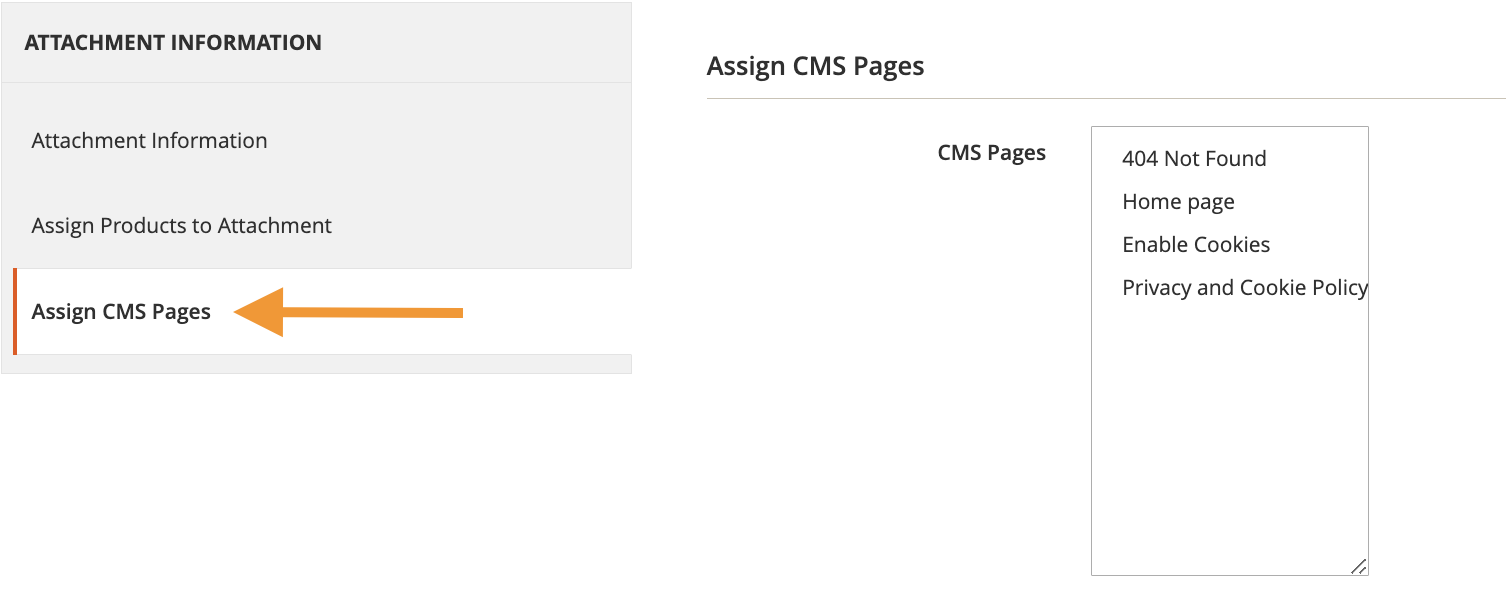
Assigning CMS Pages
Go to the Assign CMS Page tab under the Attachment Information menu to assign CMS pages to the attachments you created to show on CMS pages on the frontend.
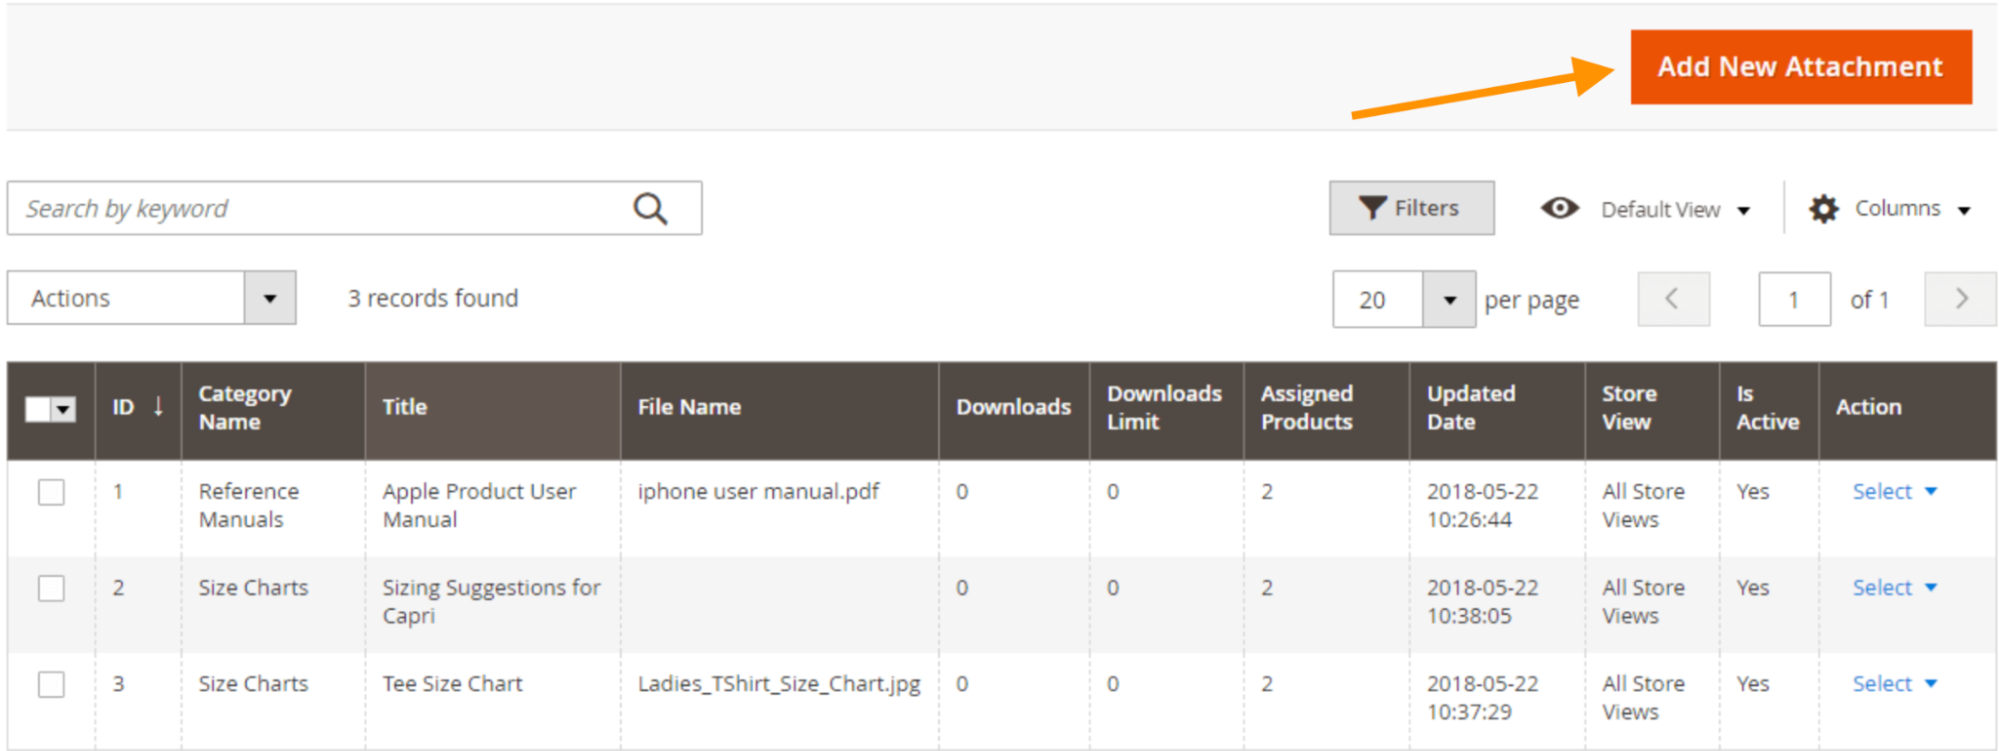
Saved Attachments
Once you create a new attachment, it will be shown in the Manage Attachment tab. To create a new attachment, click on the Add New Attachment button in the top right corner.
6. Add Attachments From the Product Edit
There is one more way of creating a new attachment directly from the product edit.
Go to Catalog > Products > Edit Product, and find the Add Attachments button. Here, you can add new attachments to that particular product.

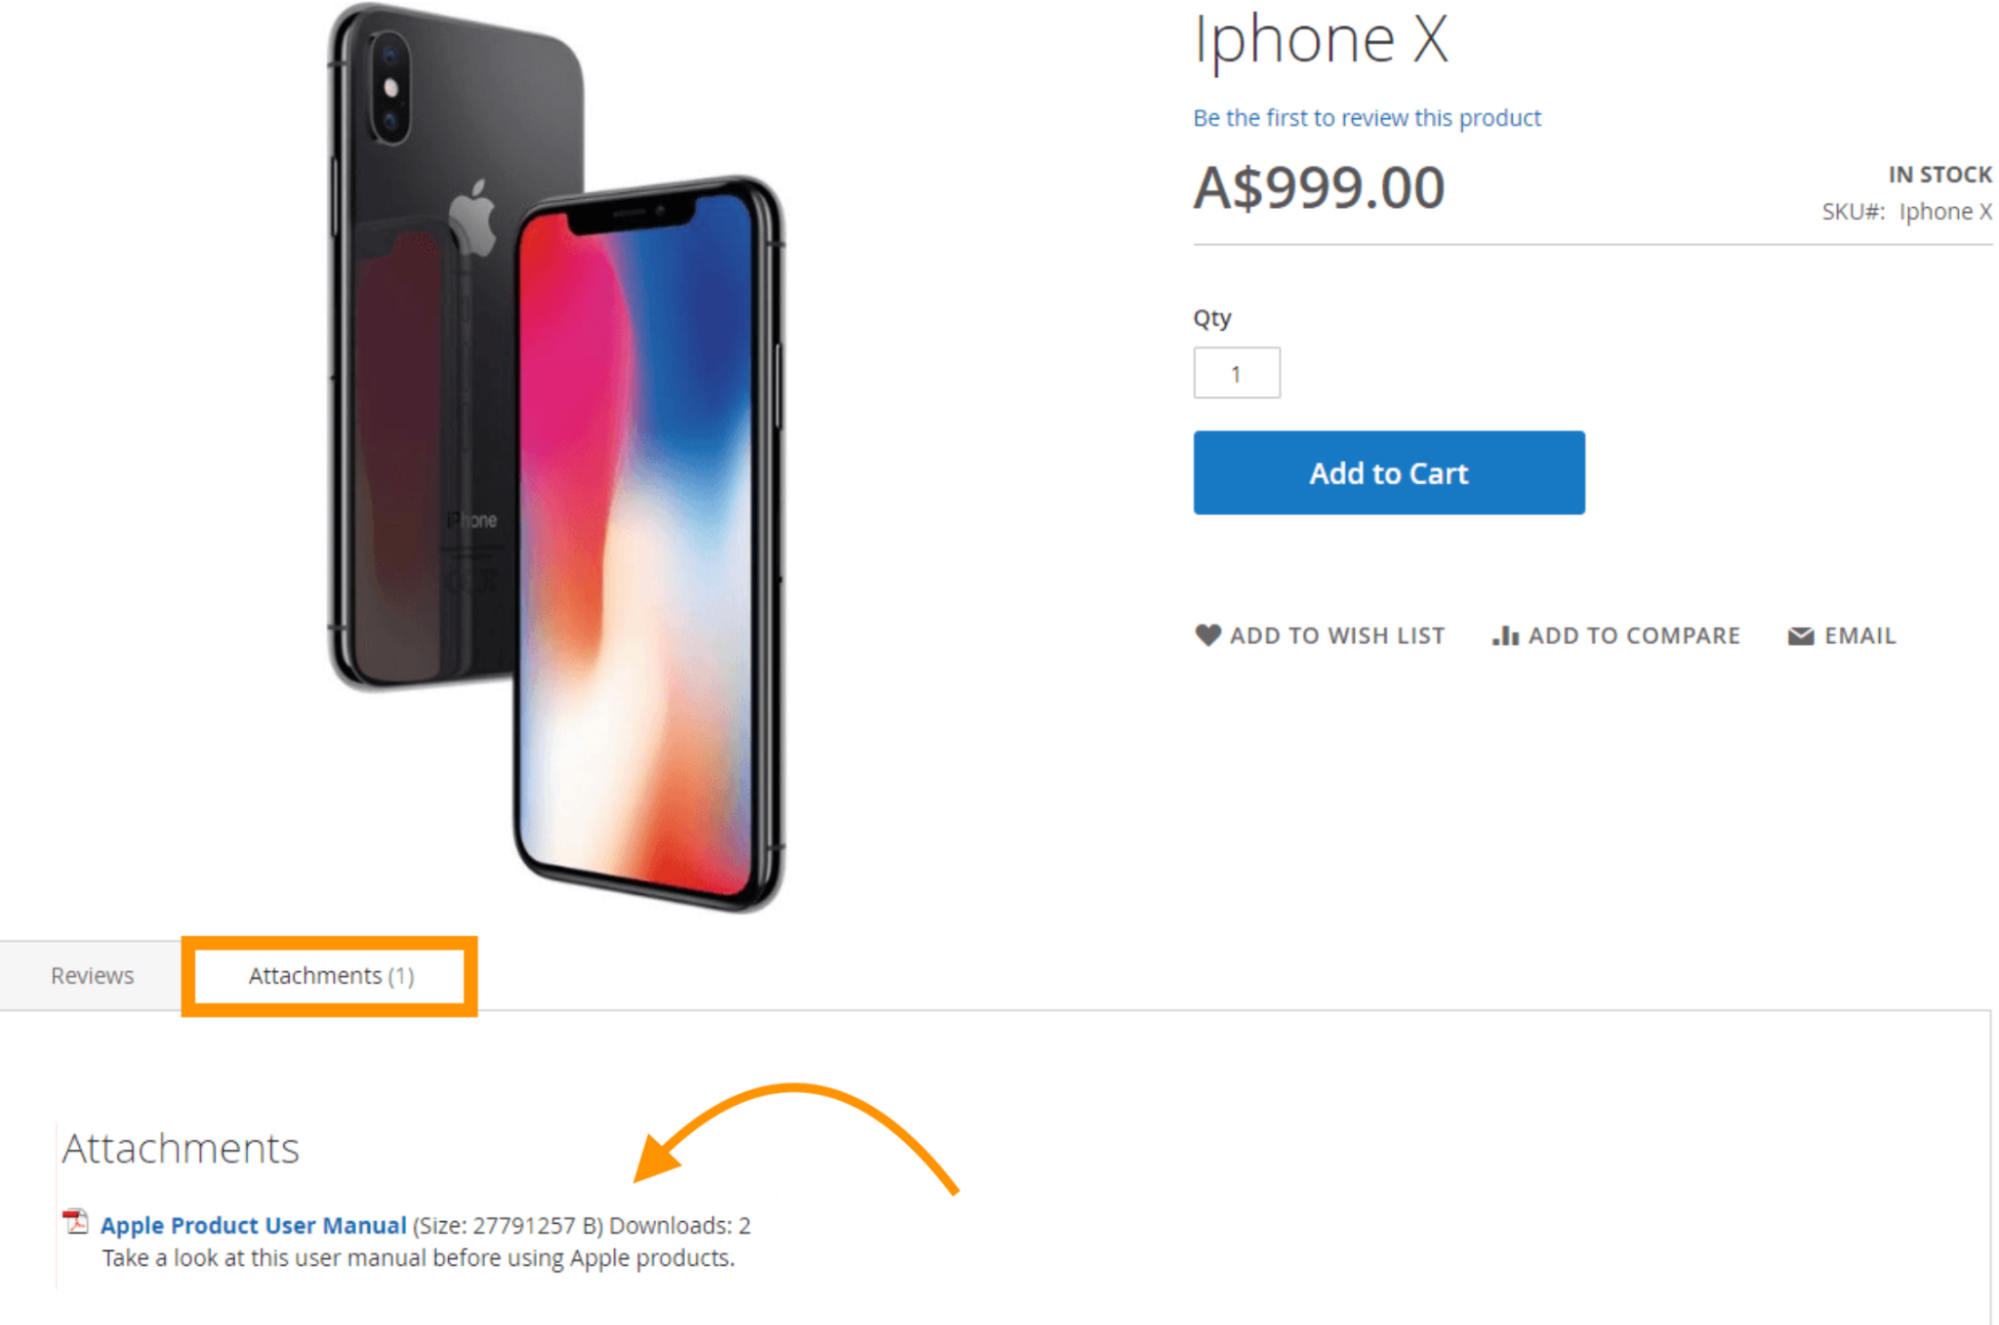
That’s it. Now, your product attachments will be displayed on the frontend.
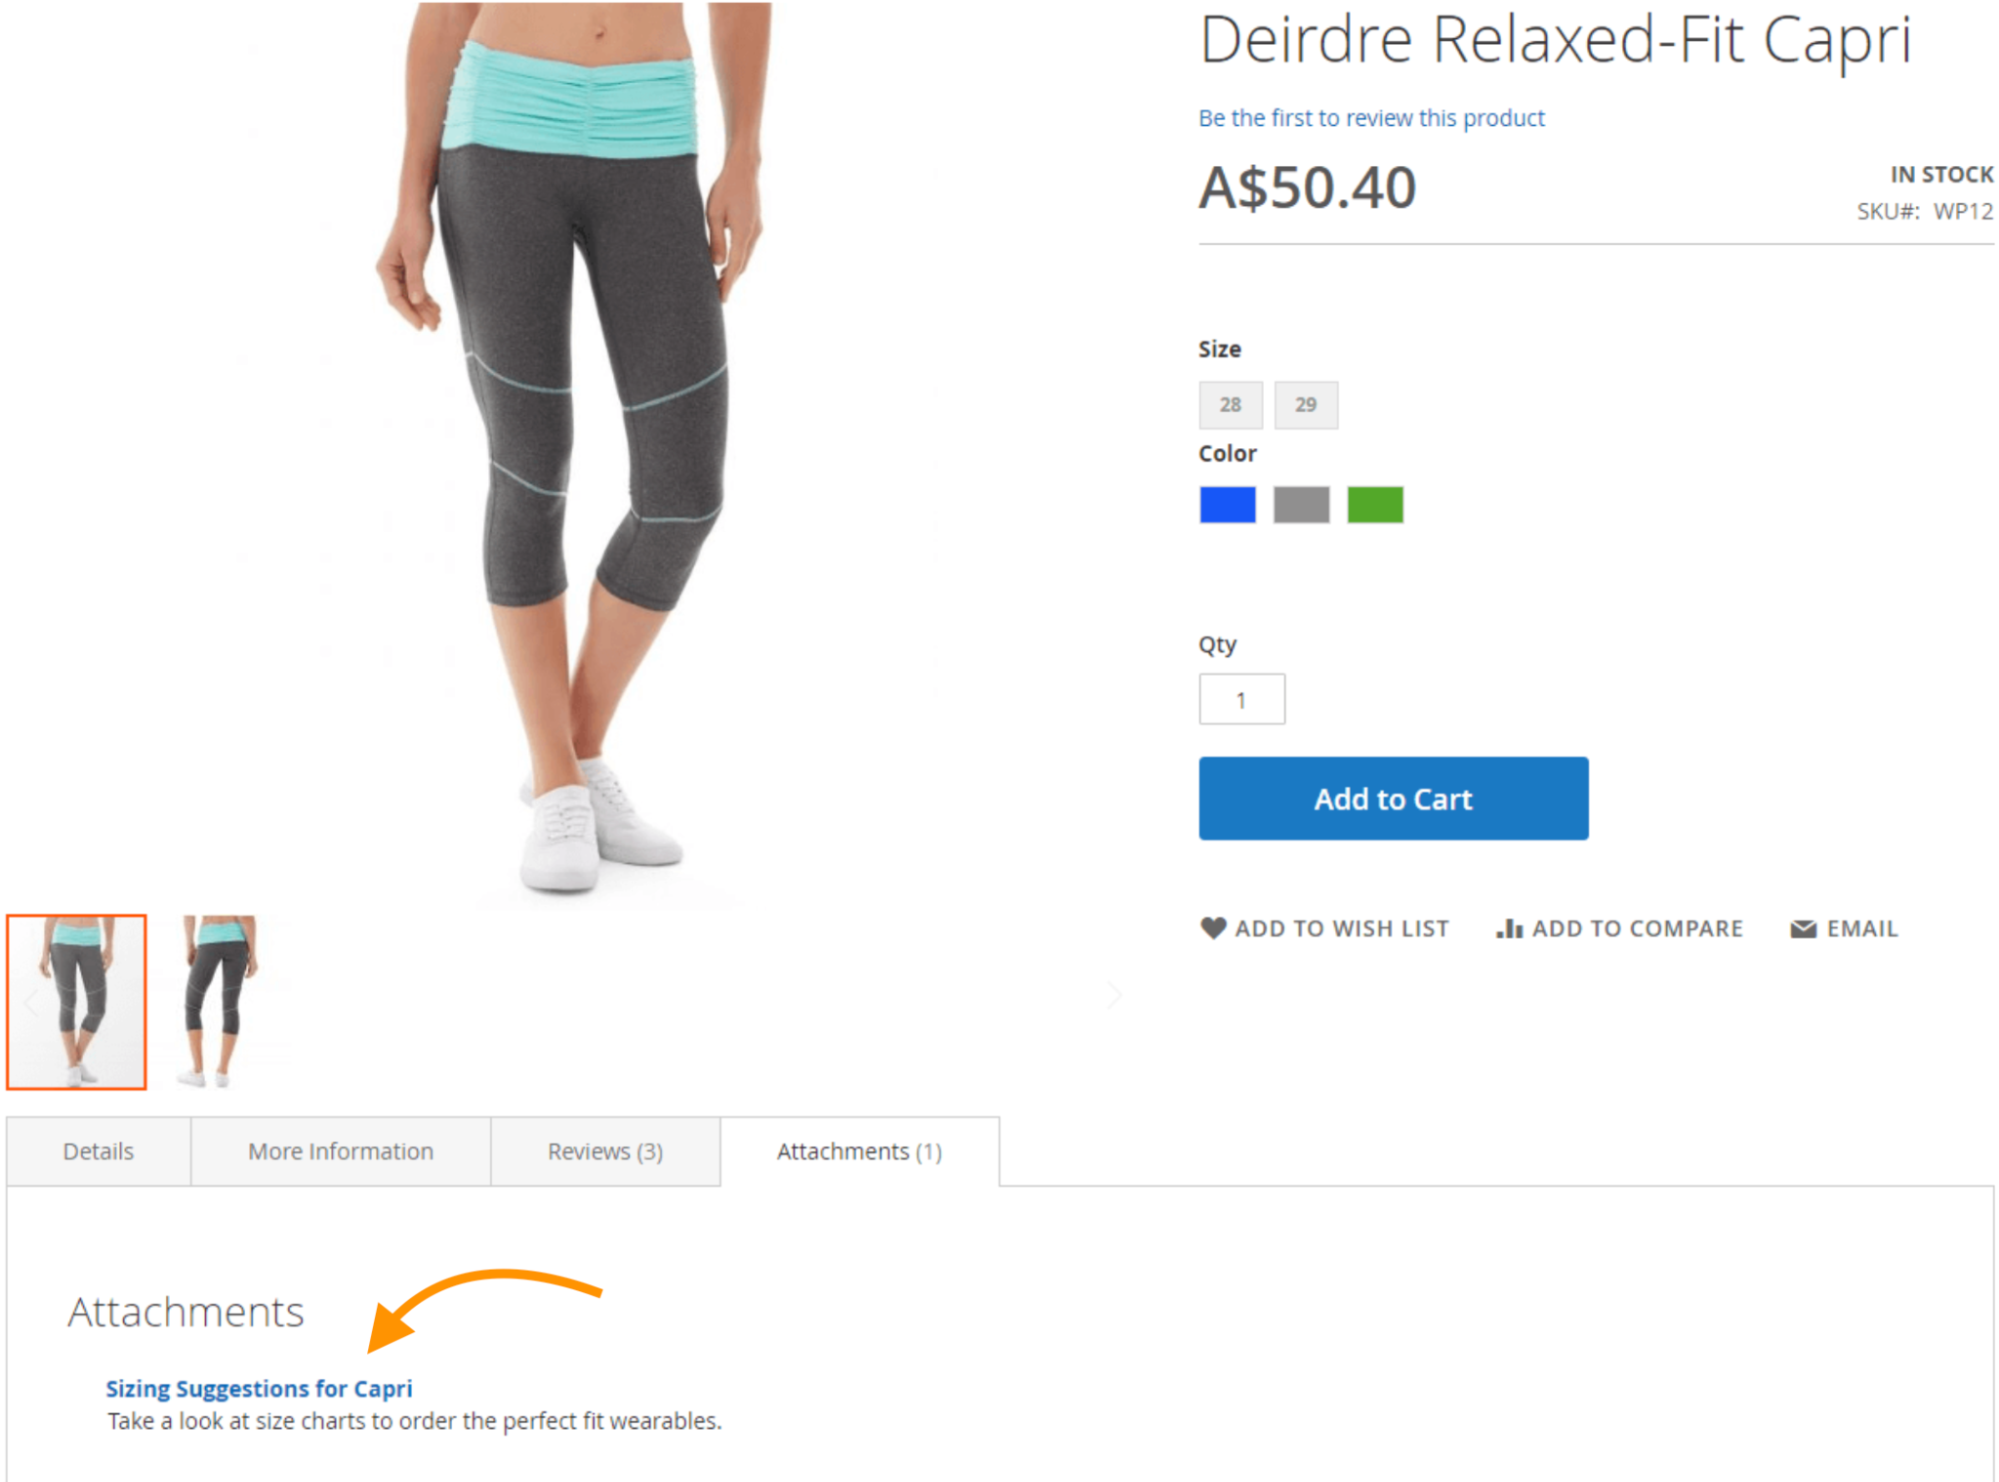
Add a downloadable product file for shoppers to learn more about your offerings.
Add Files Now
Help Your Customers Make Informed Decisions
Adding an attachment in your Magento store is a pretty straightforward task with the right tool at hand, making it easier to show detailed product information directly into the storefront and helping your customers make informed decisions.
