Here is your simple guide on how to add Open Graph Meta Tags to Magento 2.
Open Graph meta tags are an effective way to optimize how your content appears on social media platforms. In this blog post, I will show you the exact steps to add Open Graph Meta Tags without being technical.
So, let’s start!
What Are Open Graph Meta Tags in Magento 2?
Open Graph Meta Tags control how your store URLs display on social media platforms when you share your brand post. They help ensure your content and image look proper and structured on any social media channel.
This is how your store URL appears with Open Graph meta tags.

Using Open Graph Meta Tags:
- Gives you more control over how your content will appear on social media platforms rather than the particular platform deciding it.
- Makes a pleasing impression among visitors scrolling through the platform.
- It improves the chances of a higher click-through rate, as Facebook posts with images get 2.3 times more CTR than posts without images.
How to Add Open Graph Meta Tags to Magento 2?
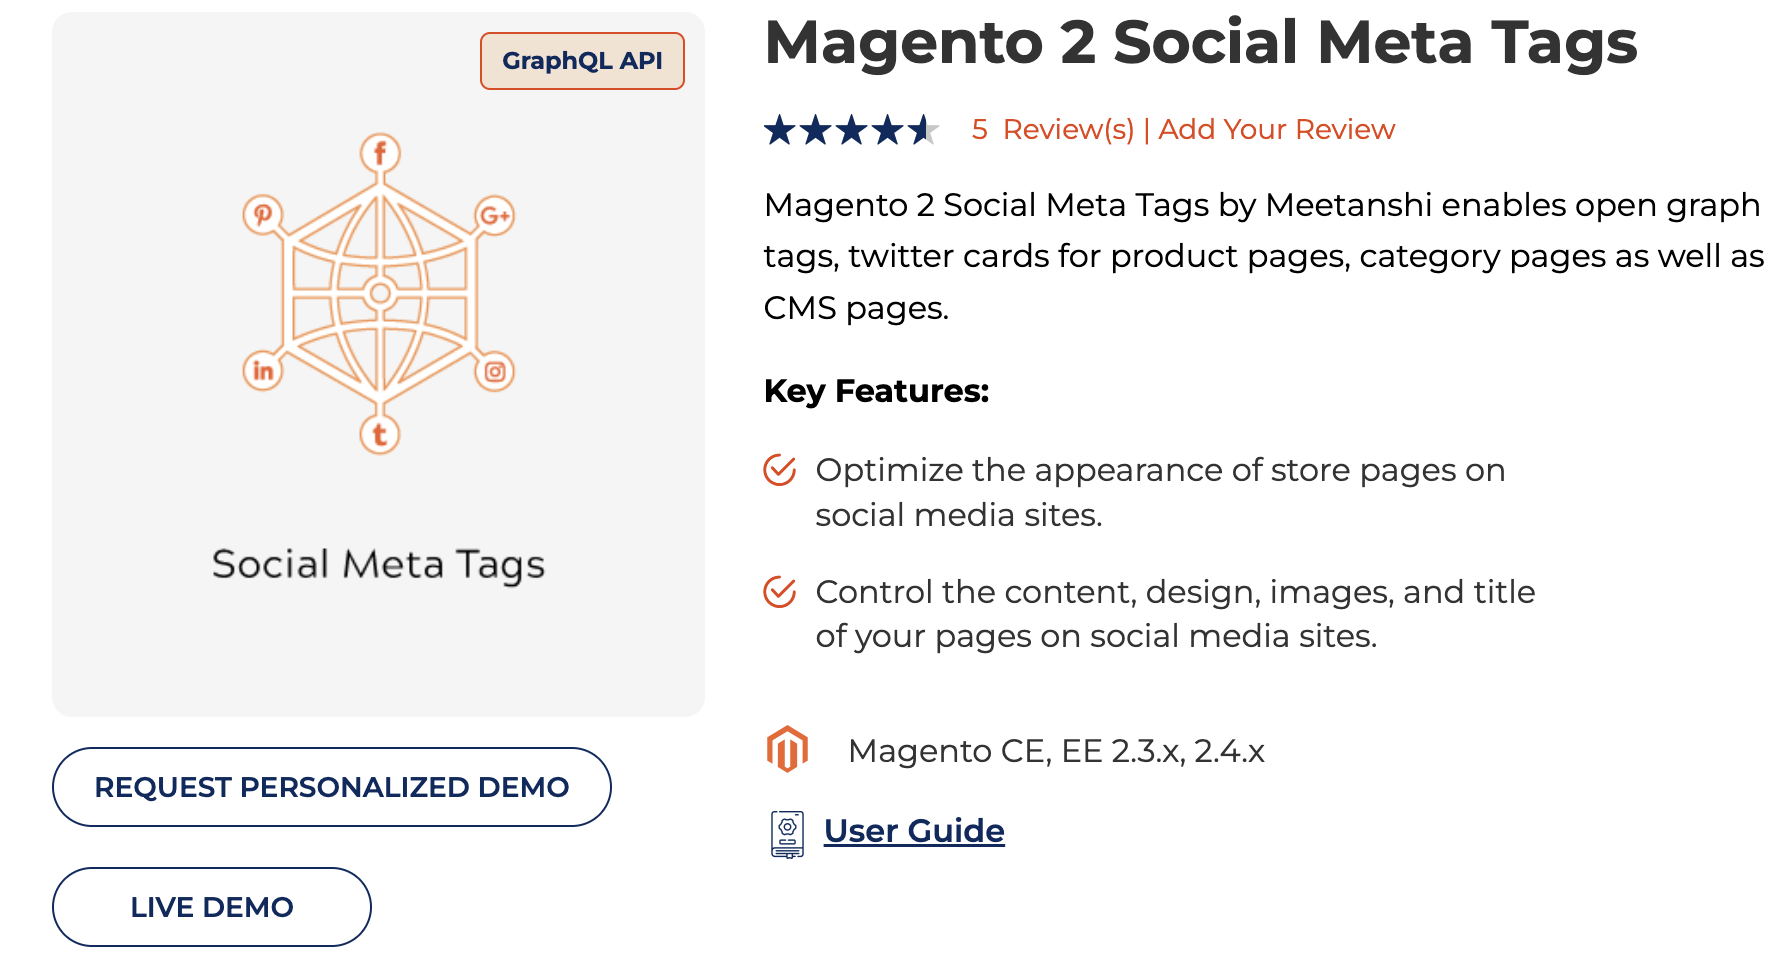
The easiest way to add Open Graph meta tags is using Meetanshi’s Magento 2 Social Meta Tags extension.
Step 1: Install and Configure The Extension
Extract the zip folder and upload the extension to the root of your Magento 2 directory via FTP.
After this, login to your SSH and run the following commands step by step:
php bin/magento setup:upgradeFor Magento version 2.0.x to 2.1.x - php bin/magento setup:static-content:deployFor Magento version 2.2.x & above - php bin/magento setup:static content:deploy –fphp bin/magento cache:flush
Now, let’s configure it.
Head to Stores > Configuration > Social Meta Tags, where you will find the configuration settings.
- Social Meta Tags: Enable the Social Meta Tags extension.
- Price for Bundled Products: Select the option to display no price, minimum, or maximum price accordingly.
- Product Image Fallback: Select the order of image fallback from the dropdown menu.

Step 2: Set The Open Graph Settings
Here, you will have to enable some settings for the Open Graph:
- Open Graph: Enable Open Graph Tags.
- Application ID/Key: Enter the Application ID you must have got while registering at https://developers.facebook.com/docs/apps/
- Enable Product Type: If you want to show additional product attributes, enable this option.
- Fallback Image: Upload a default image here. This fallback will be used if no image is used while sharing your post.

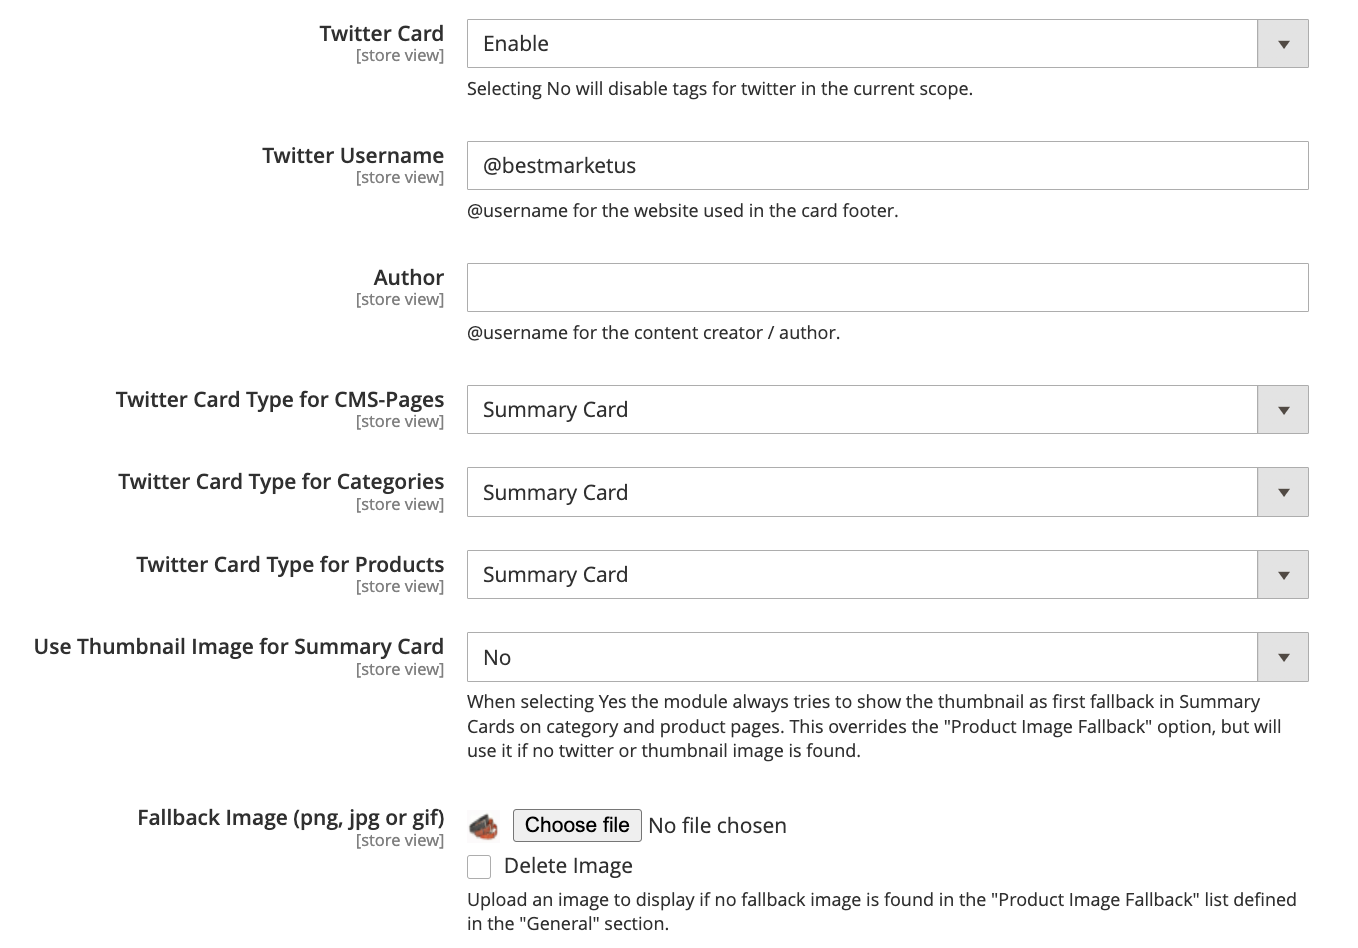
Step 3: Set The Twitter Card Settings
Now, in the same way, you can enable Twitter card settings:
- Twitter Card: Enable Twitter Card.
- Twitter Username: Enter the Twitter username of your store.
- Author: Enter the author’s username.
- Twitter Card Type for CMS Pages: Select the Twitter card type for CMS Pages.
- Twitter Card Type for Categories: Select the Twitter card type for categories.
- Twitter Card for Products: Select the Twitter card type for products.
- Use Thumbnail Image for Summary Card: Enable it if you want to use a thumbnail image for the summary card.
- Fallback Image: Upload the default fallback image.
Step 4: Product Page and Category Page Settings
Now that you’ve enabled the configuration and set tags, there are a few settings you need to make before you start sharing your content.
a. Product Page Settings
- Image Role Setting: You need to set a product image that will be used as a Twitter Card image and an Open Graph share image. Head to Catalog > Products > Select Product > Image to add the image.
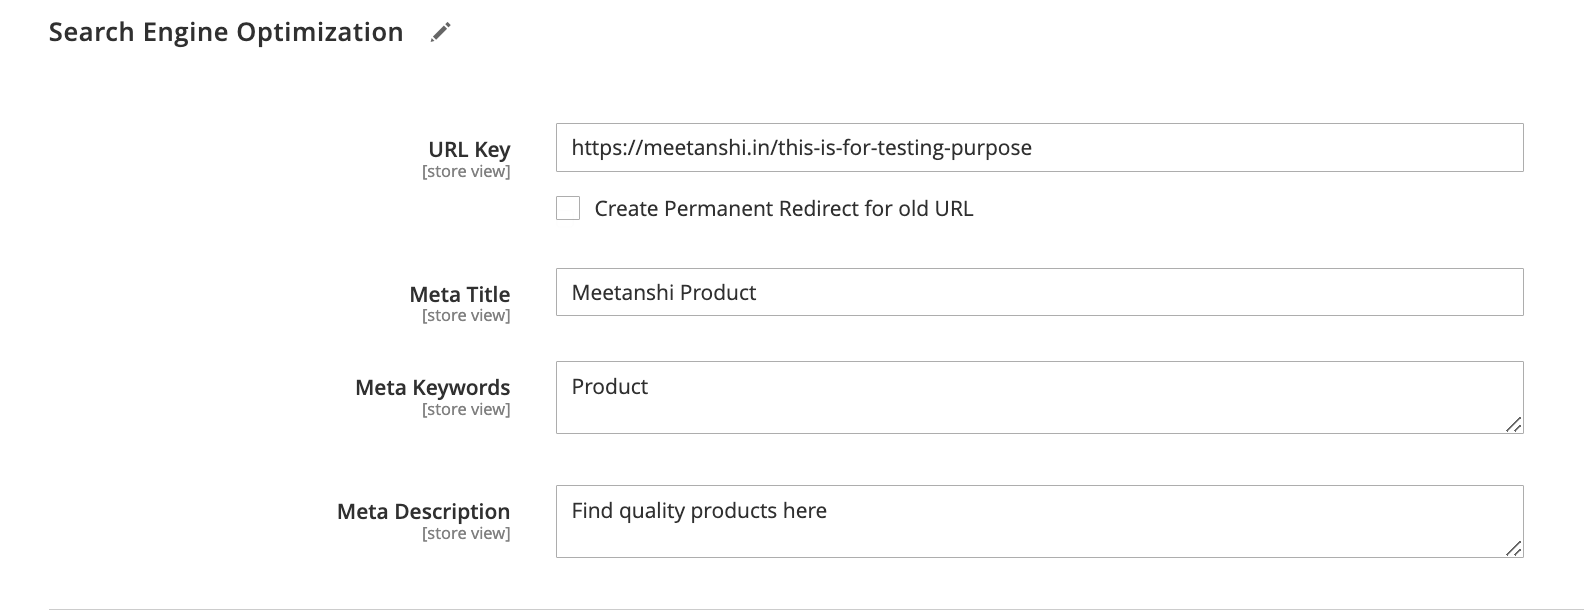
- Search Engine Optimization Setting: Here, you will need to add information about each product page. Go to Catalog > Products > Select Product > Search Engine Optimization Settings and fill in the information below.
- Open Graph Title: Write the Open Graph title
- Open Graph Description: Write the Open Graph description.
- Twitter Title: Write the Twitter Card title.
- Twitter Description: Write the Twitter Card description.
b. Category Page Settings
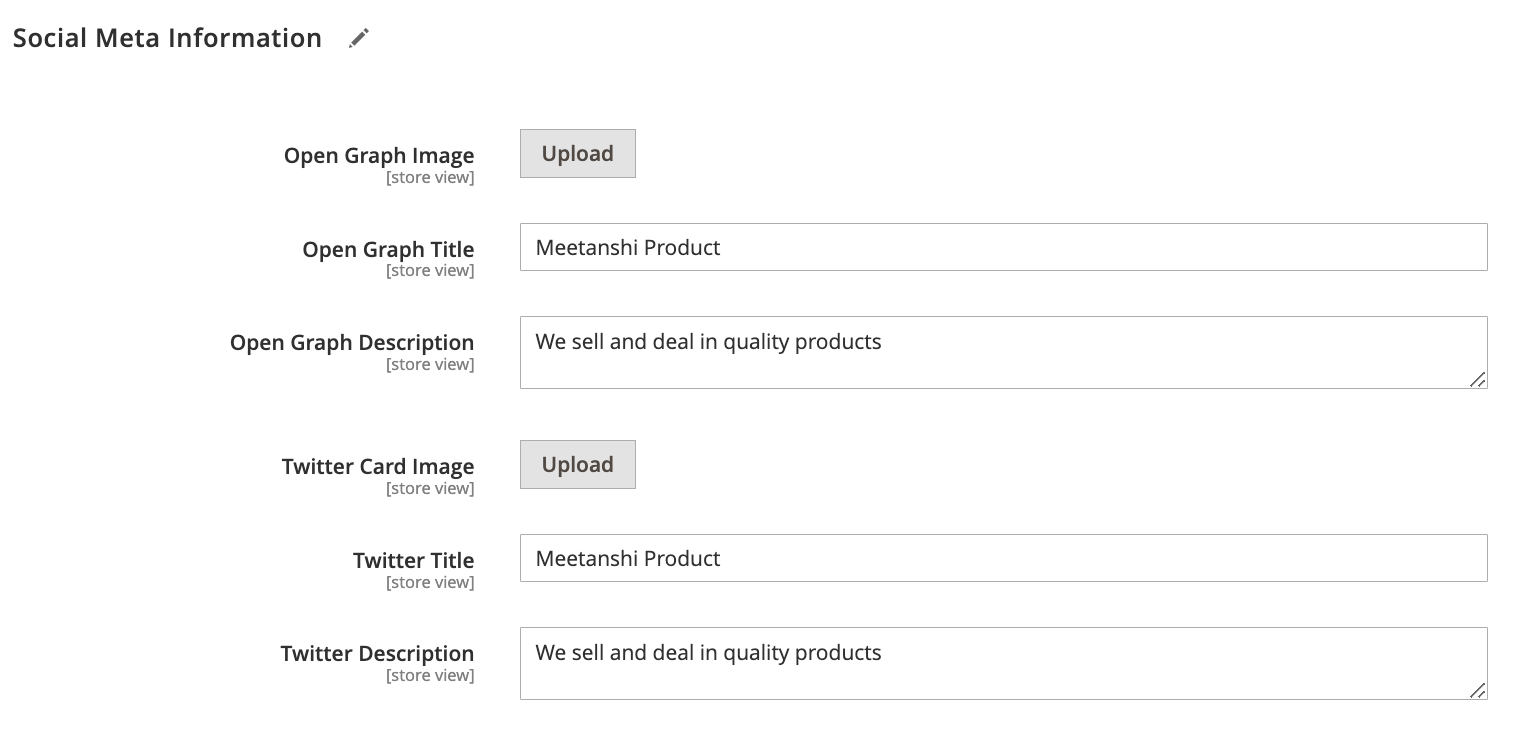
After the product page, it is time to add information for the category pages. Head to Catalog > Categories > Select Category > Social Meta Information and fill in the below details:
- Open Graph Image: Upload Open Graph image
- Open Graph Title: Write the Open Graph title
- Open Graph Description: Write the Open Graph description.
- Twitter Card Image: Upload Twitter card image.
- Twitter Title: Write the title for Twitter
- Twitter Description: Write the description for Twitter.
Step 5: Test Your URL
After this, copy your URL and paste it on the social media platforms to see if it works as expected on your social media pages.
Control and optimize your store visibility on social media pages like a pro.
Take Charge Now
Maintain Brand Consistency on Social Media
OG tags are important for maintaining a solid and clear social media presence. Adding them to your Magento 2 store is simple and doesn’t require a lot of your time and effort. Using the Meetanshi extension, you can enable this feature instantly in your store.