Imagine being able to treat your customers like VIPs.
With customer tagging in Shopify, you can create a personalized experience, run targeted promotions, and ultimately boost sales without the need for any additional apps or external tools.
First, let’s get down to the basics.
What are Customer Tags?
Customer tags are used to organize, segment, and track your customers. You can tag customers based on their behavior, purchase history, location, loyalty status, or any specific criteria you decide.
For example, you can use it like “VIP”, “Wholesaler”, “Frequent buyer”, or “Newsletter subscriber”.
Once tagged, you can easily filter customers, create targeted email campaigns, and offer personalized discounts, all of which lead you towards boosting sales and building better customer relationships.
Types of Tags on Shopify
Shopify allows you to add tags to different parts of your store to manage it easily. Here, I have mentioned the major types.
1. Customer Tags
This is used to identify and segment your customers based on their loyalty, purchase history, location, or any custom constraint, so you can prioritize support for specific groups.
E.g., Newsletter subscriber, Wholesaler, Frequent buyer
2. Product Tags
Helps you filter and group products within your admin and storefront. You can simplify collection management and enable product filtering on your website so your customers find the product faster.
E.g., Summer collection, New arrivals, Best sellers, Limited edition
3. Order Tags
Tags assigned to orders help your team manage and prioritize fulfillment. You can use them to track special requests or order status more effectively.
E.g., Urgent order, Pre-order, Wholesale order, Local pickup
4. Draft Order Tags
These tags are used to track and organize draft orders before they are finalized. To manage queries, special pricing, and custom orders that are not ready for checkout yet.
E.g., Pending approval, Custom pricing, Gift wrap
5. Transfer Tags
These tags are used to track and manage inventory transfer between warehouses. These are effective for preventing stock discrepancies and improving communication between supplier teams.
E.g., Restock, Damaged, Returned
How to Tag Customers in Shopify?
Tagging a customer in Shopify is easy and can be done directly from the admin panel. Here’s how you do it:
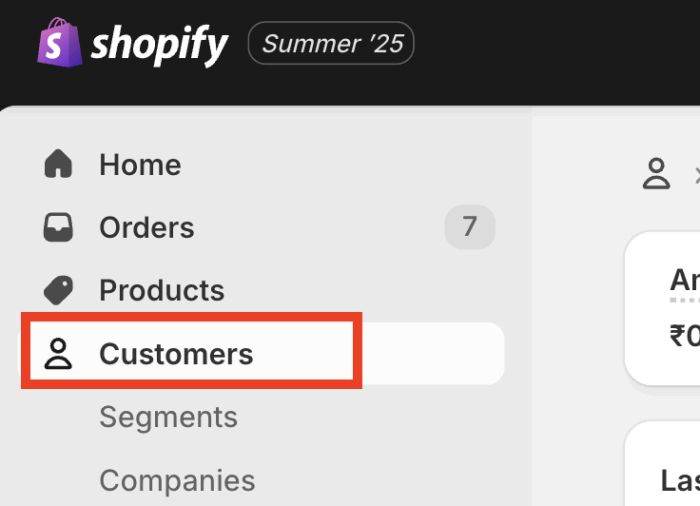
- Step 1: Go to the customers in your Shopify admin
- Step 2: Select the customer you want to tag
- Step 3: Add or edit tags
Step 1: Go to the Customers in your Shopify Admin
From your Shopify admin panel > Customers, and then you’ll see a list of customers.
Step 2: Select the Customer you want to tag
Click on the name of the customer you want to edit. Their profile page will open, and scroll down to the tag section at the end.
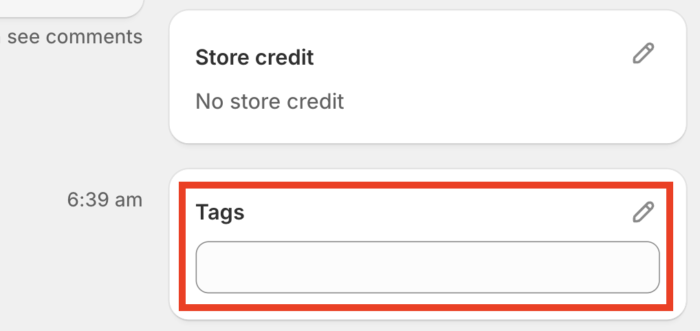
Step 3: Add or Edit Tags
In the tag section, you write a new tag and select the option from the drop-down if it appears. When you are done with the process, click on Save.
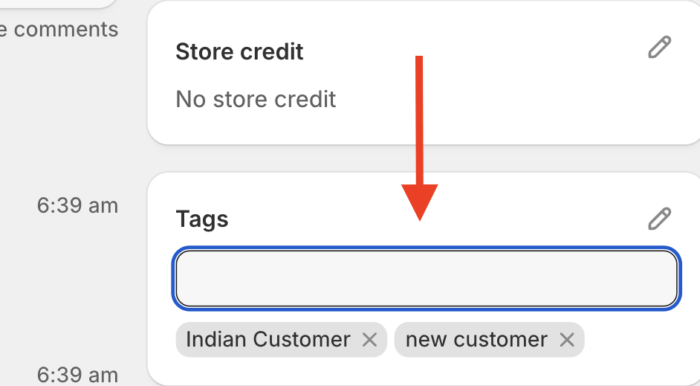
And just like that, you successfully added customer tags to your Shopify store and made customer management easier and more efficient.
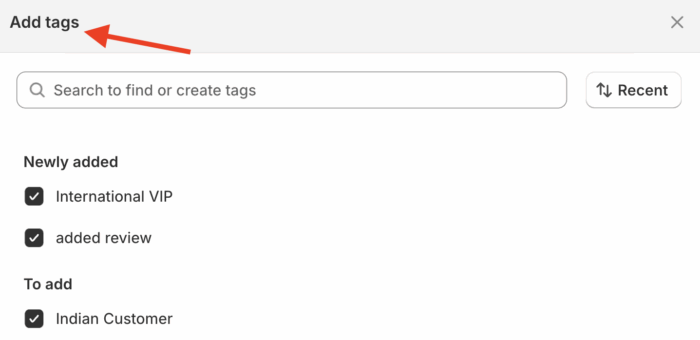
Using the edit button on the right side, you can see a list of all your customer tags, and if you wish, you can add new ones.
In the same way, you can follow the process for other customers, visit their customer profile, and give them a suitable tag.
Additionally, you can also auto-tag customers in Shopify using the Shopify flow app with different tagging options.
Wrapping Up
Customer tagging in Shopify is a robust solution to organize your customers, personalize marketing, and boost sales.
Make sure to keep your tags simple and consistent, and review them regularly if they need changes.
With just a few tags, you can better understand your customers and create a tailored shopping experience for them.
