Capturing customers’ attention while they are in your store is a pure game of smart efforts.
One of the ways is displaying related products in a popup.
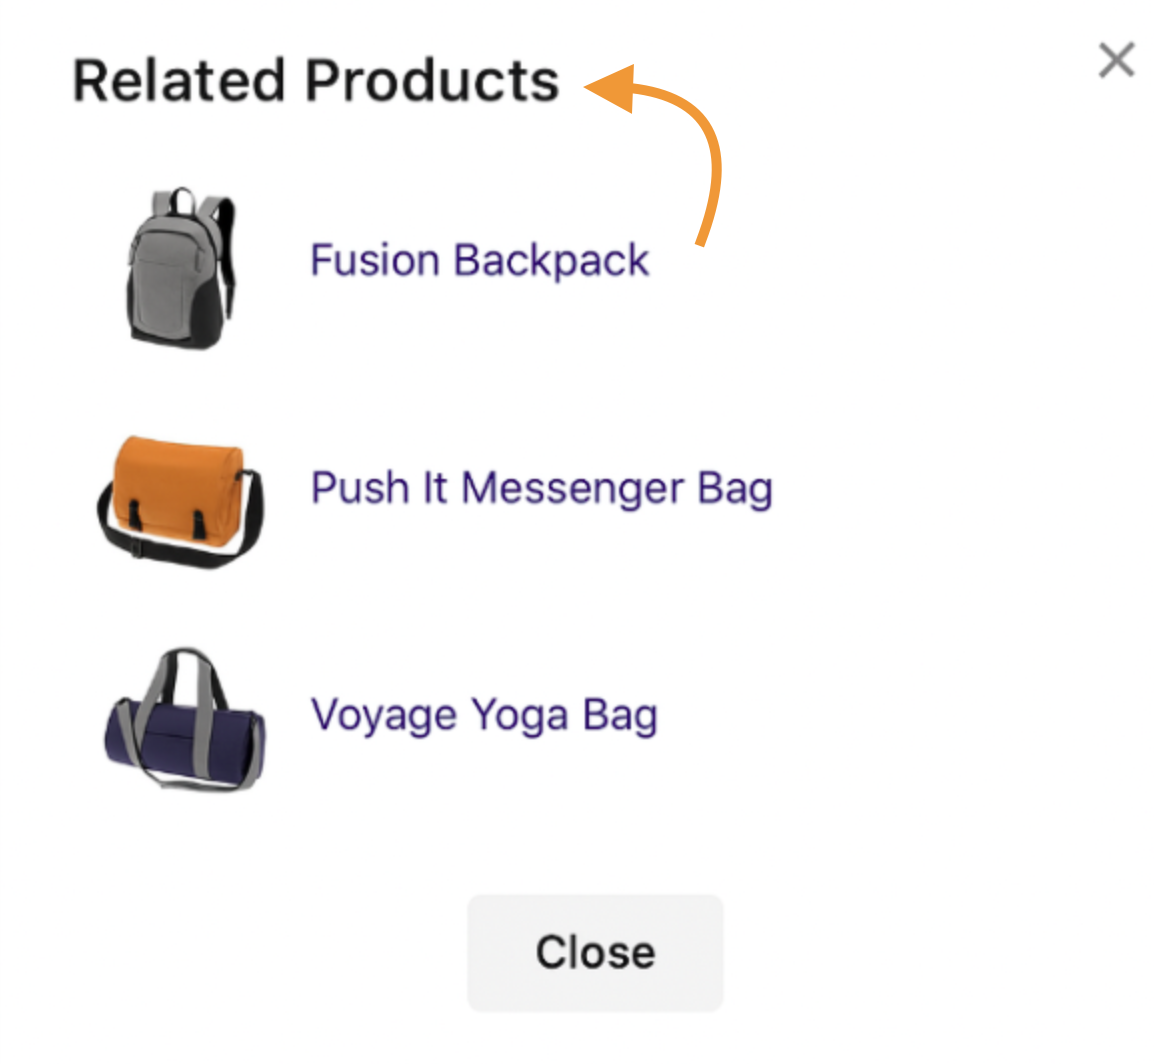
This allows your customers to engage with more products, often resulting in more sales. In this blog, I will show you how to implement this functionality on your Magento 2 store using our solution.
Steps: Show Related Products in the Popup Modal in Magento 2
Step 1: Create a Modal Template
First, create a new template file for the modal in your custom theme or module.
Create a related_products.phtml file in a custom module under app/code/Vendor/Module/view/frontend/templates/modal and add this code.
<?php
$relatedProducts = $block->getRelatedProducts();
?>
<div id="related-products-modal" class="modal fade" tabindex="-1" role="dialog" aria-labelledby="relatedProductsModalLabel" aria-hidden="true">
<div class="modal-dialog" role="document">
<div class="modal-content">
<div class="modal-header">
<h5 class="modal-title" id="relatedProductsModalLabel">Related Products</h5>
<button type="button" class="close" data-dismiss="modal" aria-label="Close">
<span aria-hidden="true">×</span>
</button>
</div>
<div class="modal-body">
<?php if (!empty($relatedProducts)): ?>
<ul class="related-products-list">
<?php foreach ($relatedProducts as $product): ?>
<li>
<a href="<?= $product->getProductUrl() ?>">
<img src="<?= $block->getImageUrl($product) ?>" alt="<?= $product->getName() ?>" />
<span><?= $product->getName() ?></span>
</a>
</li>
<?php endforeach; ?>
</ul>
<?php else: ?>
<p>No related products found.</p>
<?php endif; ?>
</div>
</div>
</div>
</div>
Step 2: Create a Block Class
Next, create a block class to fetch the related products for the current product.
Create a RelatedProducts.php file at app/code/Vendor/Module/Block and use the below code:
<?php

namespace Vendor\Module\Block;

use Magento\Catalog\Block\Product\AbstractProduct;
use Magento\Catalog\Model\ProductFactory;
use Magento\Framework\Registry;
use Magento\Framework\View\Element\Template\Context;

class RelatedProducts extends AbstractProduct
{
    protected $productFactory;
    protected $registry;

    public function __construct(
        Context $context,
        ProductFactory $productFactory,
        Registry $registry,
        array $data = []
    ) {
        $this->productFactory = $productFactory;
        $this->registry = $registry;
        parent::__construct($context, $data);
    }

    public function getRelatedProducts()
    {
        $product = $this->registry->registry('current_product');
        if ($product) {
            return $product->getRelatedProducts();
        }
        return [];
    }

    public function getImageUrl($product)
    {
        $imageHelper = $this->helper('Magento\Catalog\Helper\Image');
        return $imageHelper->init($product, 'product_base_image')->getUrl();
    }
}
This code will help to handle the logic for retrieving related products and providing image URLs.
Step 3: Add Modal Template to the Layout
This step will help you to include the modal in the product page of the website.
Create catalog_product_view.xml file under app/code/Vendor/Module/view/frontend/layout directory with the below code:
<?xml version="1.0"?>
<page xmlns:xsi="http://www.w3.org/2001/XMLSchema-instance" xsi:noNamespaceSchemaLocation="urn:magento:framework:View/Layout/etc/page_configuration.xsd">
    <body>
        <referenceContainer name="content">
            <block class="Vendor\Module\Block\RelatedProducts" name="related.products.modal" template="Vendor_Module::modal/related_products.phtml" />
        </referenceContainer>
    </body>
</page>
Step 4: Initialize the Modal Using JavaScript
Add JavaScript to activate the modal functionality and initialize/handle the modal’s behavior.
This script should be added to your template file or included as a separate JavaScript file.
Create modal.js file at app/code/Vendor/Module/view/frontend/web/js directory and use the below code:
<script type="text/x-magento-init">
{
    "#related-products-modal": {
        "Magento_Ui/js/modal/modal": {
            "type": "popup",
            "title": "Related Products",
            "buttons": []
        }
    }
}
</script>

<script type="text/javascript">
require([
    'jquery',
    'Magento_Ui/js/modal/modal'
], function($, modal) {
    var options = {
        type: 'popup',
        responsive: true,
        innerScroll: true,
        title: 'Related Products'
    };

    var popup = modal(options, $('#related-products-modal'));

    $('#your-trigger-element').on('click', function() {
        $('#related-products-modal').modal('openModal');
    });
});
</script>
Step 5: Include JS in to your layout
Add the necessary JavaScript in the layout to ensure the modal operates correctly.
Modify the catalog_product_view.xml file as shown:
<?xml version="1.0"?>
<page xmlns:xsi="http://www.w3.org/2001/XMLSchema-instance" xsi:noNamespaceSchemaLocation="urn:magento:framework:View/Layout/etc/page_configuration.xsd">
    <body>
        <referenceContainer name="content">
            <block class="Vendor\Module\Block\RelatedProducts" name="related.products.modal" template="Vendor_Module::modal/related_products.phtml" />
        </referenceContainer>
        <referenceContainer name="head.additional">
            <block class="Magento\Framework\View\Element\Template" name="related.products.modal.js" template="Magento_Theme::js/related_products_modal.phtml" />
        </referenceContainer>
    </body>
</page>
This code will ensure the modal opens when the trigger (button) is clicked.
Step 6: Add a button to Trigger the Modal
To trigger the modal, you’ll need to add a button on the product page that users can click to open the modal.
Add the button tag as shown to the catalog_product_view.phtml file to add the button:
<button id=”show-related-products” type=”button” class=”action primary”>Show Related Products</button>
After following all the steps, clear the cache and deploy the static content by running the necessary commands to apply changes.
Adjust the path and namespace according to your module and theme structure.
That’s it! Your related products will start displaying as the shoppers scroll through your store. 🎉
