A navigation menu makes it easy for shoppers to access important store pages quickly.
With Shopify’s default menu options, such as the Main Menu and Footer Menu, your customization becomes limited.
Here, I will show you how to use Shopify navigation menu code to go beyond the default settings.
What are Navigation Menus in Shopify?
The navigation menu contains links to important pages of your store, which you want your shoppers to discover instantly.
You can add the navigation menu wherever needed, but they are placed in the store’s header and footer.
Within the Shopify admin dashboard, you can edit, delete, or make changes in the main menu (header) and the footer.
This is placed at the bottom of your site with essential store details and other helpful links. Besides these, you can add different menu options like:
- Drop-down menus
- Vertical sidebar navigation menu
- Mega menu
- & more
But you won’t find direct settings for these in your Shopify admin if the theme doesn’t support these menu types.
You will need to add a liquid code to your theme.
Liquid Code Snippet to Display a Navigation Menu
In Shopify, you can create menus (list of links) to add to the header or footer. Here is a liquid code to add menus with the key “main menu.”
{% for link in linklists['main-menu'].links %}
  <li class="header__menu-item list-menu__item">
    <a href="{{ link.url }}" class="header__menu-item header__menu-item--top link">
      {{ link.title }}
    </a>
    {% if link.links.size > 0 %}
      <div class="header__submenu dropdown">
        <ul class="list-menu list-menu--inline">
          {% for child_link in link.links %}
            <li class="header__menu-item list-menu__item">
              <a href="{{ child_link.url }}" class="header__menu-item link">
                {{ child_link.title }}
              </a>
            </li>
          {% endfor %}
        </ul>
      </div>
    {% endif %}
  </li>
{% endfor %}
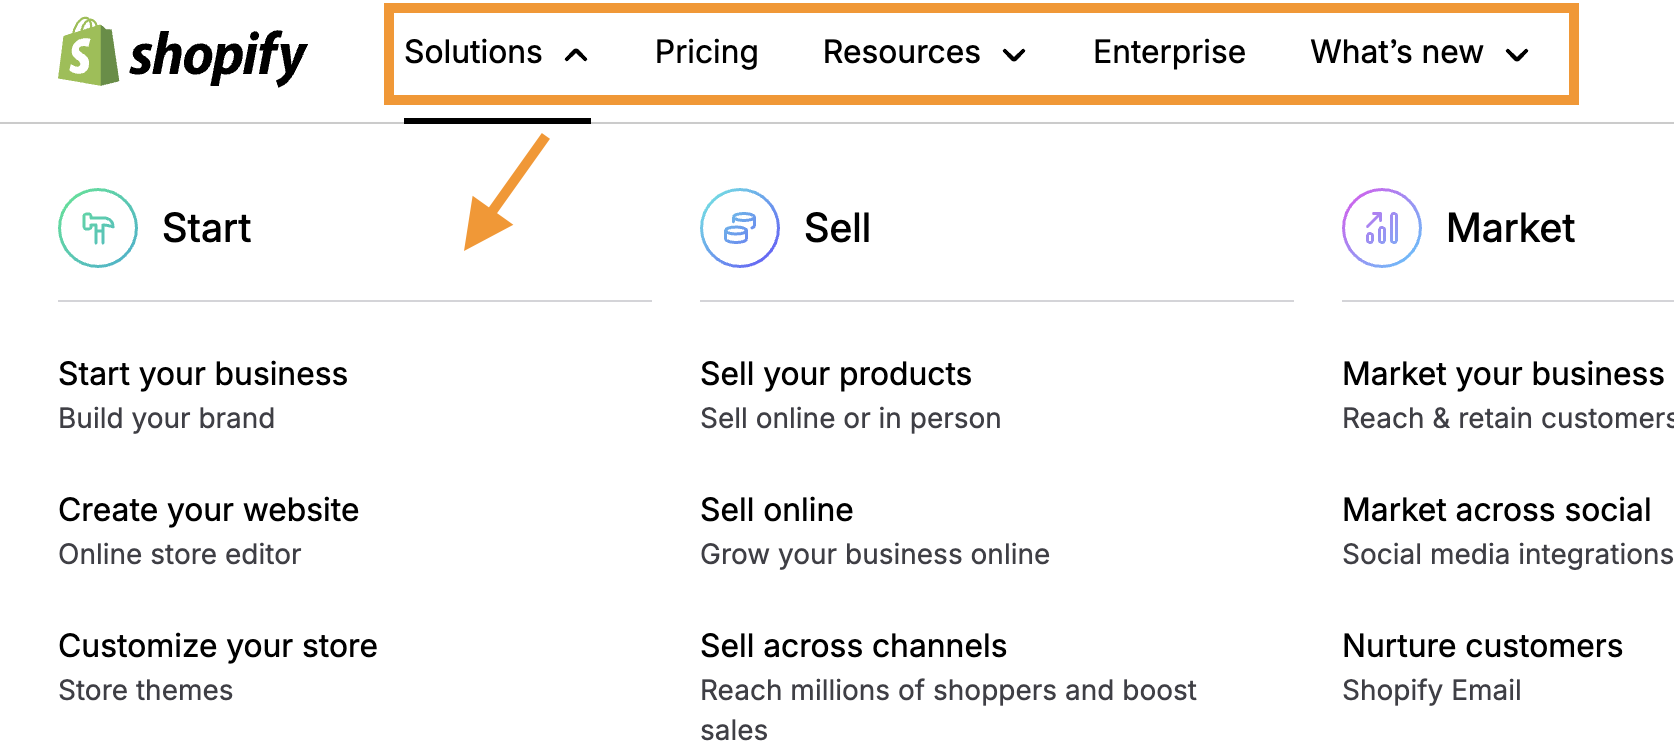
How to Use Shopify Navigation Menu Code in Header?
This code helps you to display a multi-level navigation menu. Like this:
You will need to add this code in the header.liquid file.
Head to Online Store > Themes > Customize
Then, add a custom liquid section to the header (where you want the menu) and use the code provided before.
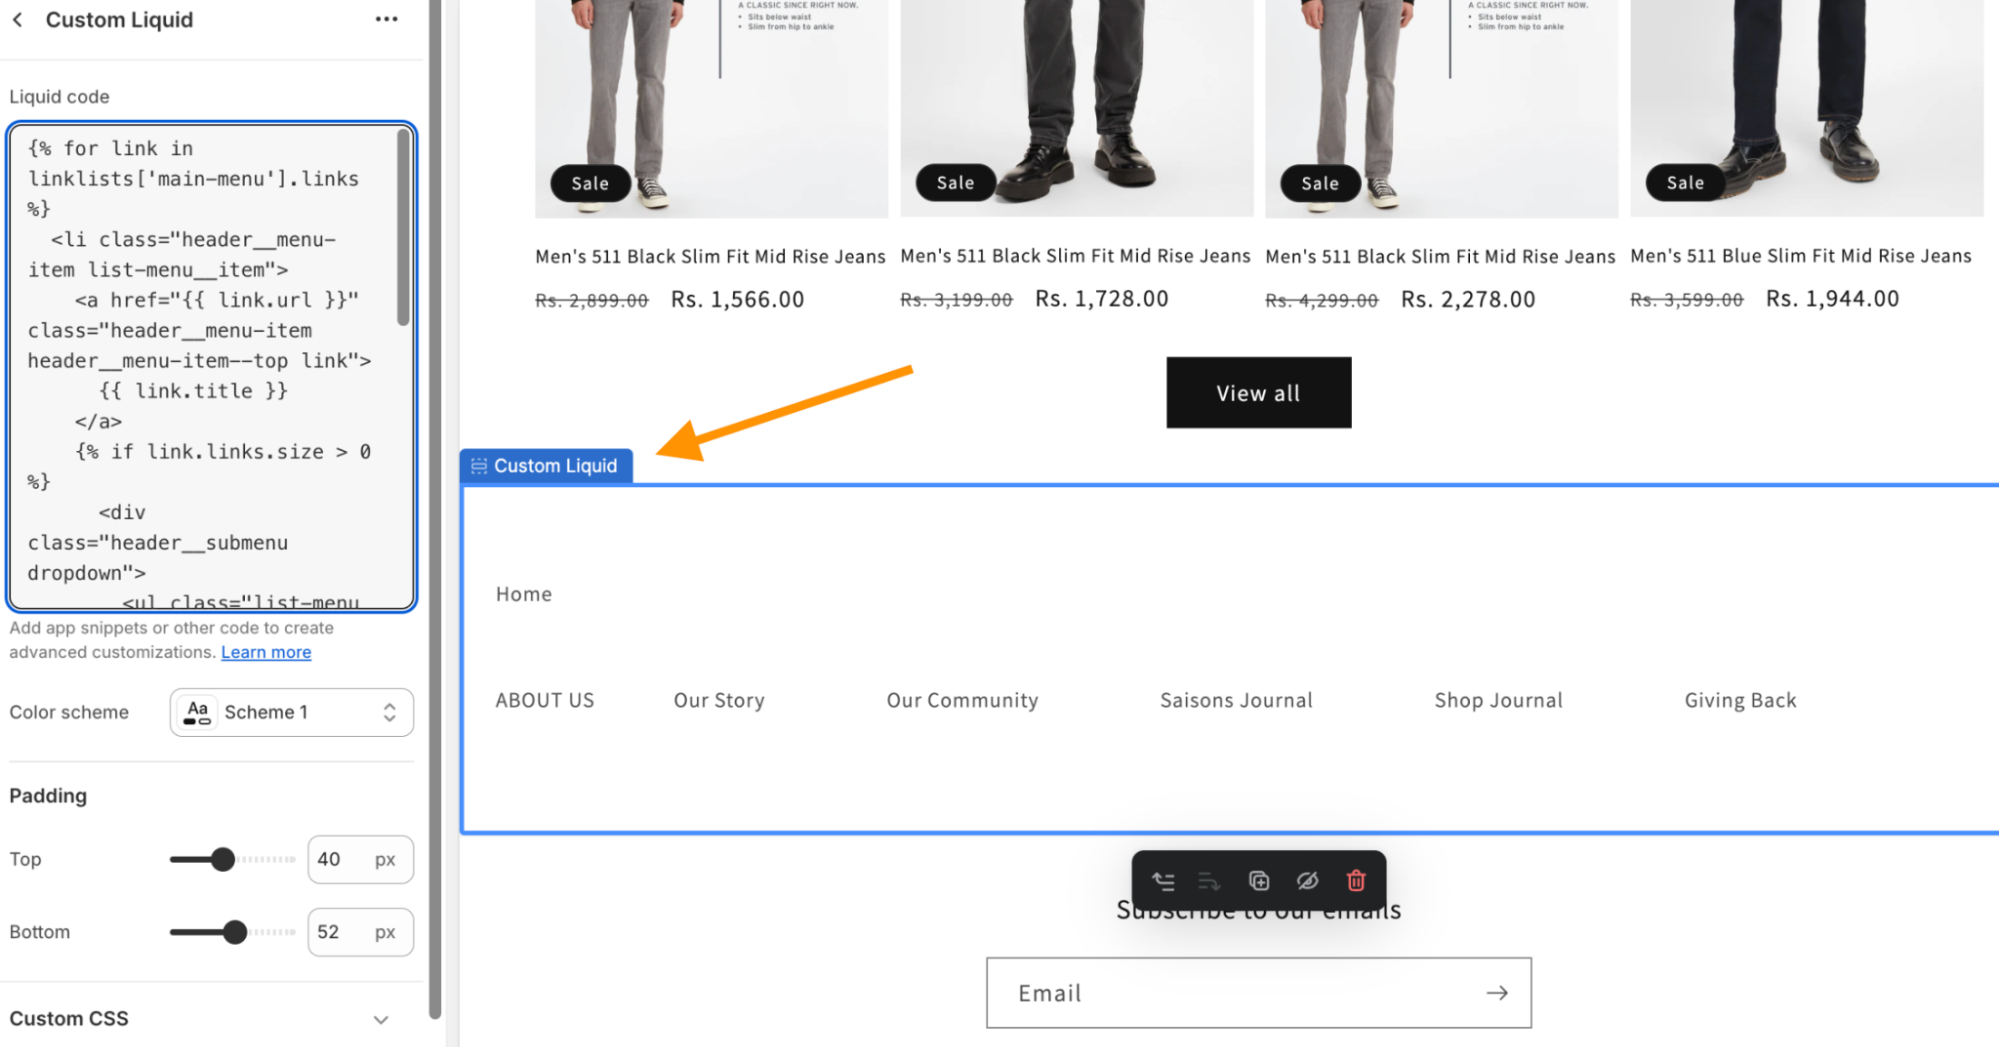
Do not forget to replace the menu name (i.e. main-menu) in the code as per your store.
Examples of Customizing Navigation Menu Code in Shopify
Now, let us see some advanced ways to add customization to your navigation menu.
Example 1: Hide a Certain Menu Item for Guest Customers
You can use this to loop in Shopify Liquid code to hide certain links in the navigation menu. For example, here’s code syntax only displays the “Account” link for logged-in customers, hiding the menu item like “Account” for non-logged-in customers.
Code:
{% for link in linklists['main-menu'].links %}
  {% unless link.title == 'Account' and customer == nil %}
    <li class="header__menu-item list-menu__item">
      <a href="{{ link.url }}" class="header__menu-item link">
        {{ link.title }}
      </a>
    </li>
  {% endunless %}
{% endfor %}
Result:
Example 2: Display a Different Menu by Customer Tag
Let’s say you want to display certain elements in the navigation menu only to customers that are tagged “VIP”. For this, you can add conditions in the Shopify Liquid code for this. For example:
{% if customer.tags contains 'VIP' %}
  {% assign menu = linklists['vip-menu'] %}
{% else %}
  {% assign menu = linklists['main-menu'] %}
{% endif %}
{% for link in menu.links %}
  <li class="header__menu-item list-menu__item">
    <a href="{{ link.url }}" class="header__menu-item link">
      {{ link.title }}
    </a>
  </li>
{% endfor %}
Example 3: Highlight Certain Items in Menu Using CSS
In case you want to highlight certain items in the Shopify Navigation Menu, you can apply CSS rules. For example, the following CSS code changes the color of the “sale” collection:
.header__menu-item a[href="/collections/sale"] {
  color: #ff0000;
  font-weight: bold;
}
Best Practices to Follow
Keep these points in mind while adding or editing menu in Shopify:
- Add important, relevant links at the top
- View the navigation through a mobile device to check responsiveness
- Refresh the navigation during the sale season or during the addition of a new collection
- Use relevant anchor for the link
Get Help with Shopify Theme Customization
Customizing your Shopify theme makes your store more accessible without making more changes in the core file or building your store from scratch.
Our Shopify experts can help you add elements like navigation menus, improve SEO, structure your store layout, and more without damaging your store.
Let our Shopify experts create a custom theme to boost and elevate your customer experience.
Learn More