By default, Magento provides a date and time picker in certain areas such as Cart Price Rules and Catalog Price Rules, allowing users to set “From” and “To” dates.
However, Magento does not offer a built-in date and time picker UI for system configuration via system.xml.
Therefore, when there is a requirement to select dates or time ranges in the admin panel, custom code must be implemented to enable this functionality.
While developing custom features for Magento store owners, it’s common to require date and time input from the admin for specific business logic.
For example, a custom module might need to capture periods for license expiry, promotional rule duration, or a discount’s active time frame.
In such cases, the solution provided here will help you integrate a date and time picker in the Magento 2 admin system configuration.
Magento 2 add Date & Time Picker in admin system Configuration
Step 1: Add Code in The system.xml File
Use the below code at your existing module’s sytem.xml file. It would be like app\code[Vendor][Module]\etc\adminhtml\system.xml
<field id="dateIdName" translate="label comment" sortOrder="10" type="date" showInDefault="1" showInStore="1" >
<label>Date Time Picker</label>
<frontend_model>Vendor\Module\Block\System\Config\DatePicker</frontend_model>
</field>
Step 2: Create DatePicker.php File
Now, create the DatePicker.php file at the location app\code[Vendor][Module]\Block\System\Config
<?php

namespace Vendor\Module\Block\System\Config;

use Magento\Framework\Registry;
use Magento\Backend\Block\Template\Context;

class DatePicker extends \Magento\Config\Block\System\Config\Form\Field
{
protected $_coreRegistry;

public function __construct(
Context $context,
Registry $coreRegistry,
array $data = []
){
$this->_coreRegistry = $coreRegistry;
parent::__construct($context, $data);
}

public function render(\Magento\Framework\Data\Form\Element\AbstractElement $element)
{
// for only date option
$element->setDateFormat(\Magento\Framework\Stdlib\DateTime::DATE_INTERNAL_FORMAT);

// For Date & time option
// $element->setDateFormat(\Magento\Framework\Stdlib\DateTime::DATETIME_INTERNAL_FORMAT);

//$element->setDateFormat("dd-mm-Y");

// For set max date or disabled future date
$element->setMaxDate(date('Y-m-d'));

// For set Min date or disabled previous date
$element->setMaxDate('2022-04-01');
return parent::render($element);
}
}
That’s it.
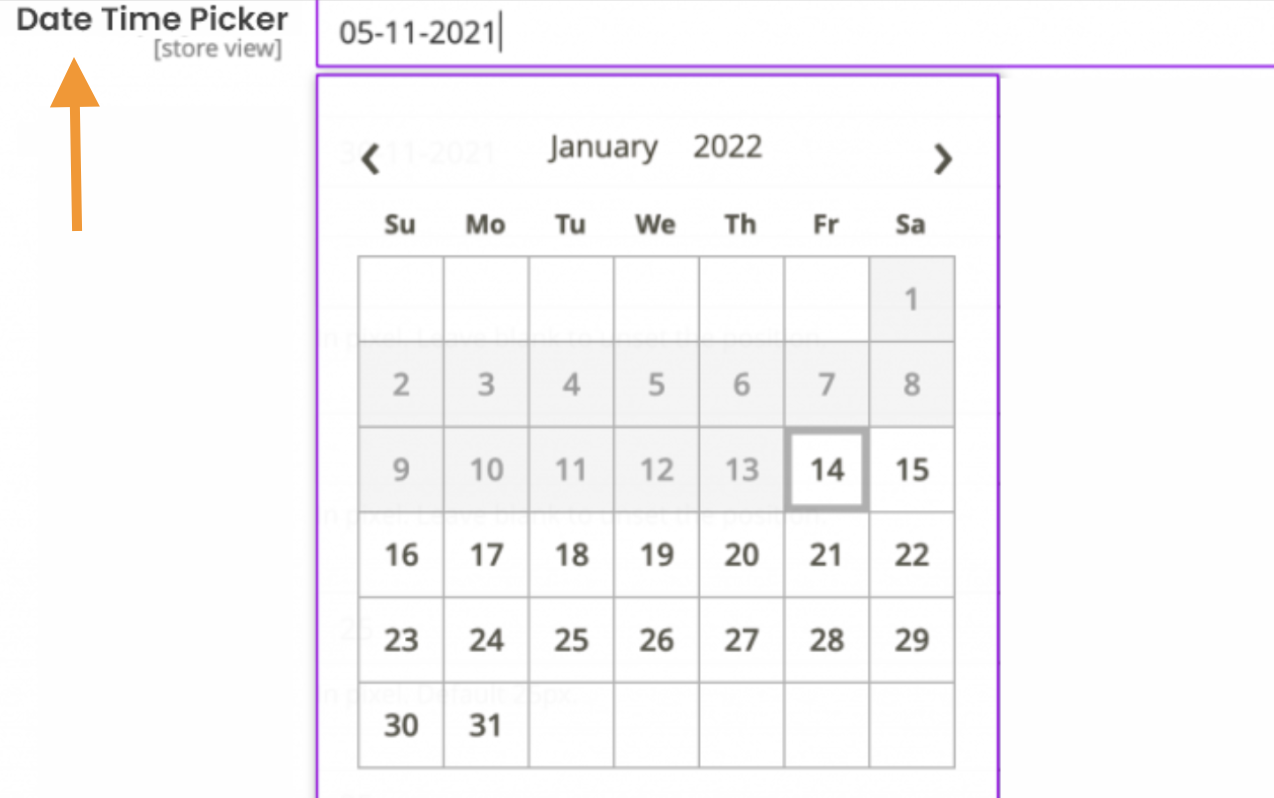
Then, you will be able to view the date and time picker to streamline your Magento backend tasks with our custom solutions.
If you’re looking to build tailored features or need custom extension development for your store, feel free to get in touch — we’re here to bring your ideas to life.
