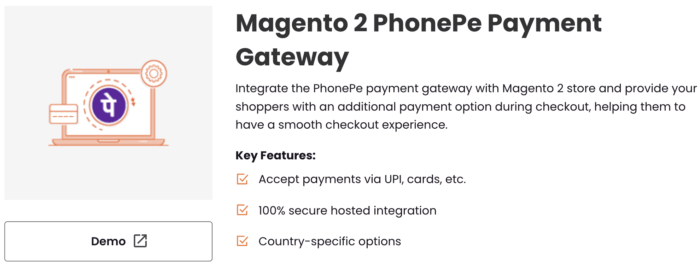
This blog shows you the simple steps to integrate India’s popular payment solution, PhonePe, with your Magento 2 store.
The default Magento 2 admin doesn’t have any native PhonePe integration, therefore we will use the Meetanshi Magento 2 PhonePe Payment Gateway extension.
This extension:
- Doesn’t require any coding to setup the payment gateway
- Gives complete access to customize the payment solution
- Manage all your transaction from the Magento 2 backend
Steps to Add PhonePe Gateway in Magento 2 Store
Step 1: Download and Install the Extension
Start with downloading the Meetanshi Magento 2 PhonePe Payment Gateway extension and extracting the zip folder to upload it to the root of your Magento 2 directory via FTP.
Then, log in to your SSH and run the following commands one after the other:
- php bin/magento setup:upgrade
- php bin/magento setup:static-content:deploy -f
- php bin/magento cache:flush
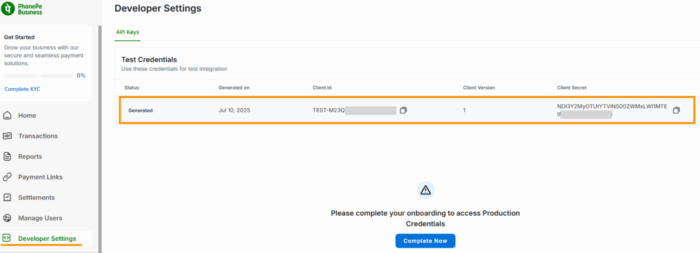
Step 2: Get PhonePe API Credentials
Now, log in to your PhonePe Business account and then navigate to the Developer Settings section.Then under the API keys, you will find the Client ID, Client Version and Client Secret. Copy them and navigate to your Magento 2 admin panel.
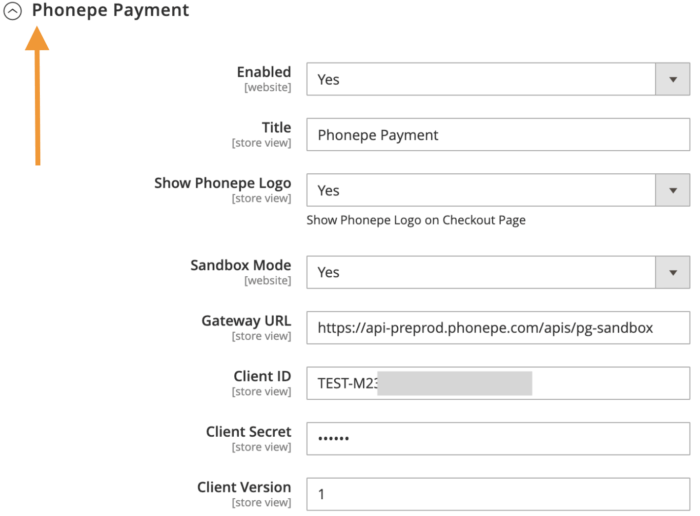
Step 3: Add the PhonePe Configuration Settings
Now, from your Magento 2 admin panel, navigate to Stores > Configuration > Sales > Payment Methods > PhonePe Payment.
Here, you will find a handful of settings to customize the payment gateway. Start with enabling the extension and then add these settings:
- Title: Add a suitable title to display on the checkout page.
- Show PhonePe Logo: Select Yes if you want to display the PhonePe logo.
- Sandbox Mode: Select Yes if you want to use the extension in a testing environment. (We recommend selecting yes).
- Gateway URL: This URL is pre-filled for the sandbox environment. For production, use the live Gateway URL provided by PhonePe.
- Client ID: Enter the Client ID that you copied from the PhonePe Business dashboard.
- Client Secret: Enter the Client Secret that you copied from the PhonePe Business dashboard.
- Client Version: Enter the Client Version that you copied from the PhonePe Business dashboard (typically 1).
The above were general settings, now add the needed customization to your store.
- Allow Auto Invoice: Select Yes if you want to automatically generate an invoice after a payment is done.
- Payment from Applicable Countries: Choose between ‘All Allowed Countries’ or ‘Specific Countries’ to manage payment method visibility.
- Payment from Specific Countries: Add countries if you have opted for the Specific Countries option above.
- Additional Information: Option to add any instructions or messages for the customer on the checkout page.
- Debug: Enable debug mode, which is helpful for troubleshooting purposes.
- Sort Order: Set the position of this payment method among the other payment options in your store.

Then, click on Save Config from the top right and complete your PhonePe Magento 2 integration.
Step 4: Show the Payment Gateway in the Frontend
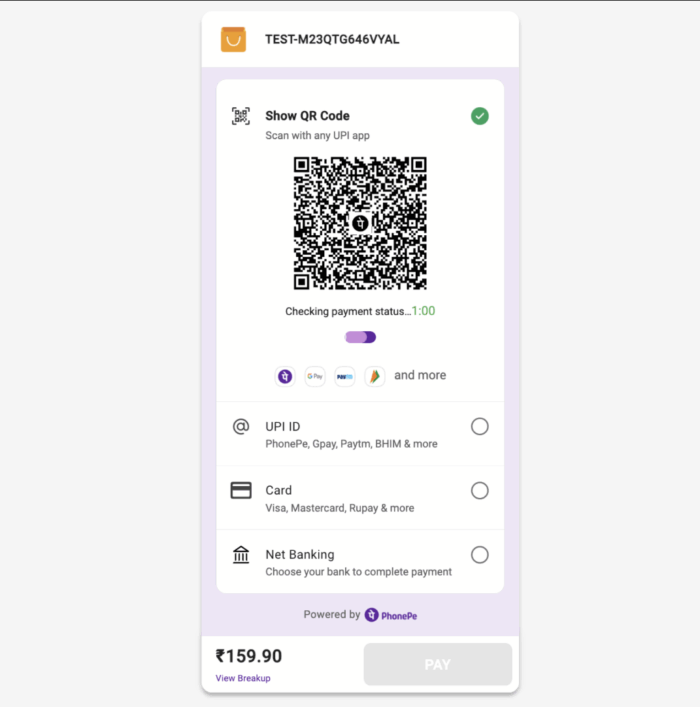
Now, when your customers see the payment option at the checkout page, they will be redirected to the PhonePe hosted payment page.
You customers have the option to pay via QR code, UPI ID, card, or net banking.
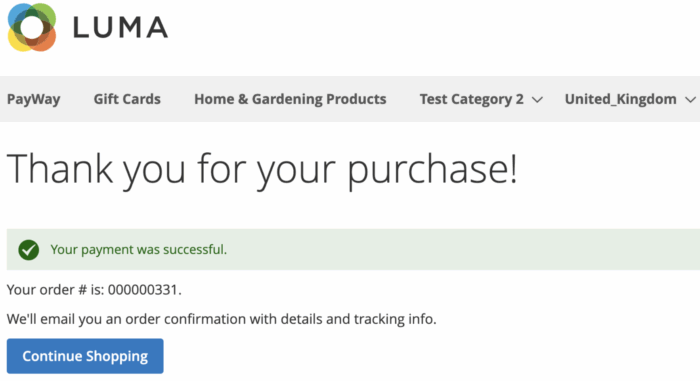
After the payment is completed, the customer will see a success message and will return to the “Thank You” page on your store with the order number.
Step 5: View PhonePe Payment Details in the Backend
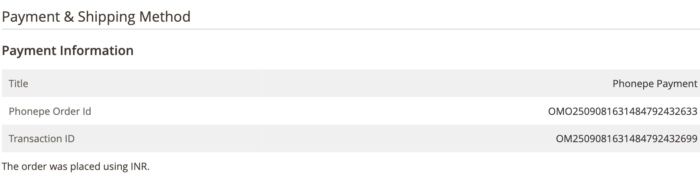
Now, when a payment is completed using the PhonePe integration, then navigate to Sales > Orders and select the order from your Magento 2 admin.
In the Payment Information section, you will find order details like:
- Title
- PhonePe Order ID
- Transaction ID
Why Pick the Meetanshi Magento 2 PhonPe Integration Extension?
The Meetanshi PhonePe integration is a better choice if you don’t want to overspend and still get access to quality features. There are low-cost alternatives, but they carry the risk of poor code quality and potential conflicts in your store.
While the extension offers a number of helpful product-related features, you also enjoy extra benefits, like:
- Lifetime license to source code
- 30-day money-back guarantee
- Free support and updates for 1 year
Meetanshi offers you complete support during post installation and rolls
It provides a seamless, secure, and user-friendly payment experience for your customers.With India’s most popular payment methods, you’re not only streamlining your checkout process but also building trust and opening your business to a massive market.
Start accepting PhonePe on your Magento 2 store with a zero-code setup.
Get Now