Managing your business’s finances can feel overwhelming, especially when you are juggling multiple tools. If you are using Xero for accounting, you might be looking for a way to make it work smoothly with your Magento 2 store.
The good news? It’s easier than you think!
In this guide, we’ll learn how to integrate Xero with Magento 2 step-by-step. By integrating the two, you’ll save time, reduce manual errors, and organize your financial data in one place.
Let’s get started!
What is Xero Connector?
The Xero Connector is a tool that integrates Xero, a widely-used cloud-based accounting software, with platforms like Magento 2. It acts as a bridge between your eCommerce store and your accounting system, allowing them to share data automatically. This integration removes the need for manual data entry, saving time and reducing errors.
With the Xero Connector, you can automate several important tasks like:
- Syncing sales orders, customer details, and product information from Magento 2 into Xero.
- Automatically create invoices in Xero when a purchase is made on your online store.
- Recording payments and tracking customer transactions without needing to manually update records.
Instead of manually entering sales and invoice data from Magento 2 into Xero, the connector does it for you in real-time. This ensures that your accounting is always accurate and up to date, giving you a clearer understanding of your business’s financial health.
Steps to integrate Xero With Magento 2
Integrating Xero with Magento 2 can significantly simplify your accounting processes by automatically syncing key data, such as sales, invoices, and product information.
In this guide, we’ll walk you through each step of the integration process, from installing Meetanshi’s Xero integration extension to configuring synchronization settings and mapping accounts.
Step 1: Install Xero Magento 2 Integration
Download the extension’s zip file and unzip it into the root directory of your Magento installation. Access your server through SSH and execute the following commands in order:
- php bin/magento setup:upgrade
- For Magento versions 2.0.x to 2.1.x, run: php bin/magento setup:static-content:deploy
- For Magento 2.2.x and newer versions, use: php bin/magento setup:static-content:deploy -f
- Finally, clear the cache with: php bin/magento cache:flush
Step 2: Get Client ID & Secret from Xero
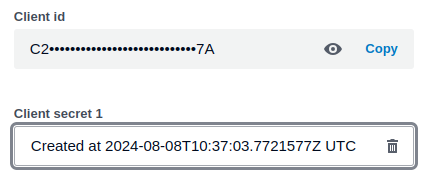
Before configuring the integration, you need to retrieve the Client ID and Client Secret from your Xero account.
- Go to the Xero Developer Portal and log in with your account credentials.
- Go to API Explorer > My Apps > OAuth2 Test > Configuration, and copy both your Client ID and Client Secret for use during setup.
Step 3: Configure Xero Integration in Magento 2
Once the extension is installed and you have the necessary credentials, you can connect Magento to Xero integration in your Magento 2 admin panel.
Connect Magento 2 with Xero
- Log in to your Magento 2 admin panel and go to Xero Integration > Configuration and enable the integration by toggling the button to “Enable Xero Integration.”
- Enter the Client ID and Client Secret from Xero, and choose whether you want to connect in Sandbox mode (for testing) or Production (for live use).
- Save the configuration and click the Get Access Token button.
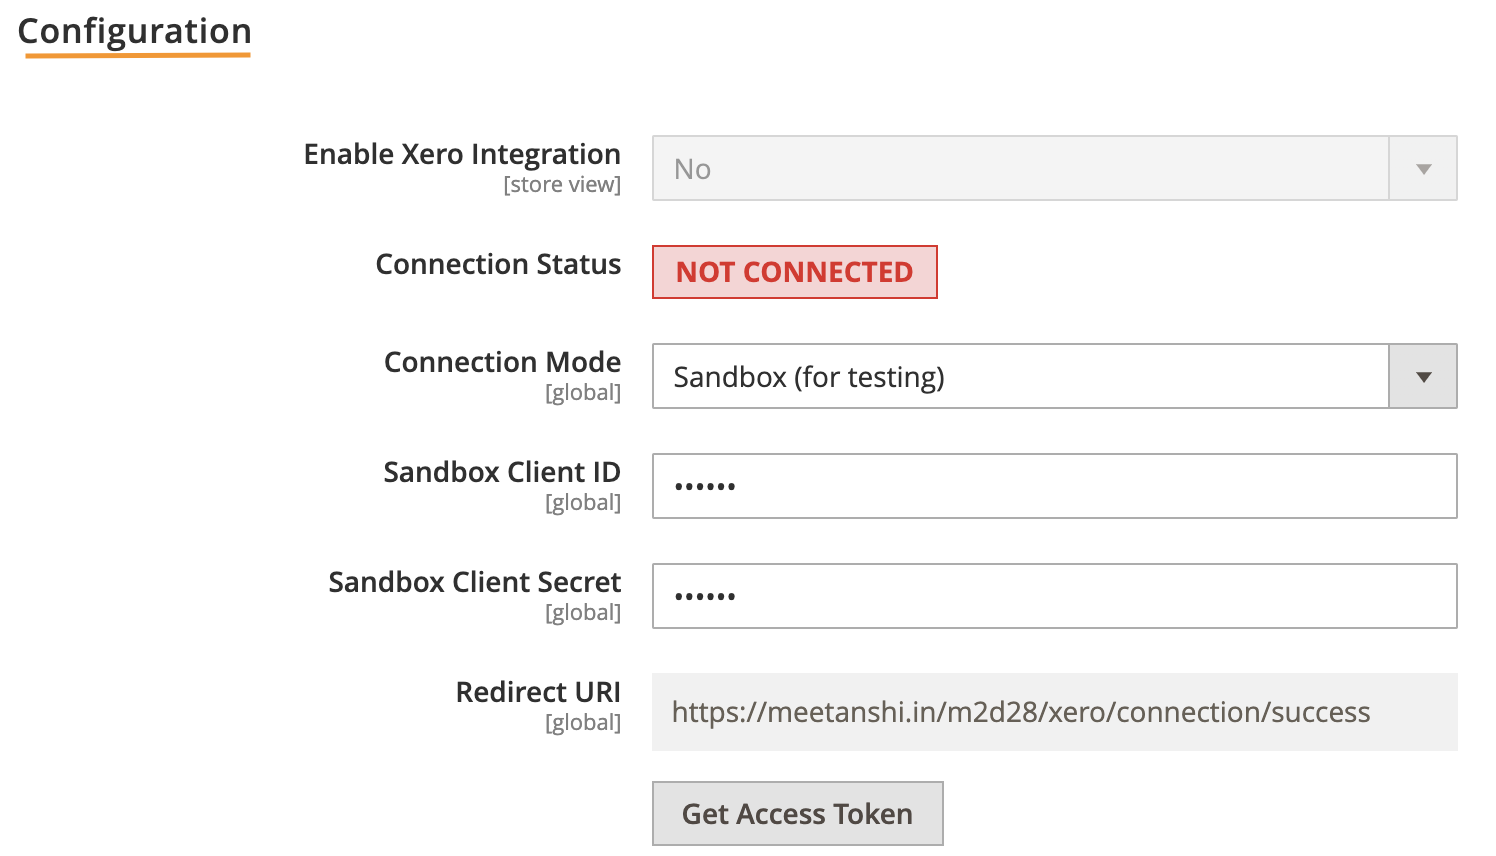
You’ll be redirected to Xero for authentication. Once authenticated, you’ll be redirected back to Magento with a success message confirming the connection.
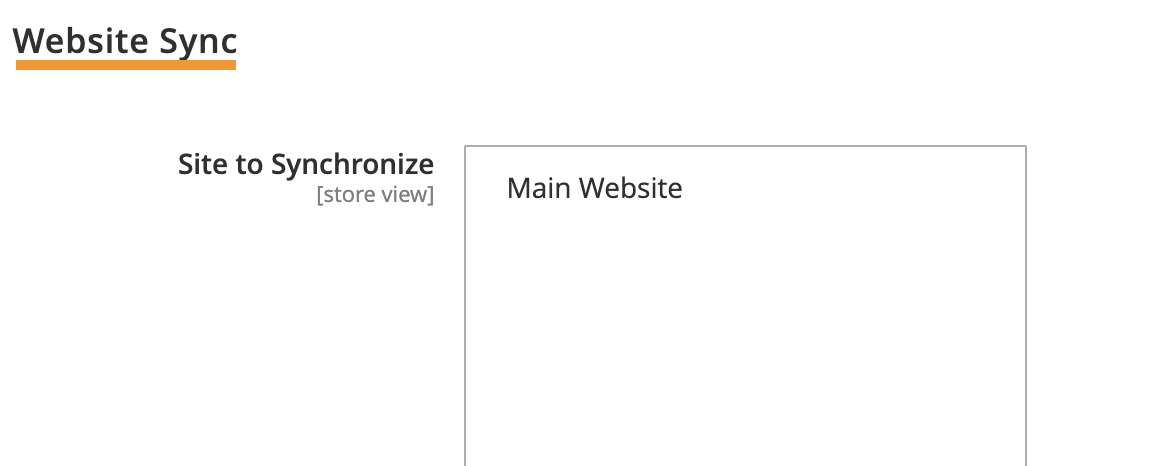
Select Website to Sync
In the configuration panel, select the website that you want to sync with Xero.
Map Accounts with Xero
Once connected, map the relevant Xero accounts for synchronization. Click Fetch Xero Accounts to pull in the available accounts, then map the following:
- Bank Account
- Sales Account
- Sales (Shipping) Account
- Inventory Account
- Cost of Goods Sold Account
This ensures that your Magento store data syncs with the correct Xero accounts.

Data Synchronization Settings
You have the flexibility to sync different types of data, such as accounts, products, and invoices. For each type of data, select the desired sync mode:
- Immediate: Sync data instantly from Magento to Xero.
- Cron Job: Schedule regular sync intervals (daily, weekly, or monthly).
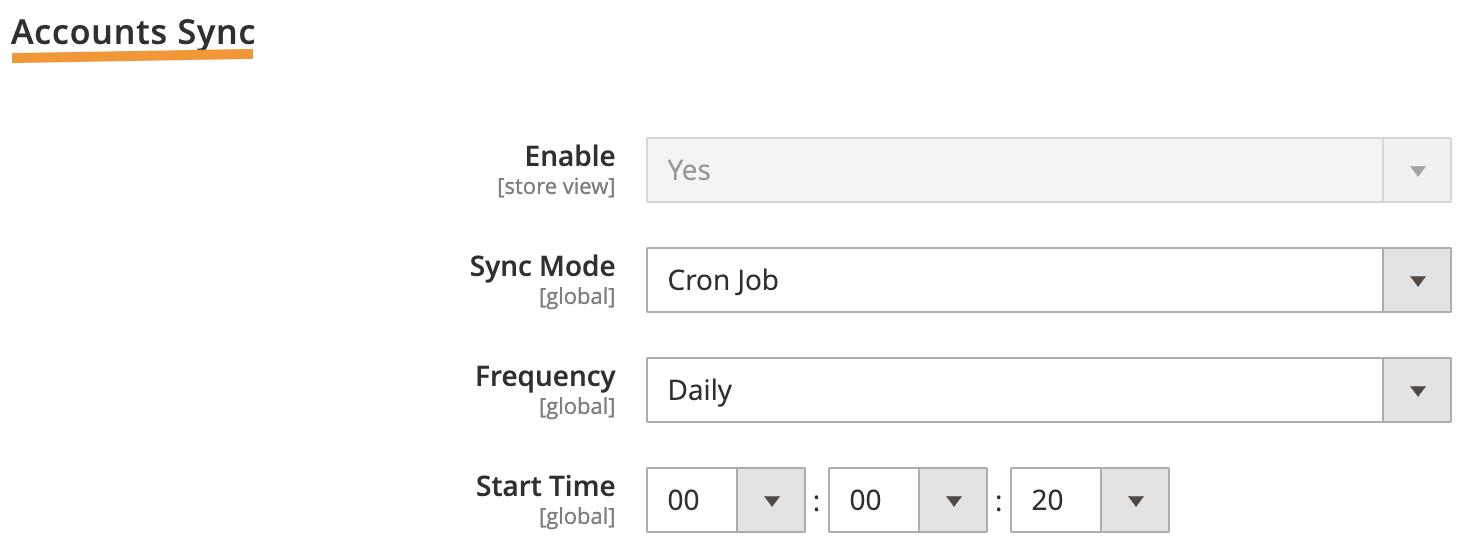
For invoice synchronization, you can also define the type of invoices (ACCPAY for bills or ACCREC for sales) and choose the status (draft, submitted, or authorized).
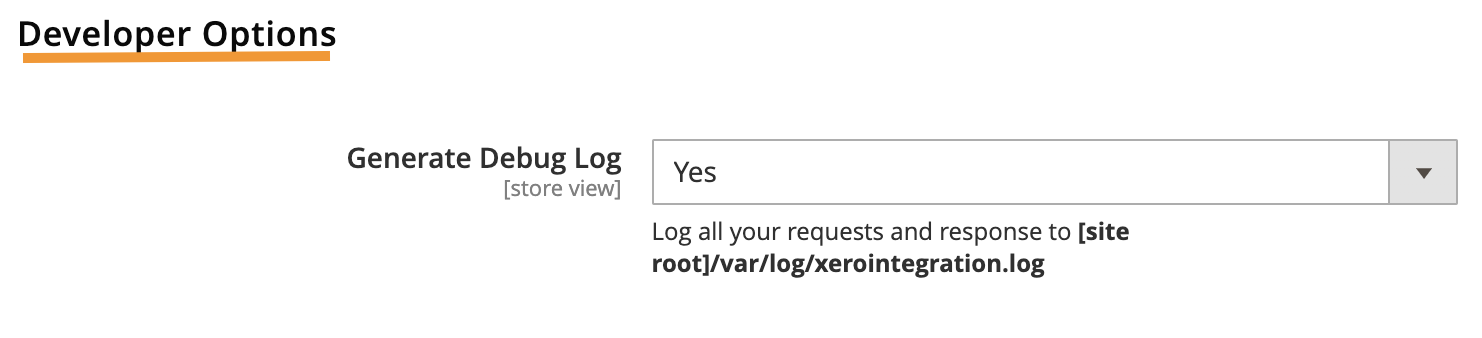
Generate Debug Log
To troubleshoot any issues, you can enable the Generate Debug Log option, which will create detailed logs of the integration.
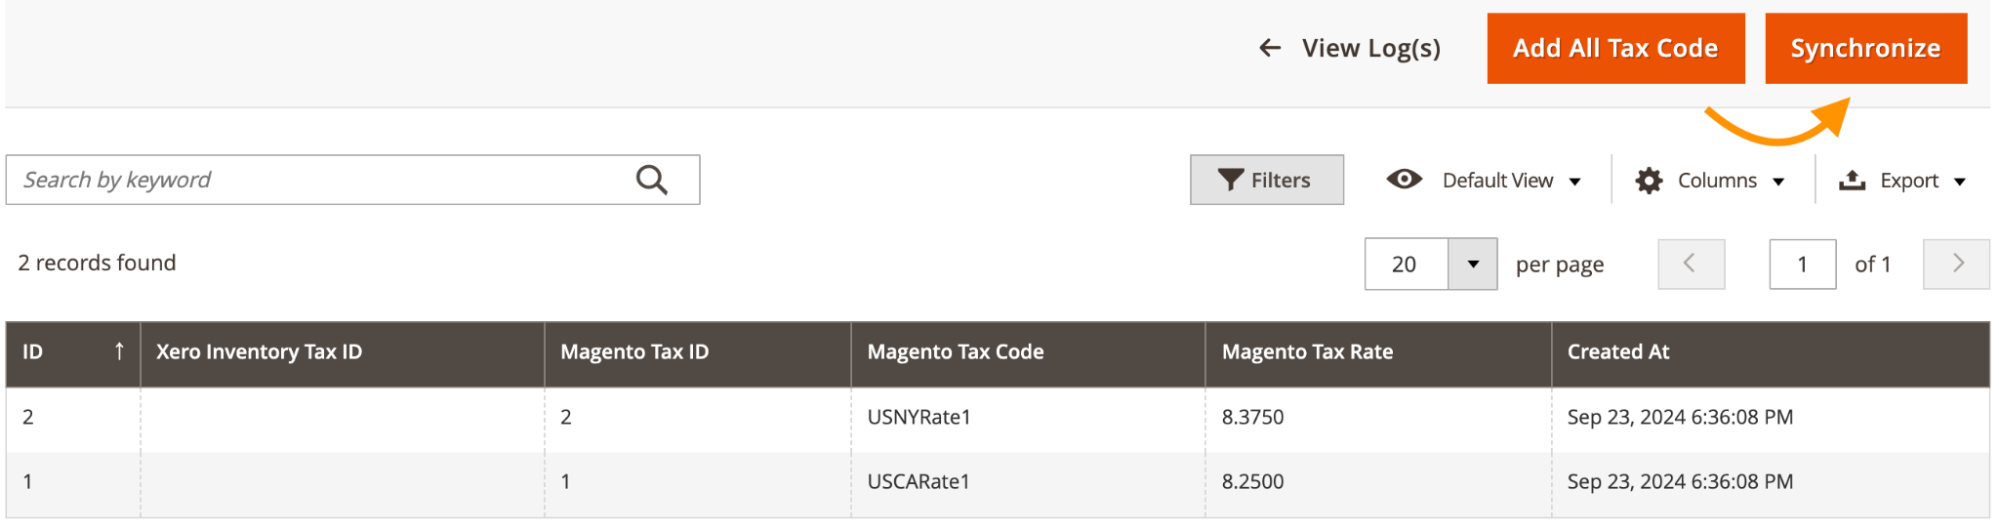
Step 4: Map Tax Codes & Payment Methods
To ensure a smooth synchronization of your financial data, map your Magento tax codes and payment methods to Xero.
Go to Xero Integration > Tax Mapping and click Add All Tax Code. Once the tax codes are listed, click Synchronize to sync them with Xero.
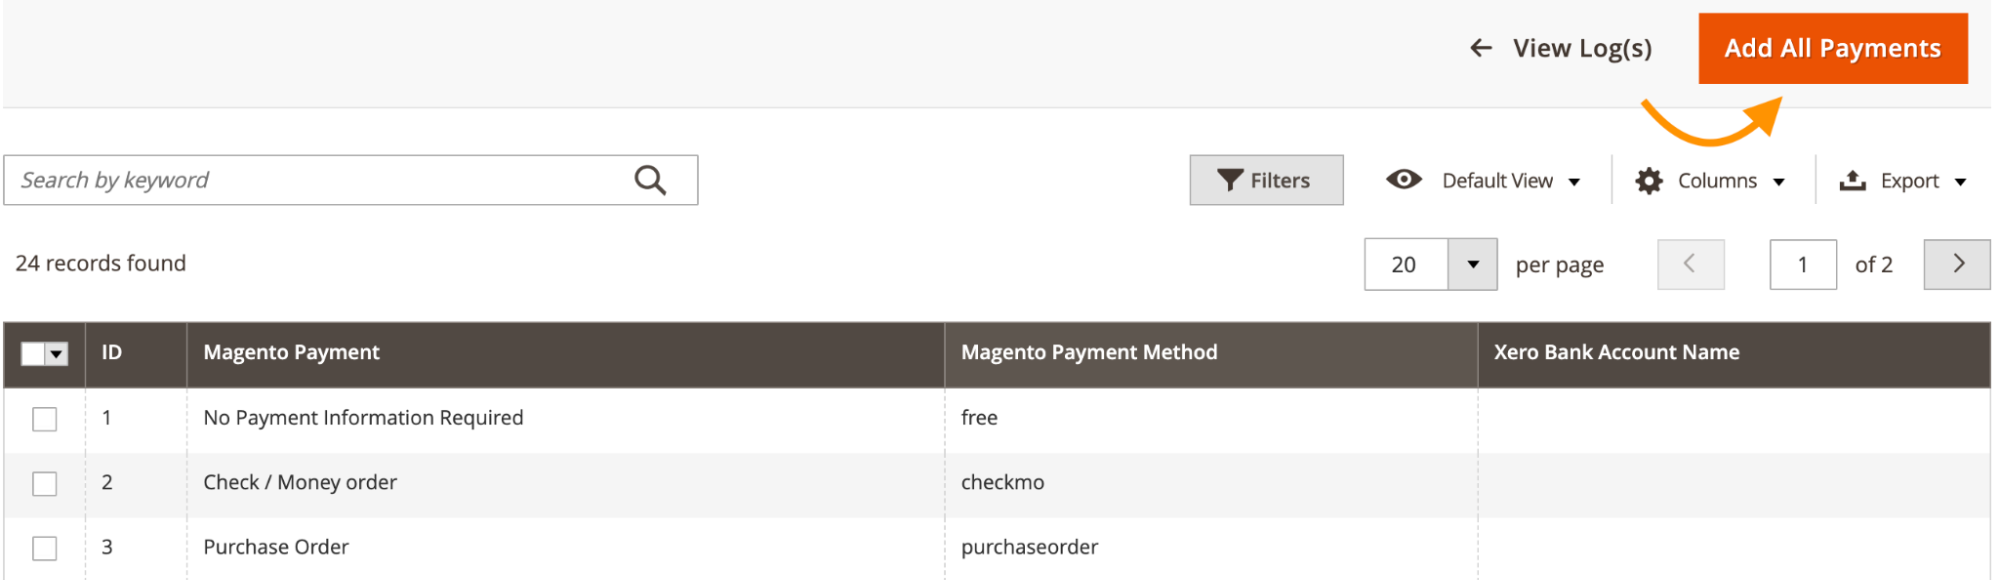
Go to Xero integration > Payment Mapping and map your Magento store’s payment methods (e.g., Credit Card, PayPal) to the corresponding Xero accounts.
Once configured, save the settings.
Step 5: Manage Sync Queue & Logs
If your store already has customers, products, and invoices, you can manually sync them with Xero.
Head to Xero Integration > Sync Queue, and click Add Customers, Add Products, Add Invoices, and Add Credit Memos to add them to the sync queue.
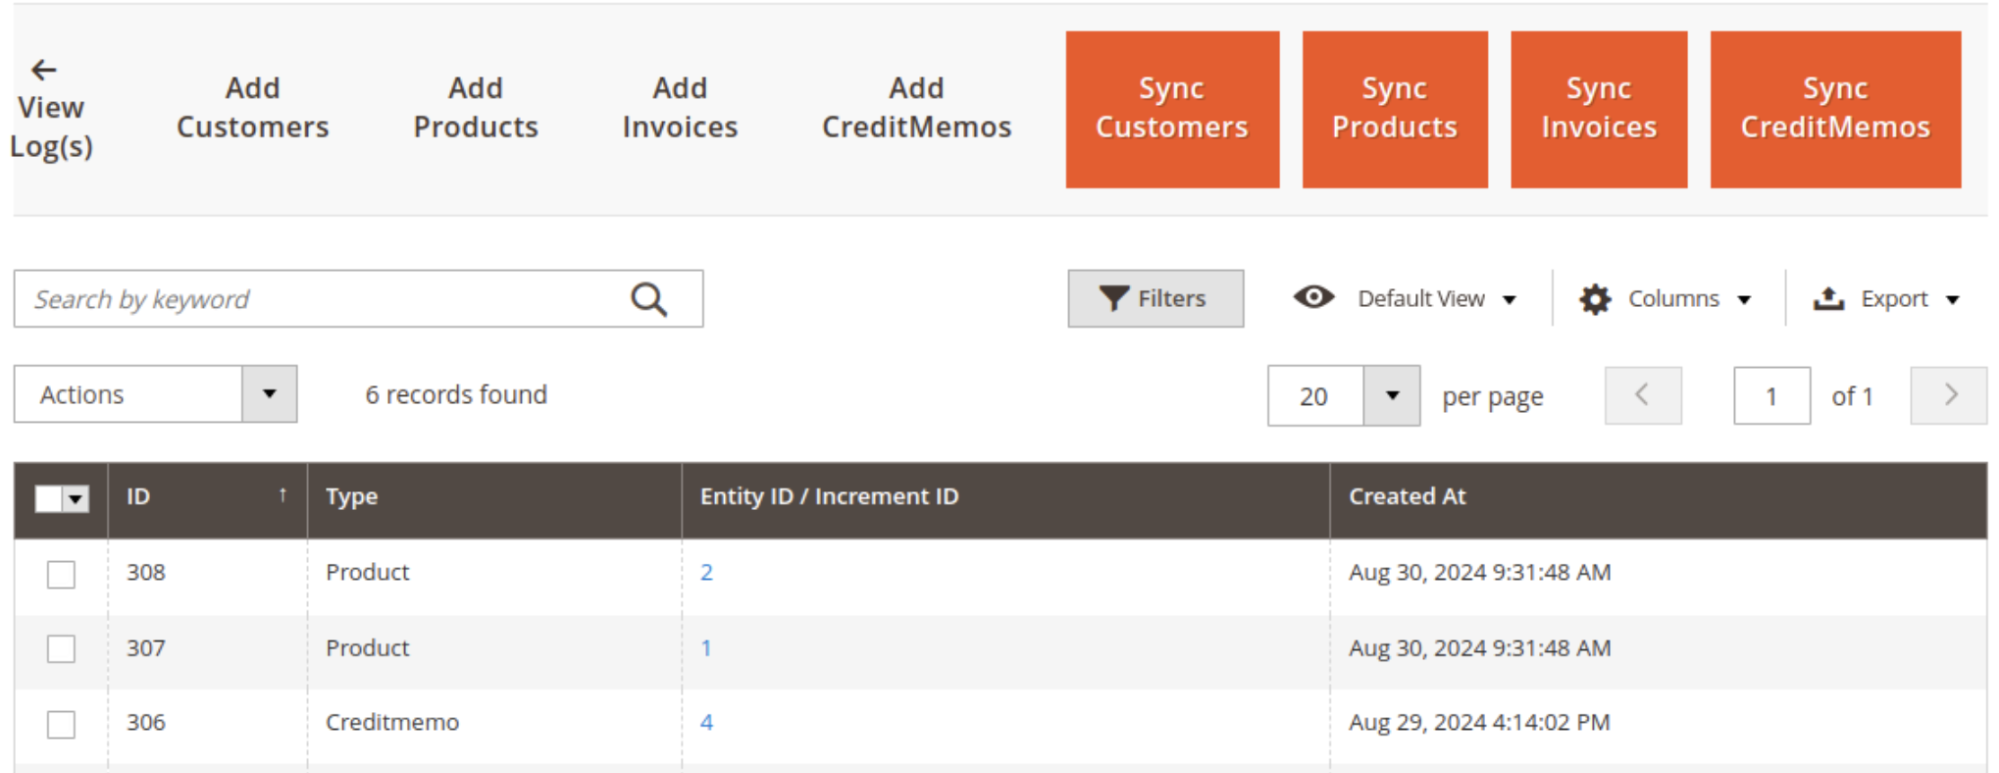
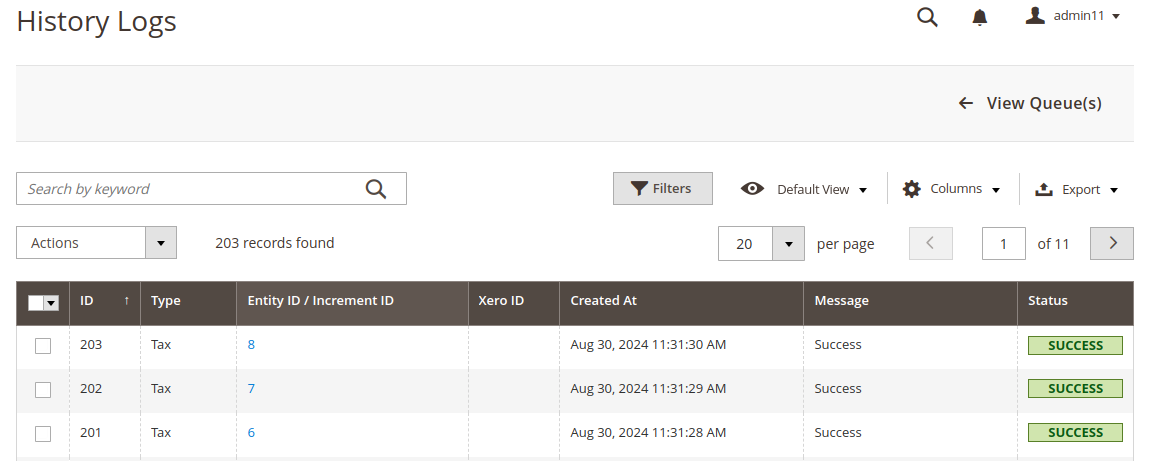
Once synchronized, you can view the status of each entity in Xero Integration > History Logs. If the data synced successfully, you’ll see a confirmation; otherwise, an error message will help pinpoint any issues.
Sync all your invoices, credit memos, products, and customers between your store and Xero account.
Sync Now
Easily Sync Key Data Between Two Systems
The Magento 2 Xero Integration extension makes it simple to keep your business data in sync between both platforms. By automating the transfer of key information, you save time and avoid the hassle of manual data entry.
Here’s a breakdown of what you can easily sync:
- Automatically sync customer details like names, email addresses, and billing or shipping information, keeping your records current without lifting a finger.
- Ensure product information—like SKUs, names, and prices—is consistent across Magento and Xero, so you never miss a beat with your inventory.
- Sync payment details seamlessly so every transaction is accounted for, giving you a complete picture of your business finances.
- Keep track of refunds and adjustments by syncing credit memos, making your Xero account reflect real-time updates from Magento.
- Avoid any tax-related headaches by automatically syncing tax codes between the two systems, ensuring precise tax calculations.
- Sync shipping costs with your orders to ensure all expenses are captured for a clear financial overview.
Integrating Magento 2 with Xero can significantly simplify your day-to-day operations, especially when you have to manage finances. By syncing crucial data like customer information, orders, payments, and more, you’ll spend less time on manual tasks and more time focusing on growing your business.
Ready to streamline your workflow and save valuable time? Try Meetanshi’s Magento 2 Xero Integration extension today and experience hassle-free accounting.
