Managing data better is every store owner’s dream, but one doesn’t need to keep dreaming.
In this blog, I will show you how to integrate Odoo ERP with Magento 2 for better data management.
But first, let’s get some basics right.
What is Odoo ERP?
Odoo ERP is a business software that integrates all your business flows and processes into one dashboard.
The Odoo Magento integration lets you sync essential data into the Odoo software, resulting in:
- Better data management in one integrated platform
- No need to enter the same information twice
- Sync your data in real time, minimizing your efforts to do it later
Ways to Connect Odoo ERP
The default Magento 2 doesn’t provide a direct solution to integrate Odoo ERP into your store. The best way is to use a third-party extension for Odoo Magento integration.
The Meetanshi Magento 2 Odoo integration extension is the top choice to maintain your data freshness.
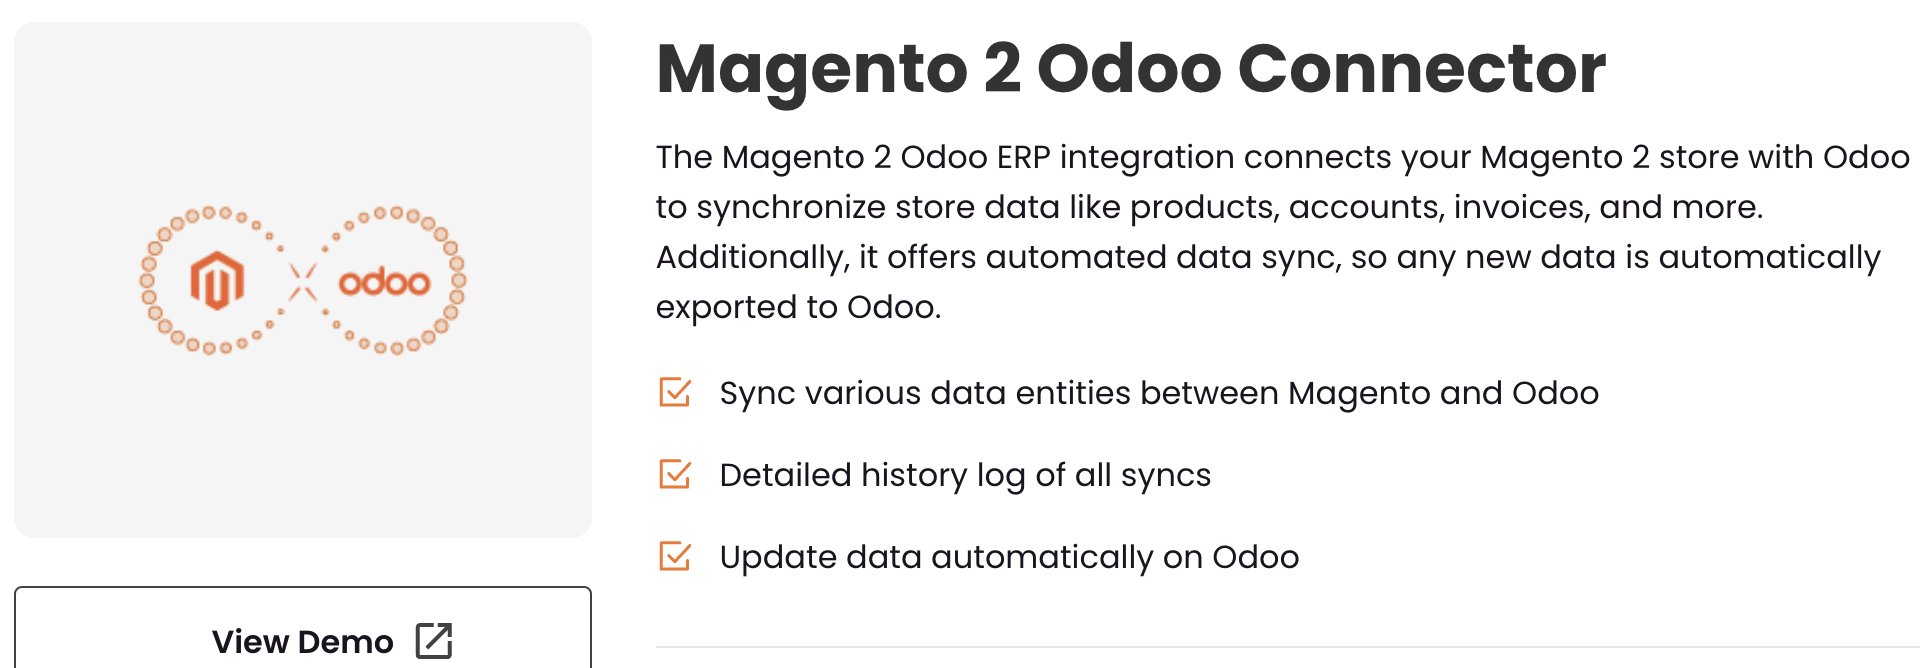
It helps you:
- Sync your products, orders, accounts, and invoices.
- Option to schedule sync or run them in real-time.
- Add tax code to manage tax calculations accurately.
Here, you don’t need any coding skills; using the simple navigation and configuration, you can integrate Odoo with Magento 2 all at once without repeating the process.
3 Simple Steps to Integrate Magento Odoo
Follow these steps for Magento Odoo integration using the Meetanshi Magento 2 Odoo Connector extension:
- Step 1: Install and Enable the Extension
- Step 2: Start Syncing Essential Data
- Step 3: Manage Tax Codes and Other Syncs Details
Step 1: Install and Enable the Extension
Start with downloading the Meetanshi Magento 2 Odoo Connector extension.
Download the zip file of the extension and extract it in the Magento root directory. Then, login into your SSH and run the following commands step by step:
- php bin/magento setup:upgrade
- For Magento version 2.0.x to 2.1.x – php bin/magento setup:static-content:deploy
- For Magento version 2.2.x & above – php bin/magento setup:static-content:deploy –f
- php bin/magento cache:flush
Step 2: Start Syncing Essential Data
Now, from your Magento 2 admin panel, navigate to Odoo Integration > Configuration.
Start filling in the following configurations:
- Enable Odoo Integration: Enable the integration
- Connection Mode: Select one option from the following:
- Sandbox (for testing)
- Production (for live)
- Sandbox Username: Enter your sandbox account’s
- Sandbox Password: Enter the password
- Sandbox Odoo Database: Give a name for testing
- Sandbox Odoo URL: Add the base URL of the sandbox environment
- Username: Add your Odoo account’s username
- Password: Add the password for the live account
- Odoo Database: Give a name to the Odoo database
- Odoo URL: Add the URL of the live Odoo environment.
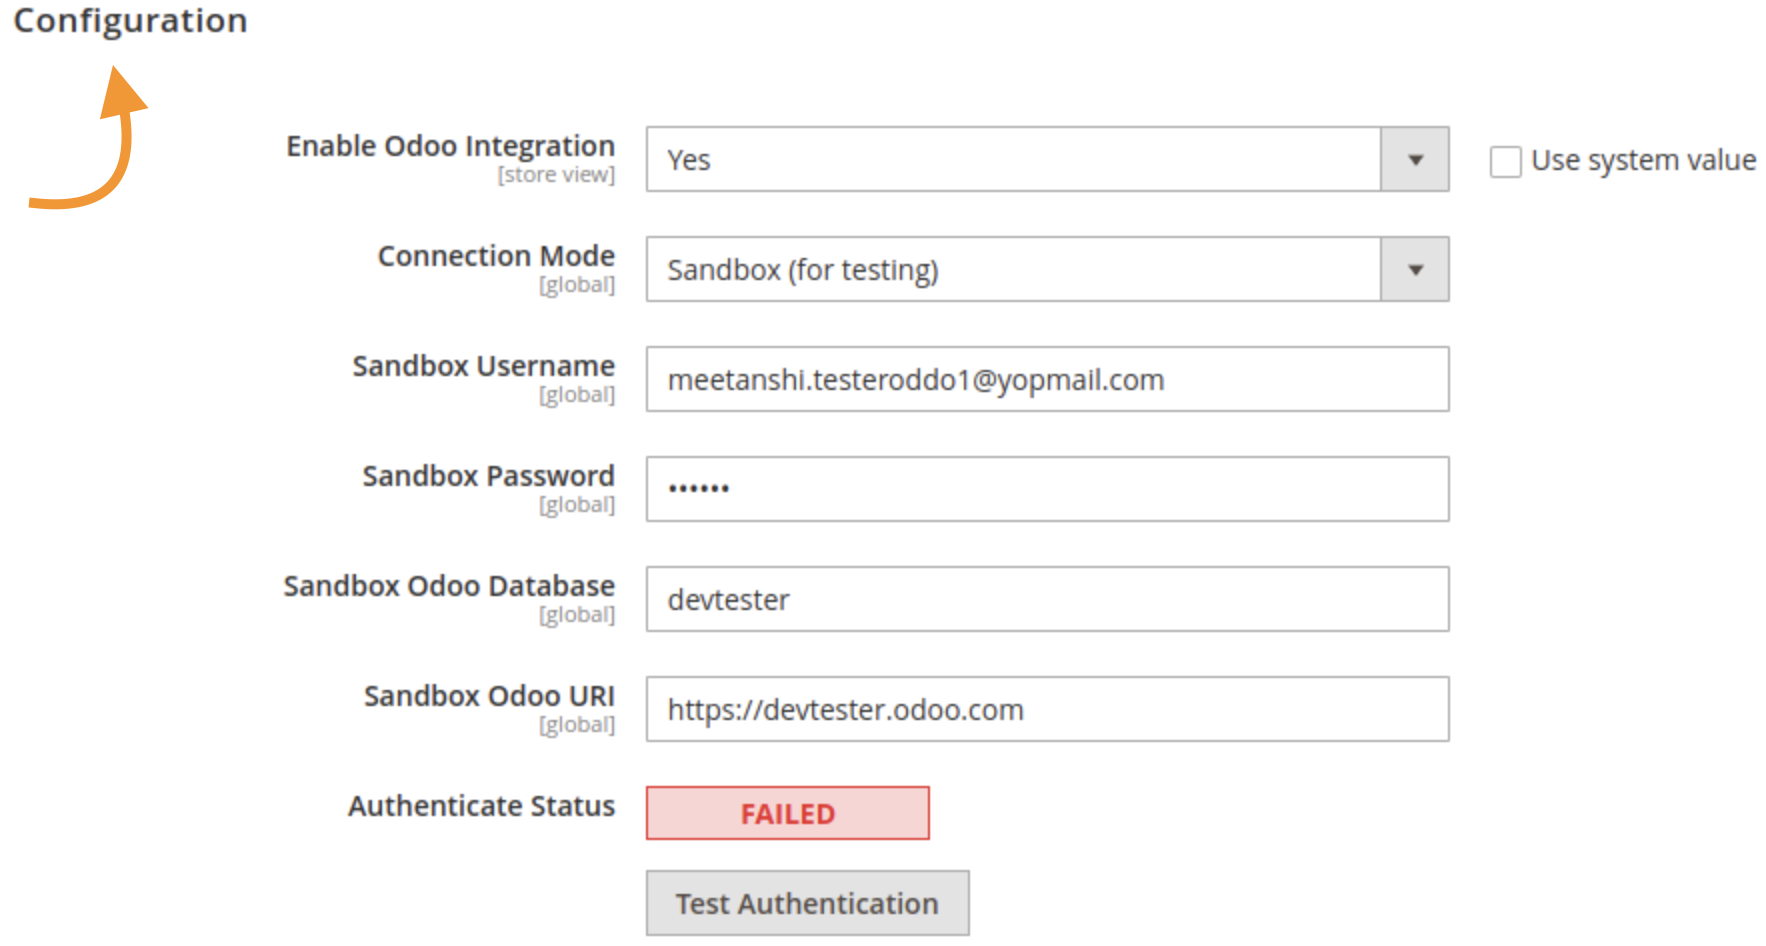
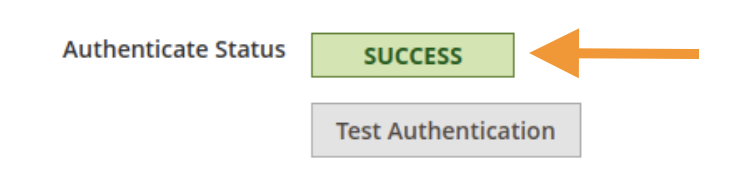
After entering all the details, click on the Test Authentication button to make sure all the credentials are correct.
A Success status with a green button will appear if the authentication is verified, but if not, then double-check all the details you have added.
Now, you can start syncing your data, which are accounts, products, orders, and invoices.
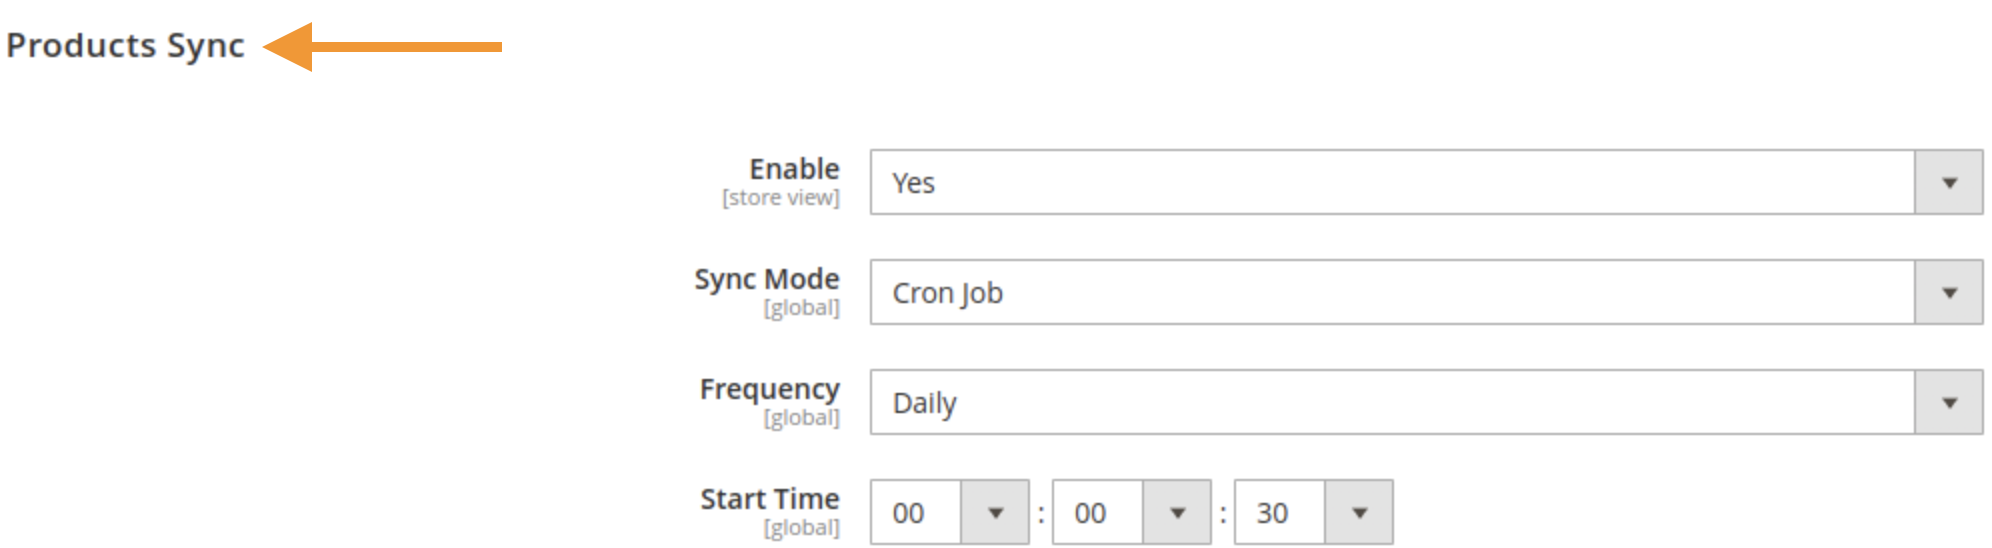
Simply enable the sync with sync mode. For example, here are the sync settings for products in Magento 2.
- Enable: Set Yes
- Sync Mode: Select between Immediate or Cron Job (when you select Cron Job, add the frequency and start time)
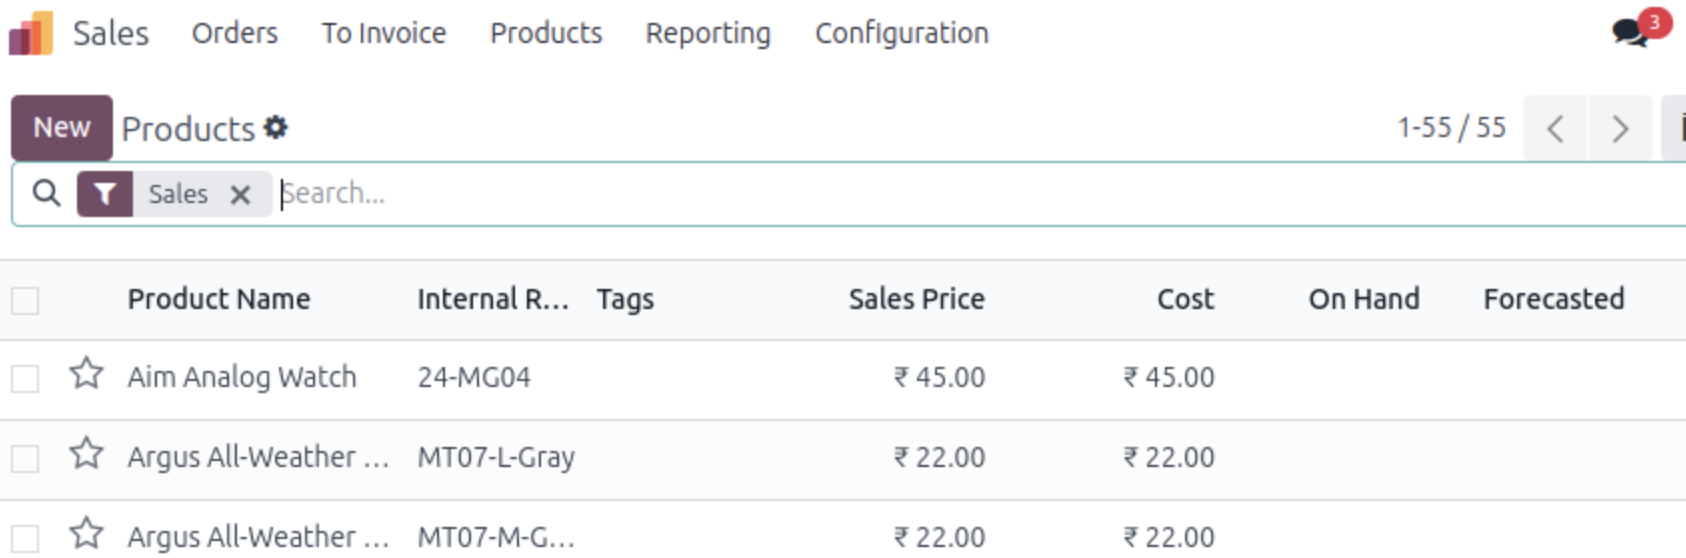
Here is how the synced products will appear in the Odoo dashboard.
Step 3: Manage Tax Codes and Other Syncs Details
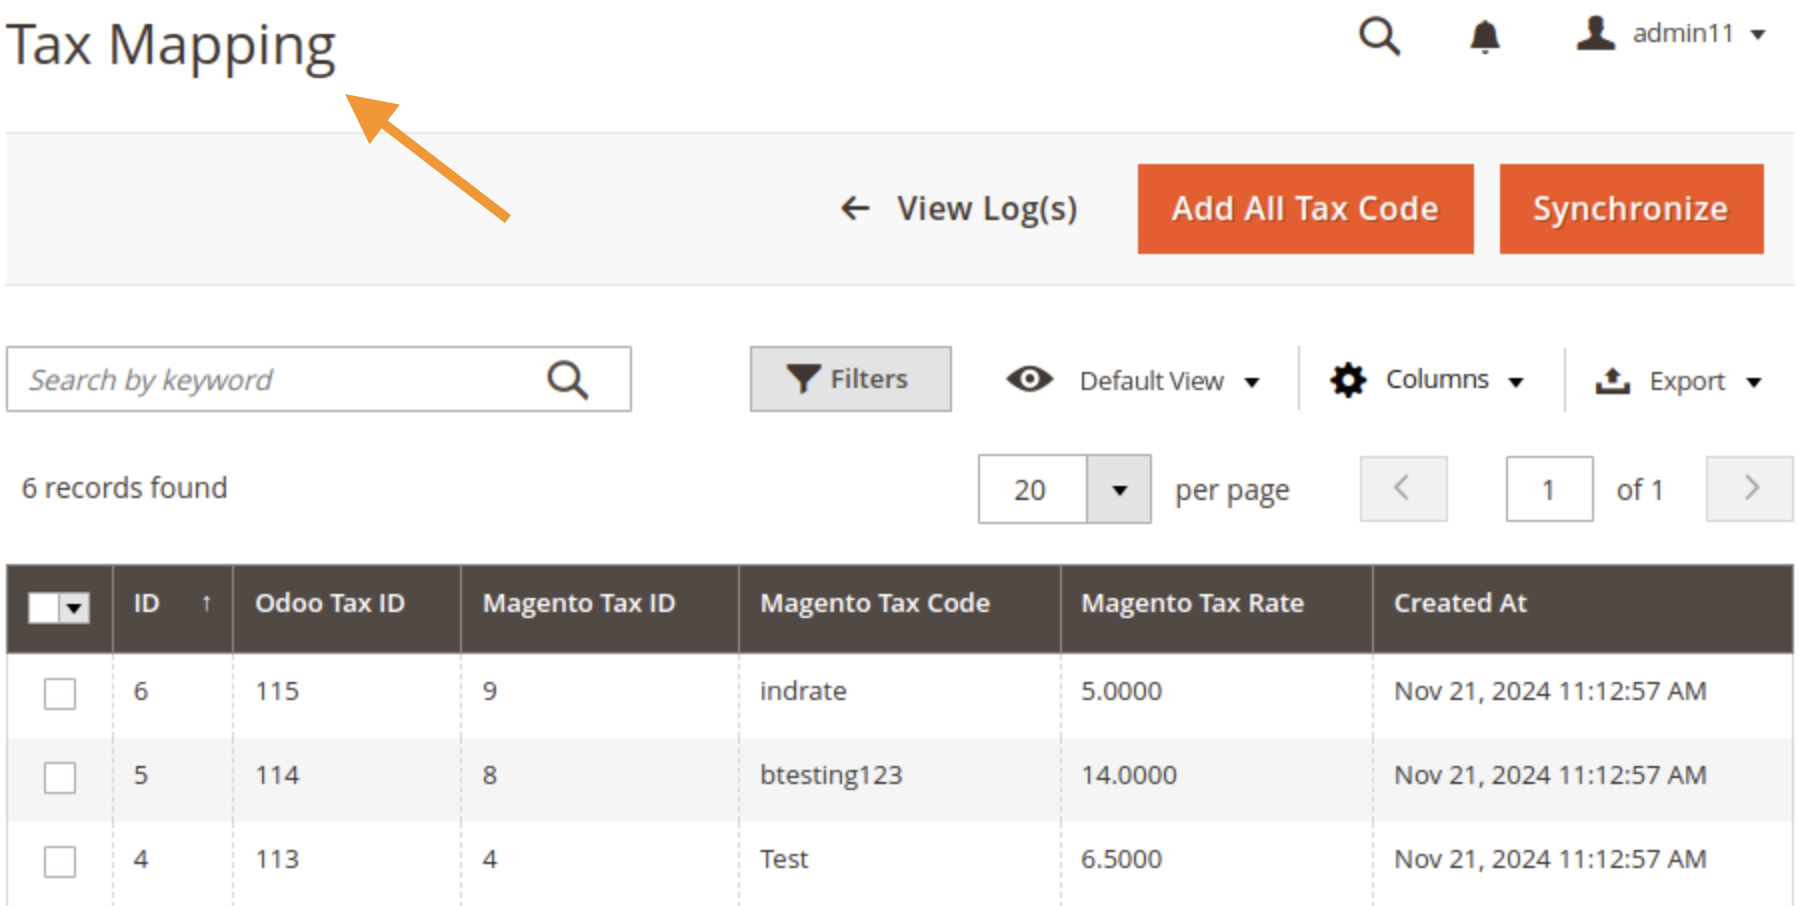
Now, head to Odoo Integration > Tax Mapping to map tax classes with Odoo.
First, click “Add All Tax Code ” and add all the Magento 2 tax codes and then click on “Synchronize ” to sync each tax code with Odoo API.
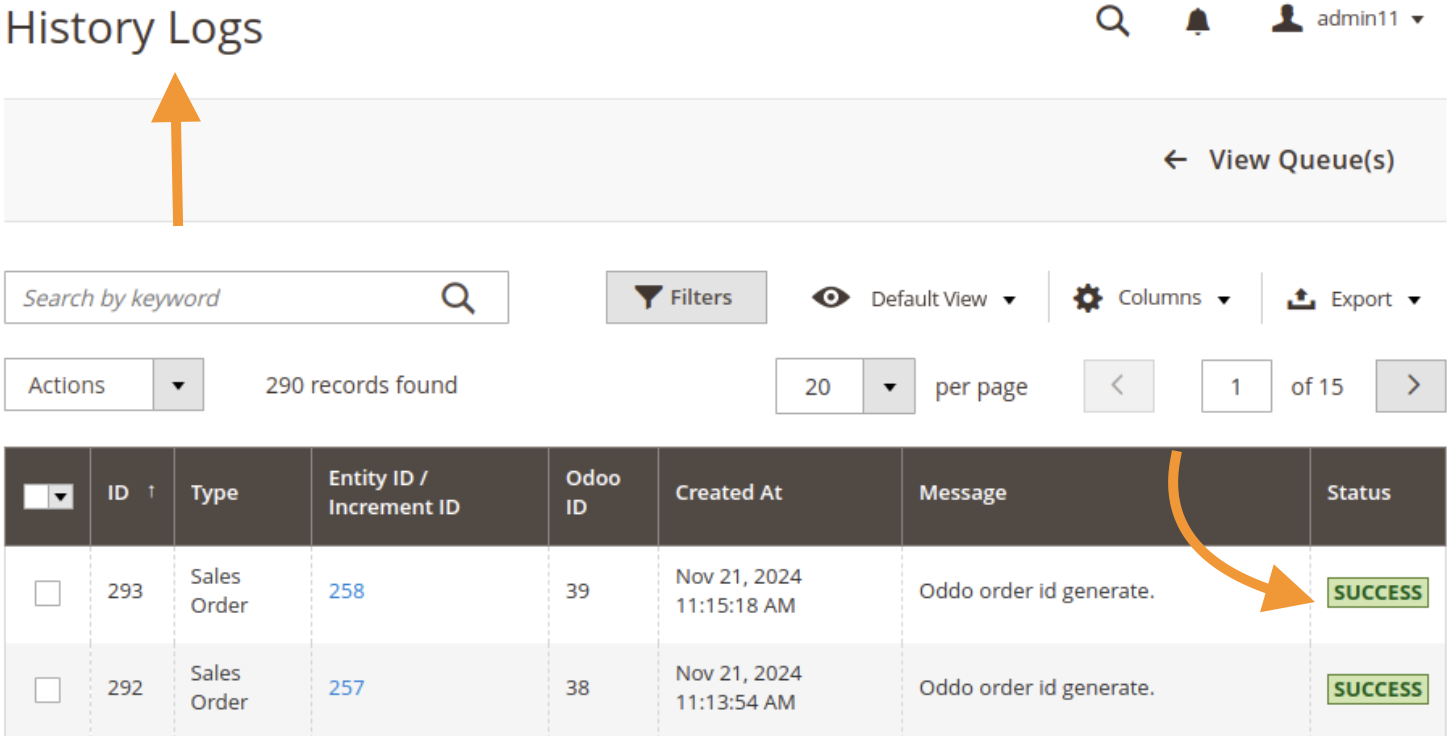
Once everything is synced, you can find the sync details in the History Log. You can view the status of each sync type.
With these three steps, you have successfully integrated Odoo ERP with Magento 2 without any complicated steps and zero difficulty level.
Manage Your Data Better
The Meetanshi Magento 2 Odoo Connector makes it easy to sync multiple events without needing extra tools.
Compared to the other extensions in the market, Meetanshi stands out in terms of pricing and FREE one-year customer support, where you might have to pay an extra $99 for support with other brands.
Make a wise choice here and seamlessly setup Odoo Connector in Magento 2.
Easily sync store data like products, accounts, invoices, & more in a few clicks.
Sync Now