Magento 2 Customer Groups is an arrangement in Magento 2 that allows dividing the types of customers based on the tax class, discounts offered, and privileges given.
I’ve posted the solution to create a customer group programmatically in Magento 2 earlier. The same way, you can configure a customer group from the admin panel also and this blog shows you how. when you want to implement any functionalities based on the Magento 2 customer groups you can find a solution by adding a customer group field in Magento 2 admin UI component form.
The default Magento 2 customer groups are:
- General
- Not Logged In
- Wholesale
As the default customer groups are not enough to manage the user experience and benefits, configure customer group in Magento 2 based on the custom requirements.
Steps to Configure Customer Group in Magento 2
Login to admin panel.
Go to Customers > Customer Group.

Click “Add New Customer Group” button to add a new customer group

Configure group information:
- Group Name – Name of the customer group
- Tax Class – Choose a tax class

Save the Customer Group
Once the configuration is saved, the custom customer group is seen in the Customer Groups grid.

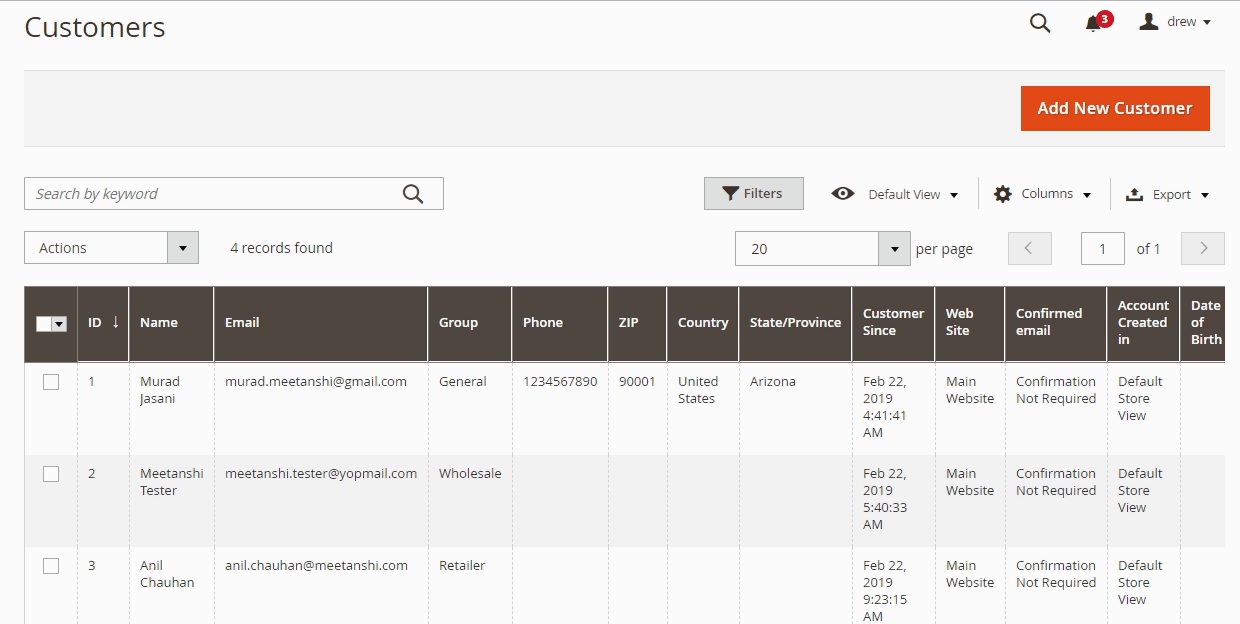
Steps to assign a default customer group to a customer in Magento 2:
- Login to admin panel
- Go to Customers > All Customers
- Tick the checkbox for the customer to which the customer group is to be assigned
- Click Actions and select “Assign a Customer Group“
- Select the desired customer group
- Save configuration.
That was all about customer groups in Magento 2.
You can also refer to the video tutorial to To Configure Customer Group In Magento 2 from our Magento 2 video tutorial series:
