A Shopify size chart popup is a must for retail store owners.
This is a simple yet powerful guide to help you add a size chart to Shopify using the in-built metafield functionality, skipping the use of any code or third-party app.
Metafields are custom fields that let you add extra information about your product, collections, and more, going beyond the standard fields present in Shopify — in this case a size chart.
Here is how to add different size guides with metafields in Shopify.
Steps to Add Shopify Size Chart Pop-up (Using Metafields)
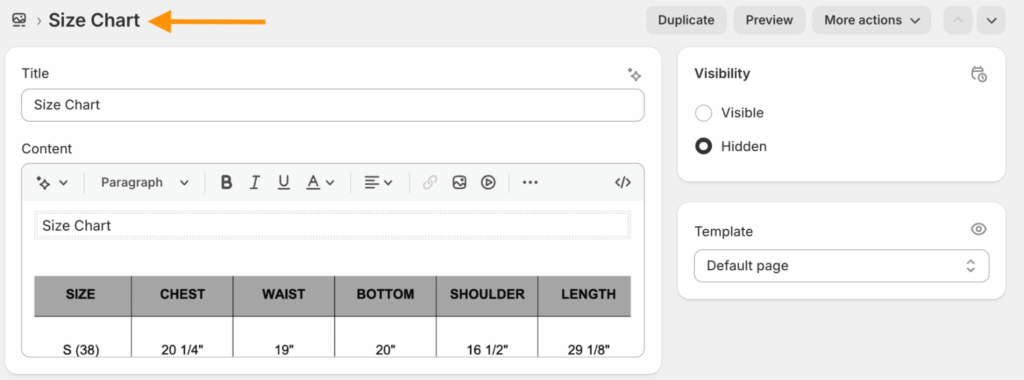
Step 1: Create the Size Chart Page
First create a size chart page with all the correct information about the product size.
- Go to Online Store > Pages.
- Click on Add page and add a page title (e.g, Size Chart).
- Create a size chart inside the content box or upload an image.
- Click Save.
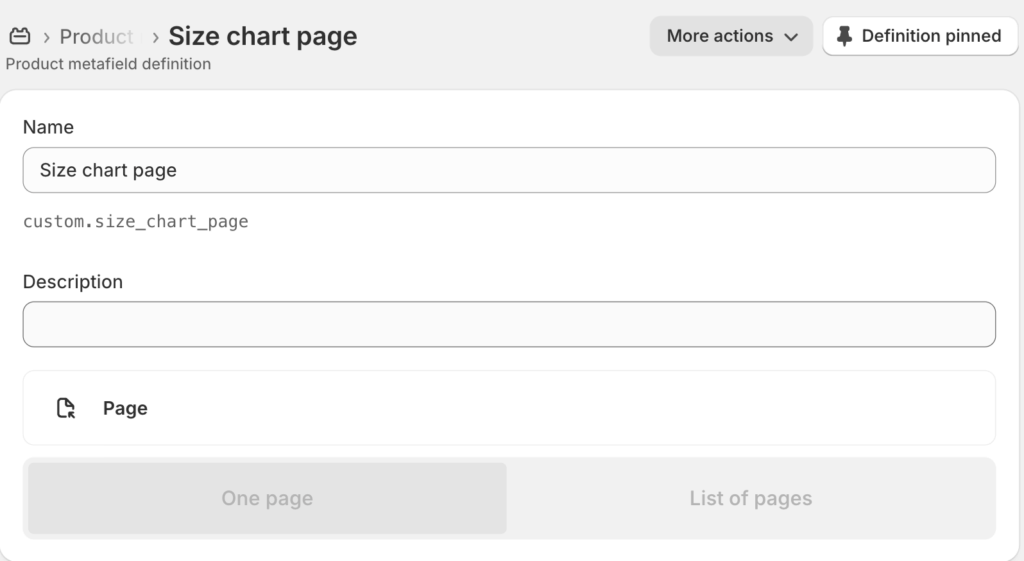
Step 2: Create a Product Metafield for the Size Chart
Metafields will help to link the product to the size chart page you created in Step 1.
- Go to Settings > Metafields > Products (under Metafield definitions)
- Click Add definition and give it a name (e.g., Size Chart Page).

- Click Select type and choose Page.
- Click Save.
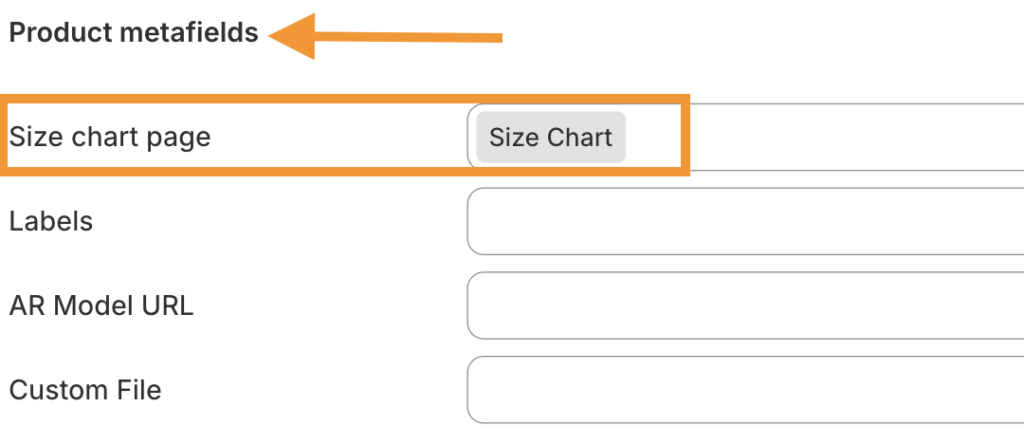
Step 3: Assign the Size Chart to a Product
Now, it’s time to add the size cart to the product where you want to display it.
- Select the product you want to add the size chart to.
- Scroll down to the Metafields section.
- Find the metafield you just created (e.g., “Size Chart Page”) and click Select page.
- Choose the size chart page you created in Step 1.
- Click Save on the product page.
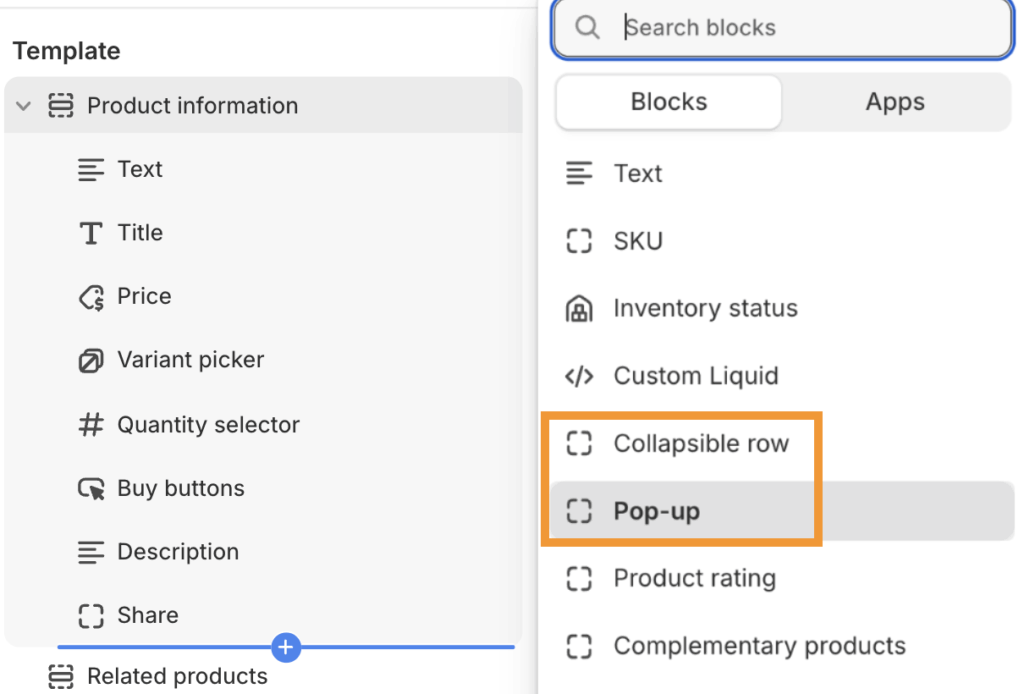
Step 4: Add the Size Chart Block to your Product Page Template
The last step here is to make the size chart visible on the desired product page.
- Go to Online Store > Themes > Customize.
- In the theme editor, navigate to a product page.
- In the left sidebar, under Product information, click Add block.
- Choose between Pop-up or Collapsible row. (we will choose pop-up)
Cick on the new block to edit its settings:
- Change the Link label and look for Connect dynamic source (⛁ an icon like this).
- Select the Size Chart Page metafield you created.
- Click Save.
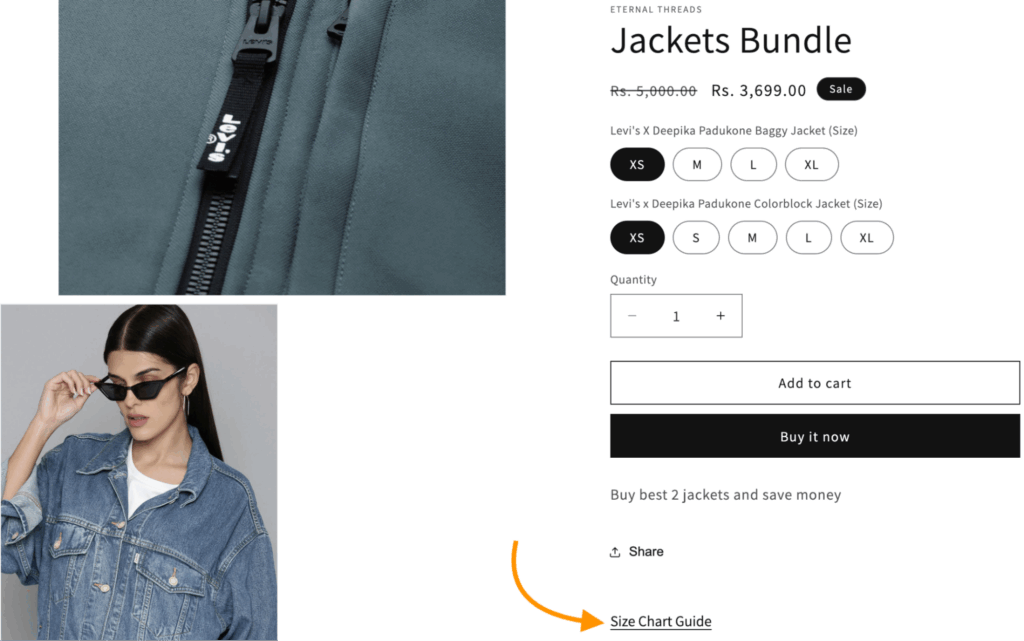
Step 5: View the Size Chart in The Frontend
- Now, take a store preview and head to the product where you added the size chart. Check if it is showing as expected.
Now, if you want to add the same product size to multiple Shopify product pages, just repeat step number 3.
Additionally, you can repeat the same steps to add different size guides with metafields in Shopify.
This wraps up the steps to add size chart to Shopify for free.
Benefits of Adding Size Chat to Shopify
Adding a size chart is not only helpful for your shoppers but also for you. With a chart placed correctly on you, enjoy:
- Reduces return rates due to incorrect sizing.
- Lower return costs due to fewer returns.
- Minimum customer support on sizing queries.
A small addition has customer support benefits and directly impacts your revenue positively.
Adding a size chart or a Shopify product description “read more” button tailors to the store for convenience and removes the frustration a shopper can feel due to lack of information.
Try out the steps mentioned above to give your shoppers an uninterrupted shopping experience.
Frequently Asked Questions
1. How to add a different size chart for each product in Shopify?
Create unique size chart metafields for different products and add them accordingly in your product pages.
2. Which Shopify size chart app can I use?
You can use the Kiwi Size Chart & Recommender or BF Size Chart & Size Guide from the Shopify App Store.
3. Where is the best place to display a size chart on a product page?
Directly above the “Add to Cart” button is the best place to add your product size chart.
