A newsletter helps you collect emails, build customer relationships, and increase sales. This is a step-by-step guide to quickly add a newsletter to your Shopify store using different methods.
Methods to Add a Newsletter on Shopify
There are mainly two ways to add a Shopify newsletter:
- Using the Shopify built-in feature – The Shopify Dawn theme has a built-in newsletter section that can be added to any page. This is a simple way to get a basic newsletter form on your store with very limited customization features.
- Using a Shopify section app – The app comes with a bunch of ready-made features that are easy to configure and work with. Saving you time and effort, you can have full control over modifications without any coding skills.
Add Basic Newsletter Using the Default Shopify Theme
Here are the steps to add a newsletter to Shopify using the built-in theme editor.
Step 1: Head to Theme Editor
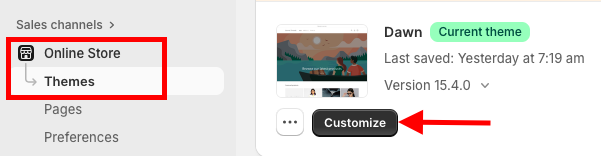
From your Shopify admin panel, head to Online Store > Themes and click Customize to navigate to the theme editor.
Step 2: Add a Newsletter
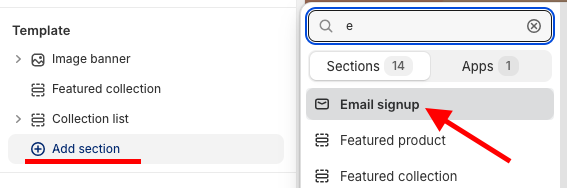
On the homepage, click the Add section under templates and find Email signup, and select it.
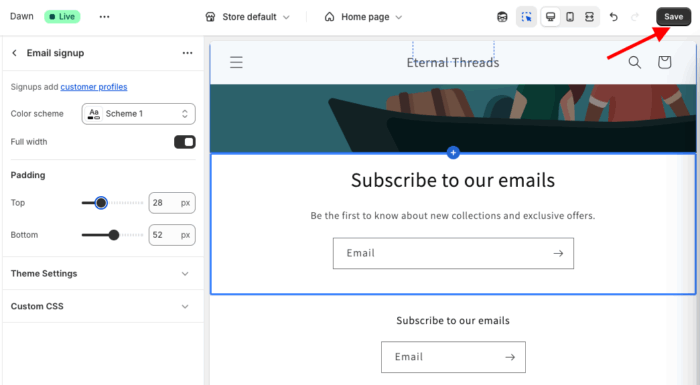
From here, you can make changes; very few options are available.
Step 3: Save the Changes
After you finish making changes, Save the changes.
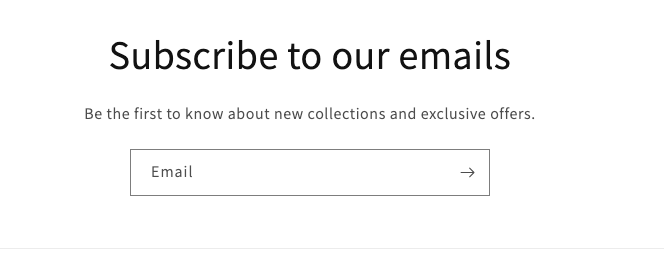
This is how the basic newsletter will showcase on your storefront.
Steps to Add a Pre-built Newsletter Section in Shopify
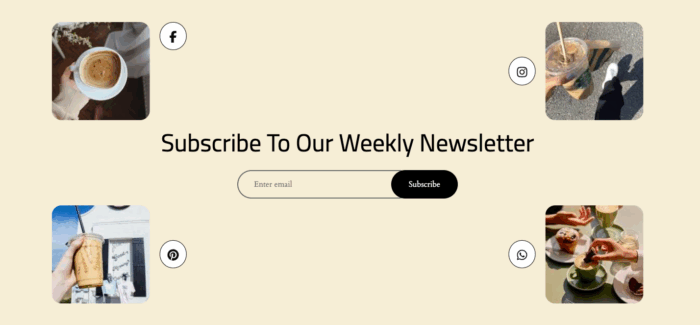
A fine-tune newsletter should encourage customers to subscribe; for that, it must have attractive colors, symbols, images, etc. It should look something like this.
The good thing is you can create such kinds of newsletters using our MIT Sections Pro app; this is a simple and smart way.
Let’s see the steps for it.
Step 1: Install and Choose the Newsletter Section
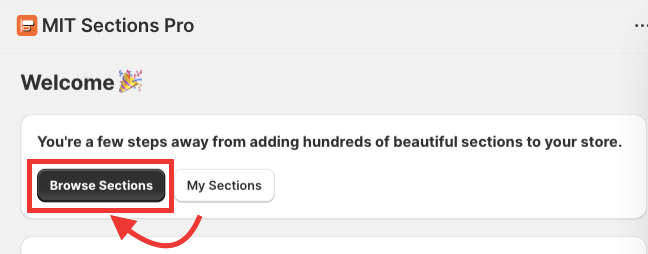
Install the MIT Sections Pro from the Shopify app store. Then, from the app dashboard, click Browse sections and search for the newsletter section.
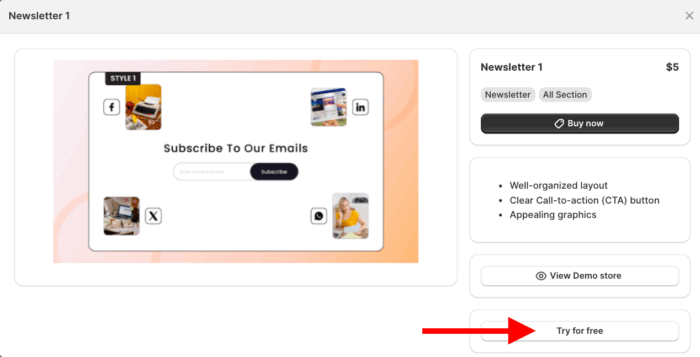
Step 2: Click the Try for Free Button
After selecting the section, click Try for Free to get the free trial of the section before making a purchase.
When you are using the free trial, you will be redirected to the MIT demo store. Once you purchase the section, you can add it to your store’s theme.
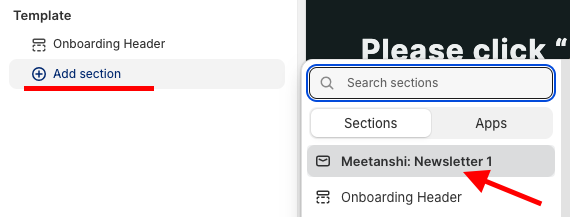
From here, click Add section and select Meetanshi: Newsletter 1.
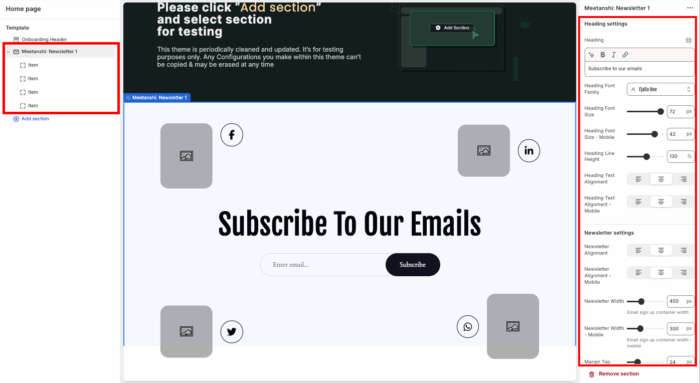
Step 3: Modify the Newsletter Section
You get 40+ customization options, and blend the section as per your requirements.
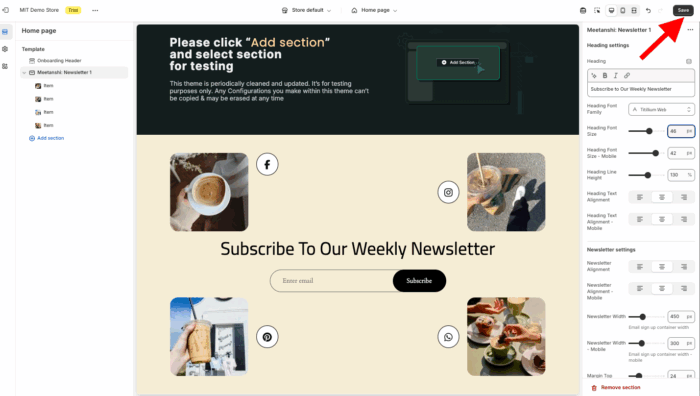
And when you are done making the customization, Save the changes.
Why Choose the MIT Pro Sections App?
With MIT Sections Pro, you can create a custom newsletter section that perfectly matches your brand. You have complete control over its design and can easily edit templates to make it your own.
This app isn’t just for newsletters – it’s got over 130 free and paid sections, like cool banners, testimonials, and FAQs. You can build an awesome Shopify store without needing to touch any code.
- Offers more than 130 accessible, pre-designed free and paid sections, handy to all merchants
- Installation is entirely free, offering all merchants easy access to advanced customization features
- Assemble sections easily, no coding, configurable, accessible anytime, anywhere.
- Optimized for high page speed, this feature works seamlessly with all Shopify themes, ensuring a smooth user experience
- You have full customization control when editing the section, even if you are using a free template. We don’t restrict your access in any way.
- Easily add or replace sections as your store expands, avoiding the need to stick with the same layout.
- Budget-friendly for businesses of all sizes, whether you’re just starting out or already established, and it also offers a free trial to ensure compatibility.
Your all-in-one solution to create a professional Shopify store
Install App Now