Magento 2 is the most preferred CMS for developers owing to its customization capabilities. Today, I am giving one such customized solution to add custom field below apply discount code in Magento 2 cart page.
You can use this solution for multiple purposes and make the most out of the cart page when the customer is about to checkout.
At this step, the shopper has almost decided to convert and hence he/she is trusting your brand. Why not push them for more?
For instance, if you are offering a discount code, you can prompt them to click on a custom field below the discount code and ask to explore the detailed offer benefits or encourage them to avail a superior membership for more discounts.
Moreover, at this step, you can add a custom link that redirects them to check your best seller products. In this way, you can increase your average order value and boost sales.
Also, if you are offering product personalization, you can offer a custom button to start designing the product if they didn’t do it earlier. In this way, improve the shoppers’ store experience in Magento 2 store.
Lastly, if there’s any data you want from the customers that can be insightful data for your marketing strategy, use the below solution to add a custom textbox where they can enter the asked information!
Also read: How to Setup Discount with Minimum Purchase in Magento 2
Check this code if you want to implement any of the above scenarios or any other custom field based on your business requirements on the Magento 2 cart page.
Also, if you are looking to add a custom field on the checkout page in Magento 2, you can refer to my solution.
Method to Add Custom Field Below Apply Discount Code in Magento 2 Cart Page
1. Create registration.php file at app\code\Vendor\Module\registration.php
<?php
use \Magento\Framework\Component\ComponentRegistrar;

ComponentRegistrar::register(ComponentRegistrar::MODULE, 'Vendor_Module', __DIR__);
2. Create module.xml file at app\code\Vendor\Module\etc directory
<?xml version="1.0"?>
<config xmlns:xsi="http://www.w3.org/2001/XMLSchema-instance"
        xsi:noNamespaceSchemaLocation="urn:magento:framework:Module/etc/module.xsd">
    <module name="Vendor_Module" setup_version="1.0.0"/>
</config>
3. Create checkout_cart_index.xml file at app\code\Vendor\Module\view\frontend\layout
<?xml version="1.0"?>
<page xmlns:xsi="http://www.w3.org/2001/XMLSchema-instance"
      xsi:noNamespaceSchemaLocation="urn:magento:framework:View/Layout/etc/page_configuration.xsd">
    <body>

        <referenceBlock name="checkout.cart.container">
            <block class="Vendor\Module\Block\Cart\Custom" name="checkout.cart.custom" as="storecredit"
                   template="Vendor_Module::cart/custom.phtml" after="cart.discount"/>
        </referenceBlock>
    </body>
</page>
4. Create Custom.php file at Vendor\Module\Block\Cart
<?php

namespace Vendor\Module\Block\Cart;

class Custom extends \Magento\Framework\View\Element\Template
{
    public function __construct(\Magento\Framework\View\Element\Template\Context $context)
    {
        parent::__construct($context);
    }
}
5. Create custom.phtml file at Vendor\Module\view\frontend\templates\cart
<div class="control">
    <label>Enter Value:</label>
    <input type="text" class="input-text" id="custom" name="custom"/>
</div>
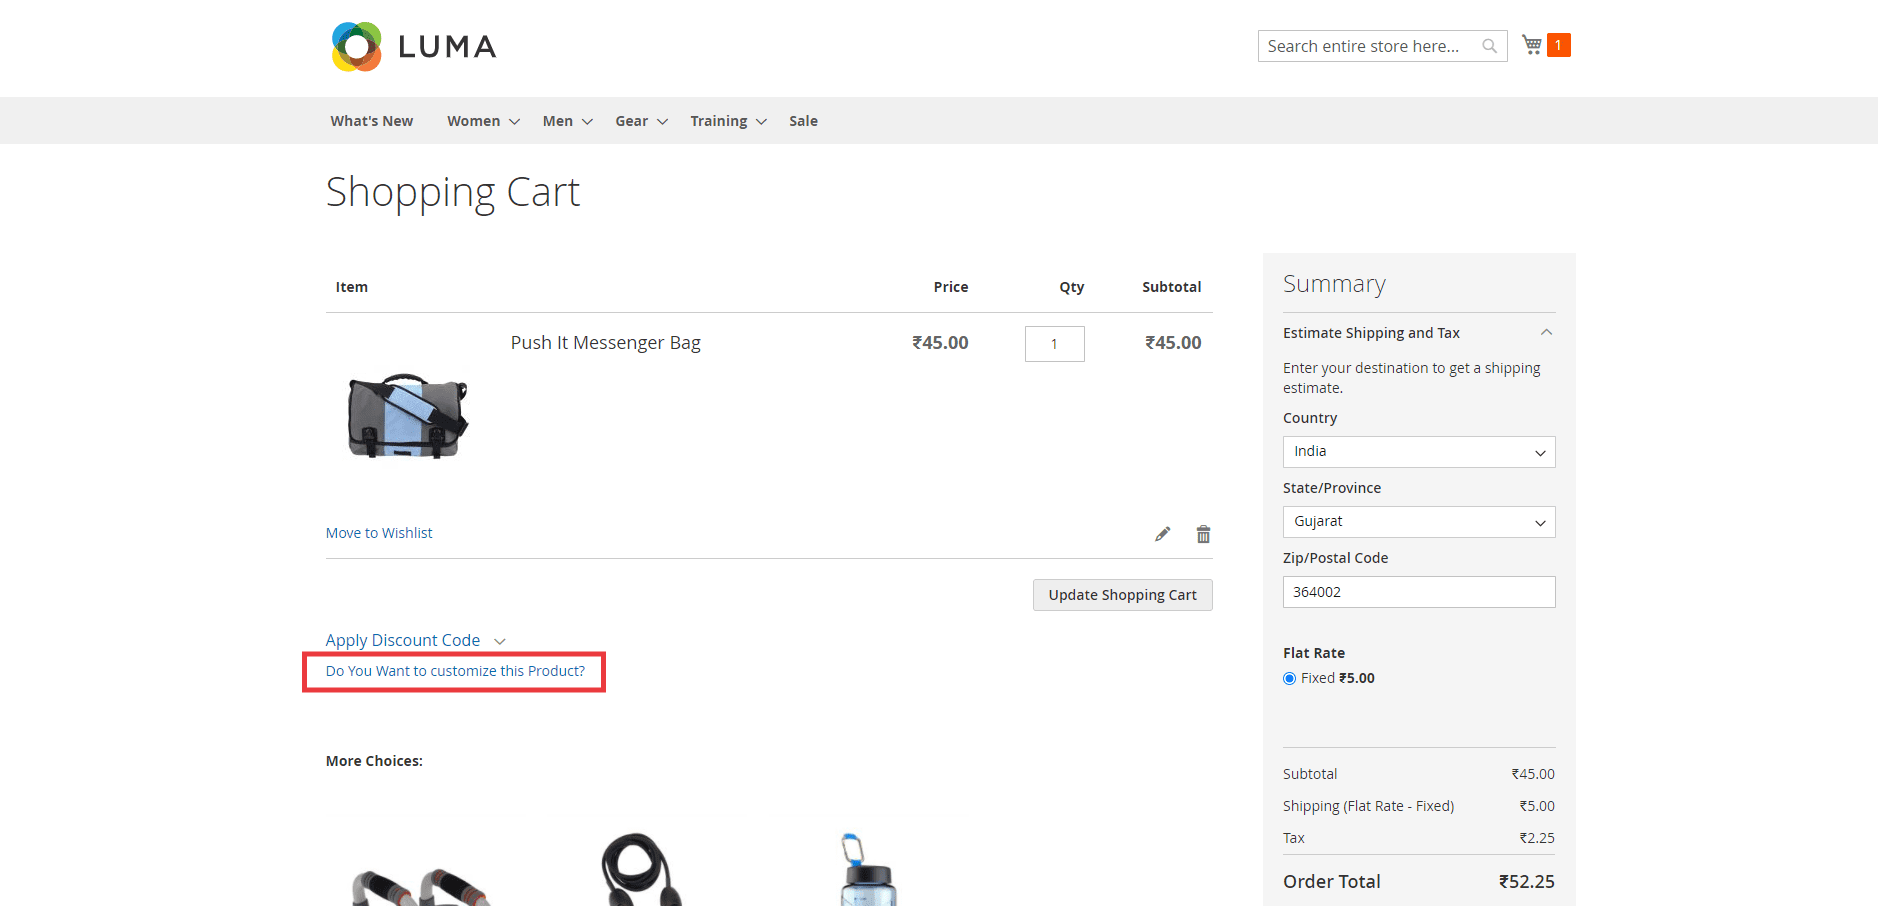
Once implemented, you can see the custom field on the cart page in Magento 2 storefront as shown below:
That’s it.
Do consider sharing this post with Magento Community via social media.
Thank you.
