An Instagram feed can instantly make your Shopify store more lively and engaging. To add an Instagram feed on Shopify, you can either set it up with custom code or choose the simpler option, installing an app.
Using a custom embed code requires maintenance, coding skills, and a considerable amount of time, but it is cost-free. The app method is overwhelmingly preferred for its reliability, readymade sections, and aesthetic control.
Here’s how both work.
Method 1: Using a Shopify App
This is the simplest method and doesn’t require any coding. You can install MIT Sections Pro from the Shopify App Store. This app is ideal for store owners who want a fast, user-friendly solution to display an Instagram feed on Shopify.
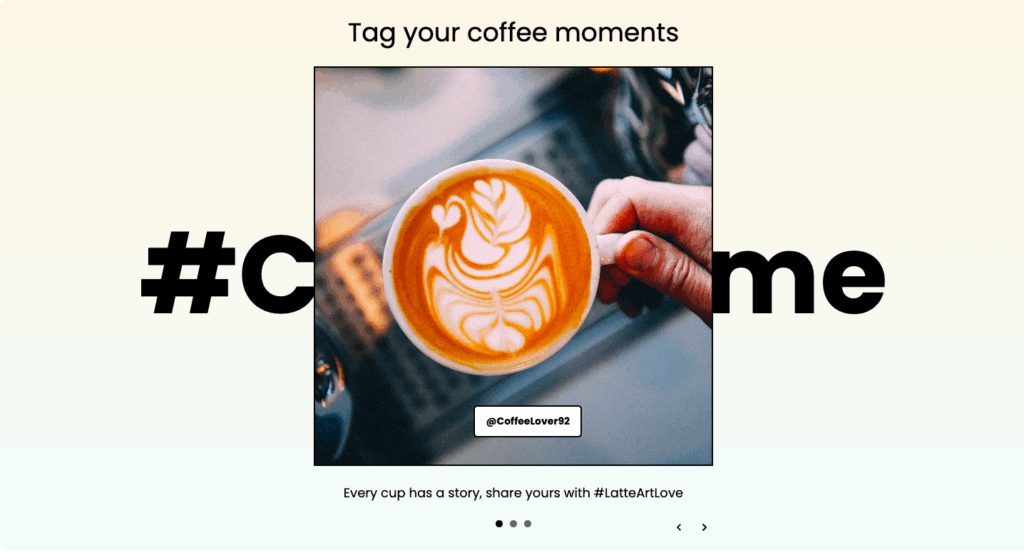
You can design a section something like this:
Let’s understand the app config.
Step 1: Find the Instafeed Section
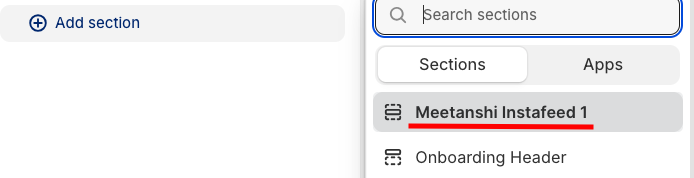
Install the MIT Sections Pro from the Shopify App Store, then from the app dashboard, click Browse section and search for Instafeed.
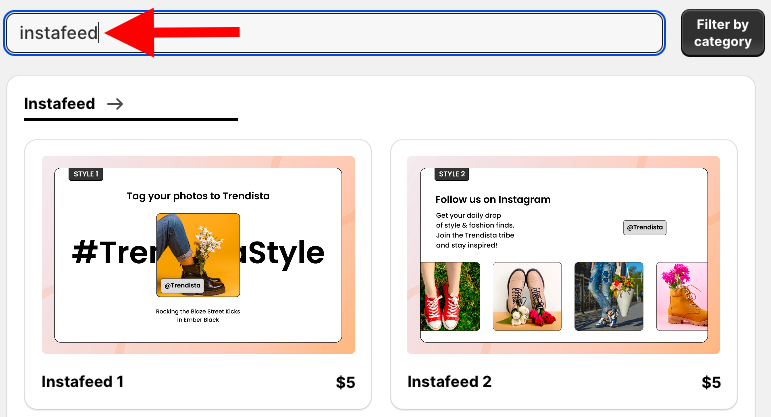
Select the section you want to add to the theme. Here we will move forward with Instafeed 1.
Step 2: Add the Section to Your Theme
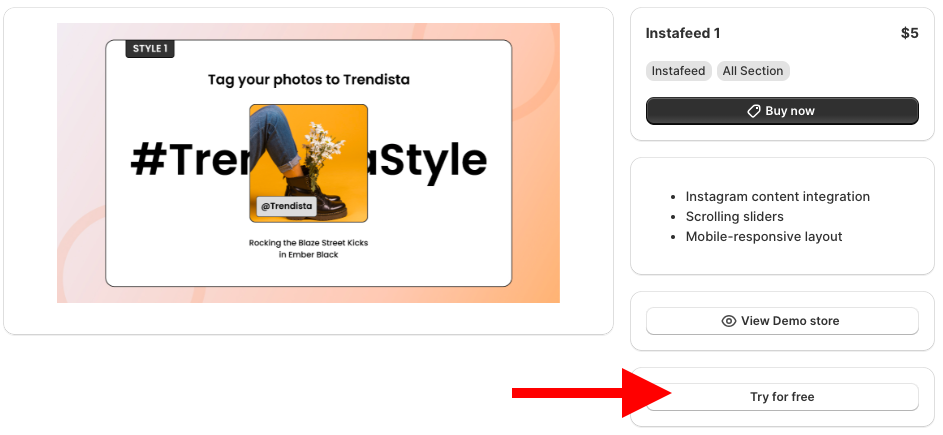
Click Try for free to get the no-cost trial. While on the free trial, you will be redirected to the MIT Demo store. After purchasing the section, you can have it in your store.
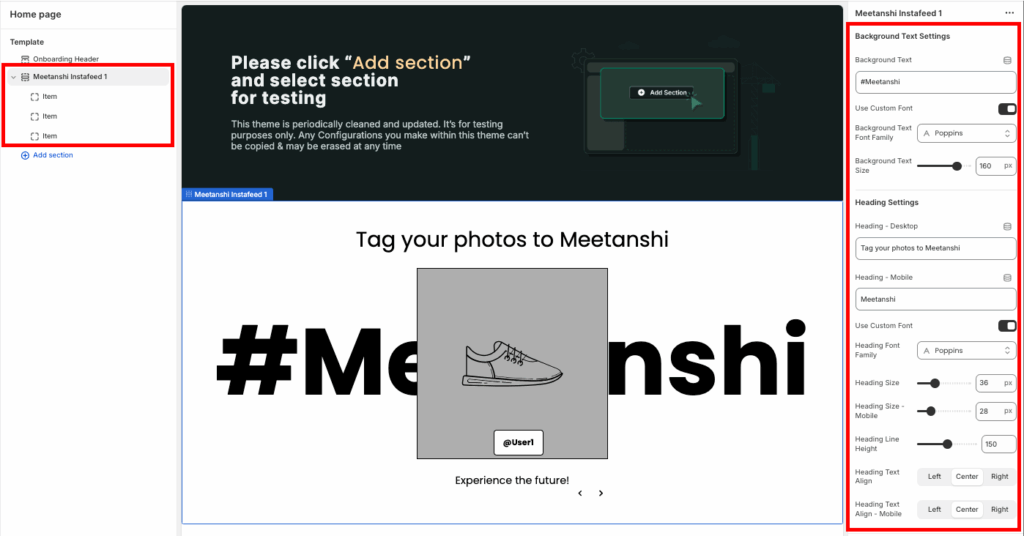
Then, from here, click the Add section and select Meetanshi Instafeed 1.
Step 3: Customize the Section as Per Your Liking
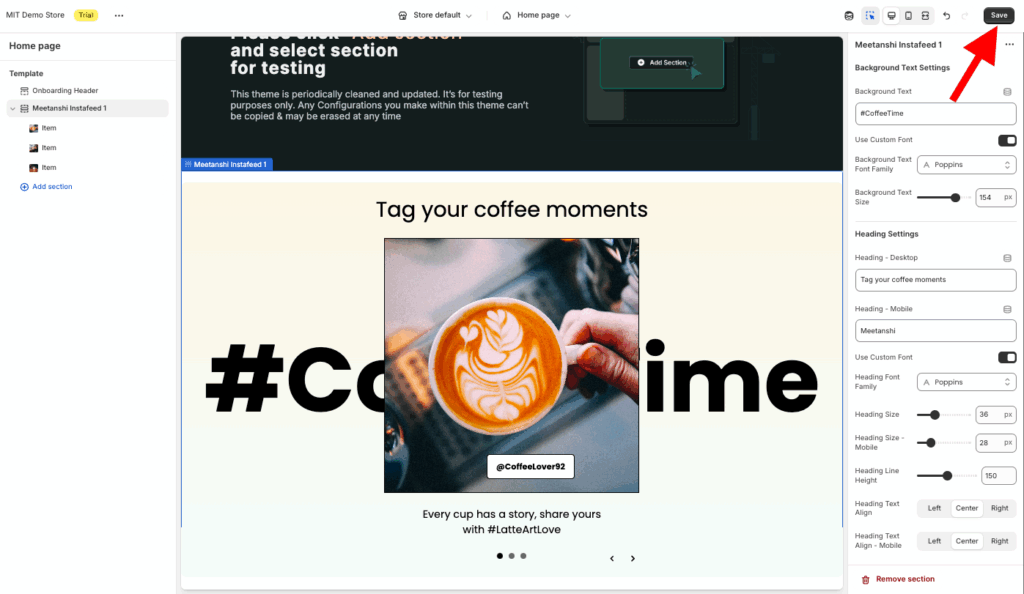
Click Meetanshi Instafeed 1 to expand the customization settings. Here, you get drastic options to edit the section the way you want.
After you complete the modification of the section, save it.
Method 2: Using Custom Code
This method is more advanced and gives you complete control over the feed’s appearance. It involves manually adding code to your Shopify theme’s Liquid files, connecting Shopify to Instagram manually, and typically requires obtaining an access token from Instagram.
Let’s see the steps for it.
Step 1: Get the Instagram Access Token
Log in to your Facebook account and visit the Facebook Developer site to get the access token.
Create a new Facebook app by clicking My Apps > Create App, entering your app name and contact email, then selecting Other and Business as the app type.
In your Facebook app dashboard, set up the Instagram Basic Display and add your website URL as a platform
Then, navigate to the Instagram Basic Display section and click Add Instagram Testers to add your Instagram account as a tester.
Accept the tester invite from your Instagram account via Settings > Apps and Websites > Tester Invites. Back in the Facebook Developers dashboard, go to the User Token Generator section and click Generate Token.
Copy the access token provided and use it in your Shopify or plugin settings to enable the Instagram feed.
Step 2: Create the Shopify Section
Go to your Shopify admin panel, Online store > Themes > …(three dots) > Edit code.
In the Sections folder, add a new section and save it as instafeed.liquid.

Then paste the code below in the newly created instafeed.liquid section and save it.
<style>
  /* --- 1. BASE SECTION STYLES --- */
  .mt-section-{{ section.id }} {
    padding-top: 60px;
    padding-bottom: 60px;
    background: {{ section.settings.section_background_color }};
  }

  /* --- 2. HEADER AND BUTTON CONTAINER --- */
  .mt-header-content {
    max-width: 900px;
    margin: 0 auto 40px auto;
    padding: 0 20px;
    text-align: center;
  }

  /* Heading */
  .mt-heading {
    font-size: 36px;
    font-weight: 700;
    color: {{ section.settings.heading_color }};
    margin-bottom: 10px;
  }

  /* Subtext */
  .mt-text {
    font-size: 18px;
    color: {{ section.settings.text_color }};
    margin-bottom: 25px;
  }

  /* Button */
  .mt-button {
    display: inline-flex;
    align-items: center;
    justify-content: center;
    gap: 8px;
    padding: 12px 28px;
    font-size: 16px;
    font-weight: 600;
    text-decoration: none;
    border-radius: 50px;
    color: {{ section.settings.button_text_color }};
    background-color: {{ section.settings.button_background_color }};
    border: 2px solid {{ section.settings.button_border_color }};
    transition: all 0.2s ease;
  }

  .mt-button:hover {
    opacity: 0.9;
    background-color: {{ section.settings.button_background_hover_color }};
    color: {{ section.settings.button_hover_text_color }};
  }

  .mt-button svg path {
    fill: currentColor; /* Use text color */
  }

  /* --- 3. SINGLE IMAGE CONTAINER STYLES --- */
  .mt-single-image-container {
    max-width: 600px; /* Limit size of the single image */
    margin: 0 auto;
    padding: 0 20px;
  }

  .mt-image-item {
    overflow: hidden;
    border-radius: 8px;
    aspect-ratio: 4 / 3; /* Use a common aspect ratio for a single featured image (Landscape) */
    border: 1px solid #e0e0e0;
  }

  .mt-image-item img,
  .mt-image-item svg {
    width: 100%;
    height: 100%;
    display: block;
    object-fit: cover;
  }

  /* --- 4. MOBILE STYLES --- */
  @media (max-width: 768px) {
    .mt-heading {
      font-size: 28px;
    }
    .mt-single-image-container {
      max-width: 100%;
    }
    .mt-image-item {
      aspect-ratio: 1 / 1; /* Square image on mobile */
    }
  }
</style>

<div class="mt-section-{{ section.id }}">
  <div class="mt-header-content">
    <h2 class="mt-heading">{{ section.settings.heading_text }}</h2>
    {% if section.settings.text_content != blank %}
      <p class="mt-text">{{ section.settings.text_content }}</p>
    {% endif %}

    {% if section.settings.button_url != blank %}
      <a href="{{ section.settings.button_url }}" class="mt-button">
        {{ section.settings.button_text | default: 'Follow Us' }}
        <svg xmlns="http://www.w3.org/2000/svg" width="16" height="16" viewBox="0 0 24 24">
          <path d="M7 7l5 5-5 5V7zM17 7l-5 5 5 5V7z" fill="currentColor"/>
        </svg>
      </a>
    {% endif %}
  </div>

  {% assign block = section.blocks[0] %}
  {% if block and block.type == 'image' %}
    <div class="mt-single-image-container">
      <div class="mt-image-item">
        {% if block.settings.image_1_url != blank %}
          <a href="{{ block.settings.image_1_url }}">
        {% endif %}
        {% if block.settings.image_1 != blank %}
          <img
            src="{{ block.settings.image_1 | image_url: width: 800 }}"
            alt="{{ block.settings.image_1.alt | default: 'Featured Image' }}"
            loading="lazy"
          >
        {% else %}
          {% comment %} Simple Placeholder SVG Tag with a default aspect ratio for consistency {% endcomment %}
          <svg viewBox="0 0 400 300" xmlns="http://www.w3.org/2000/svg">
            <rect width="400" height="300" fill="#f0f0f0"/>
            <text x="50%" y="50%" dominant-baseline="middle" text-anchor="middle" font-size="20" fill="#999">Single Featured Image Placeholder</text>
          </svg>
        {% endif %}
        {% if block.settings.image_1_url != blank %}
          </a>
        {% endif %}
      </div>
    </div>
  {% endif %}
</div>

{% schema %}
{
  "name": "Simple Image Grid",
  "tag": "section",
  "settings": [
    {
      "type": "header",
      "content": "Content"
    },
    {
      "type": "text",
      "id": "heading_text",
      "label": "Heading",
      "default": "Follow us on Instagram"
    },
    {
      "type": "text",
      "id": "text_content",
      "label": "Subtext",
      "default": "Check out our latest featured post below!"
    },
    {
      "type": "header",
      "content": "Call to Action Button"
    },
    {
      "type": "text",
      "id": "button_text",
      "label": "Button Text",
      "default": "@YourHandle"
    },
    {
      "type": "url",
      "id": "button_url",
      "label": "Button URL (e.g., to your Instagram profile)"
    },
    {
      "type": "header",
      "content": "Color Settings"
    },
    {
      "type": "color",
      "id": "heading_color",
      "label": "Heading Color",
      "default": "#1a192e"
    },
    {
      "type": "color",
      "id": "text_color",
      "label": "Subtext Color",
      "default": "#6b6b6b"
    },
    {
      "type": "color",
      "id": "section_background_color",
      "label": "Section Background",
      "default": "#ffffff"
    },
    {
      "type": "color",
      "id": "button_background_color",
      "label": "Button Background",
      "default": "transparent"
    },
    {
      "type": "color",
      "id": "button_hover_text_color",
      "label": "Button Hover Text Color",
      "default": "#FFFFFF"
    },
    {
      "type": "color",
      "id": "button_background_hover_color",
      "label": "Button Background Hover",
      "default": "#1a192e"
    },
    {
      "type": "color",
      "id": "button_text_color",
      "label": "Button Text Color",
      "default": "#1a192e"
    },
    {
      "type": "color",
      "id": "button_border_color",
      "label": "Button Border Color",
      "default": "#1a192e"
    }
  ],
  "blocks": [
    {
      "type": "image",
      "name": "Featured Image Post",
      "limit": 1,
      "settings": [
        {
          "type": "image_picker",
          "id": "image_1",
          "label": "Image"
        },
        {
          "type": "url",
          "id": "image_1_url",
          "label": "Link Image To"
        }
      ]
    }
  ],
  "presets": [
    {
      "name": "Instagram feed",
      "settings": {},
      "blocks": [
        { "type": "image" }
      ]
    }
  ]
}
{% endschema %}
Step 3: Add the Section to a Page
Then, go back to the admin panel, Online store > Themes > Customize. Now, from the theme editor, click the Add section and select the Instagram feed.
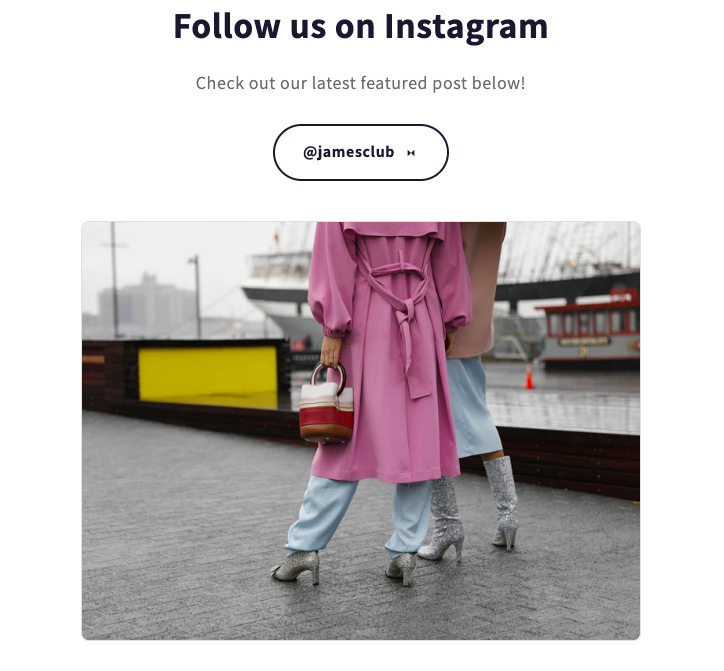
Then, from the sidebar, edit the section using the few options available.

Once done making the edits, save them. And this is how basic it will look.
Why Pick the Shopify App?
MIT Sections Pro is more than just a Shopify app; it empowers merchants with full creative freedom to craft their store exactly how they think. Plus, you will not require an Instagram access token, just tag, and it will integrate automatically.
Additionally, enjoy:
- Over 130 pre-made sections available to all merchants, free and paid
- Completely free to install with powerful customization options built in
- Easy-to-edit interface with no coding needed
- Fully optimized for speed, compatible across all Shopify themes
- Total control over customization, even using free templates
- Ability to add, modify, or swap sections as your store evolves
- Cost-effective for any store size, with a free trial offered for premium features
- This app offers an affordable way to build a highly flexible and professional-looking Shopify store without developer dependency.
Your all-in-one solution to create a professional Shopify store
Install App Now